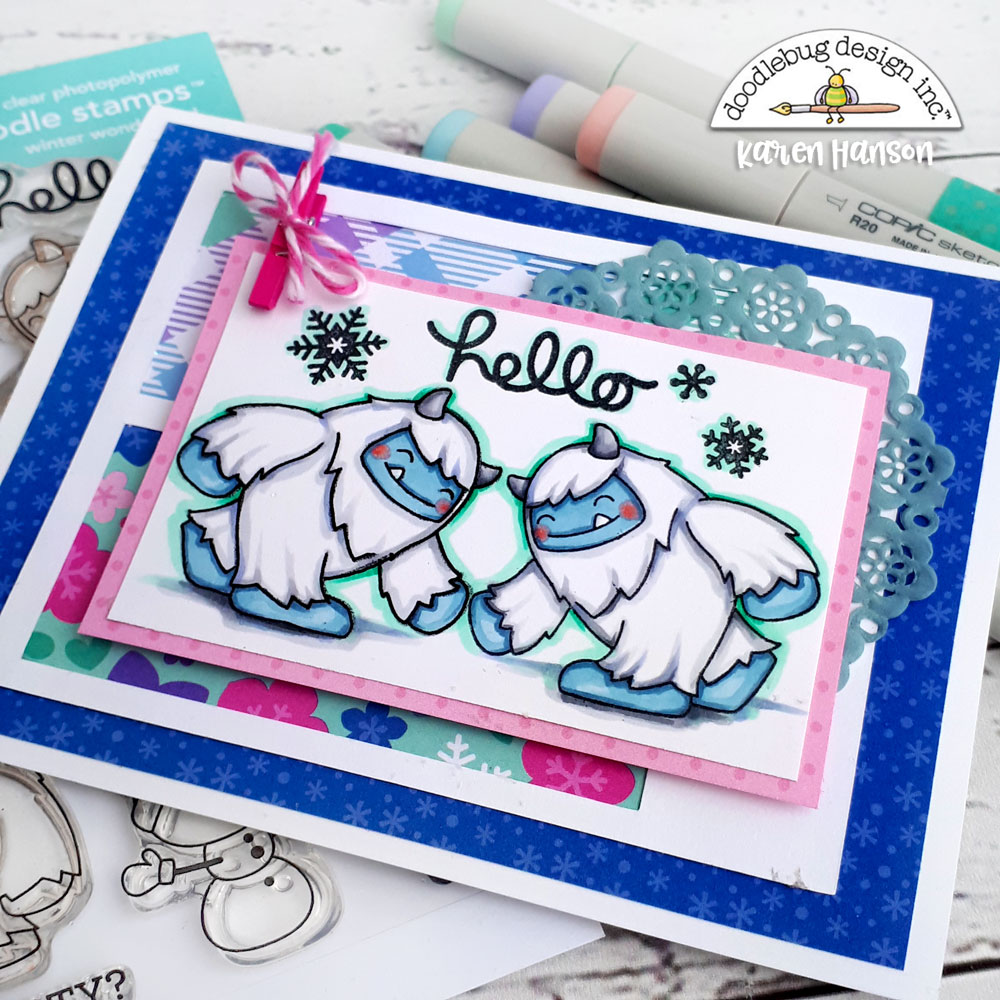
But I have to admit that the only thing better than the new Yeti character is that he comes in more than one pose. And if that still isn't enough for you, I am going to share a little tutorial with you today so you can see how you can get even more characters out of your stamps! Reverse stamping is a technique used when you have a stamp that you would like facing the opposite direction when it is stamped. For this little card, I actually just used one stamp of the Yeti, reversing one to create the yeti facing the opposite direction by stamping it twice - first onto a mat and then onto paper. While there are stamping tools designed to help with this process, a few simple product that you have in your crafty collection will do the trick too! Here's how:
 To create this effect, all you need are your regular stamping tools together with a silicone mat. I actually use the silicone mat that came with my die cutting machine, but any silicone mat will do as long as it is larger than your stamp.
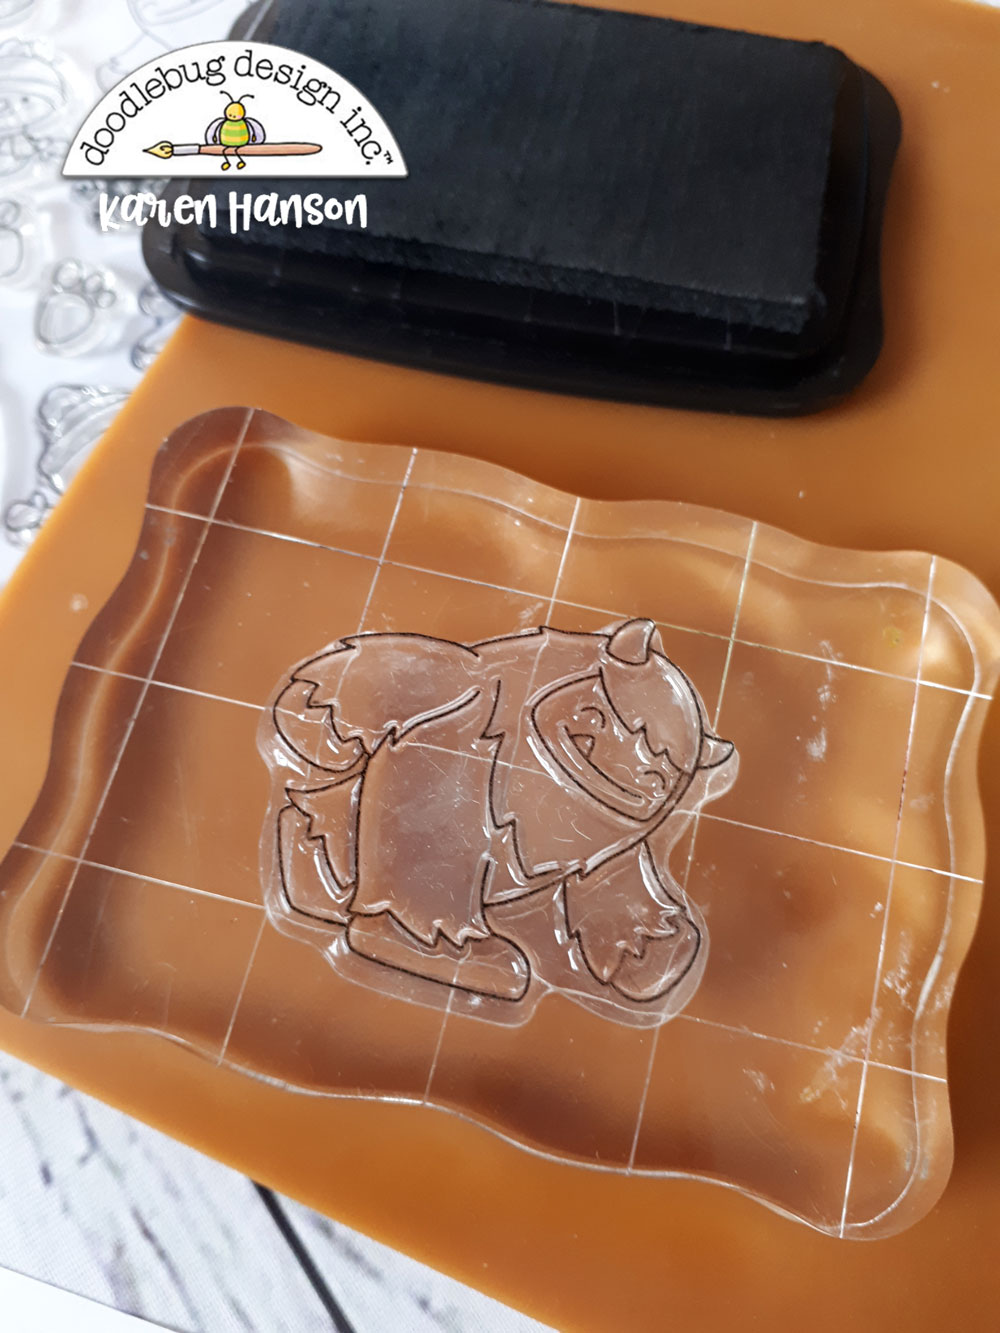
Ink up your stamp just as you would normally do.
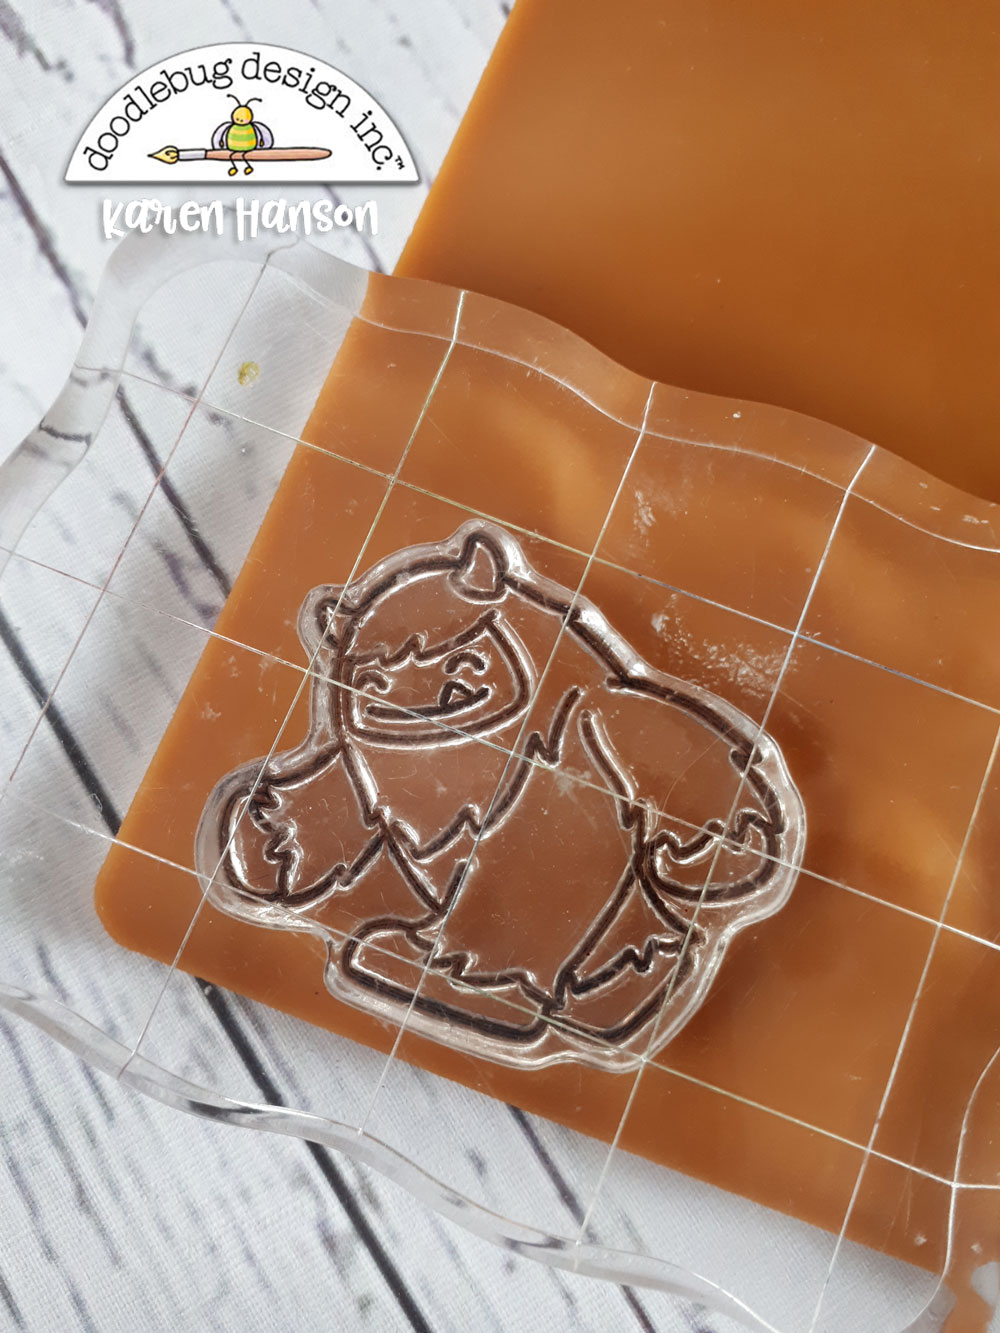
Instead of stamping onto your paper, stamp the image onto your silicone mat. One of the reasons I like the silicone mat is that it is a bit tacky, so your stamp doesn't slide around creating a "fuzzy" image. When you are first trying out this technique, you may have to stamp it a few times before you get a crisp stamp you are happy with. Don;t rush - take your time and simply wipe of the mat if you are not happy with the quality of the stamp.
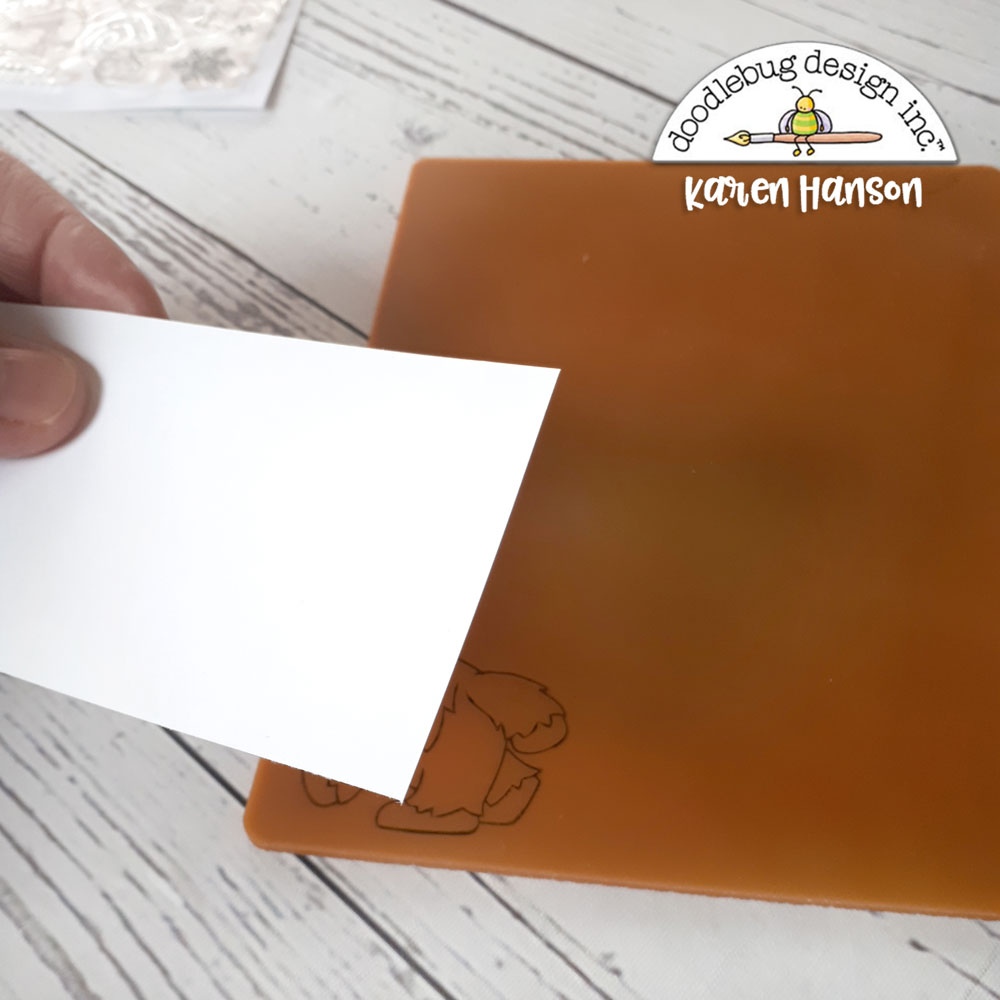
Now take the piece of paper you are stamping onto and place it over the stamped image. Be sure not to move the paper and place it straight down onto the mat, securing with a strong grip. Again, the "tackiness" of the mat will help keep the paper in place. Note: I highly recommend putting the paper to the mat rather than trying to place the mat down onto the paper to stamp. It is difficult to get the mat down without moving it, resulting in a blurry image. Placing the paper down onto the stamp always works better for me!

Hold the paper down onto the mat and run your fingers gently over top in a circular motion, transferring the ink from the mat to the paper.

Carefully lift off the paper, and you will have your reversed design! Don't worry if you don't get a great image the first time. It sometimes takes a couple of tries!

To create the mirrored image, simply ink up the stamp again and place it down facing the reversed image.
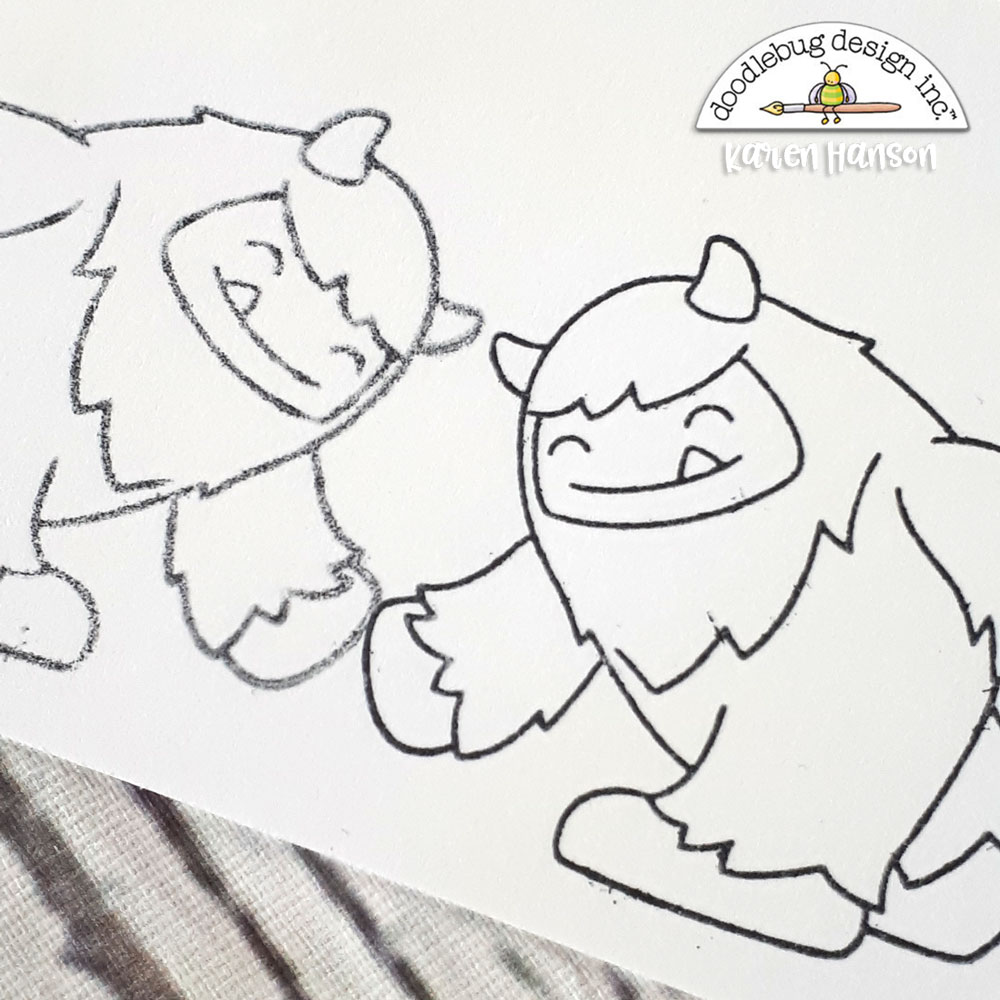
Note: You will notice that the reversed stamp is never as crisp and clean as the stamp created the regular way. But hang in with me and I will show you that in the end, it won't matter at all!
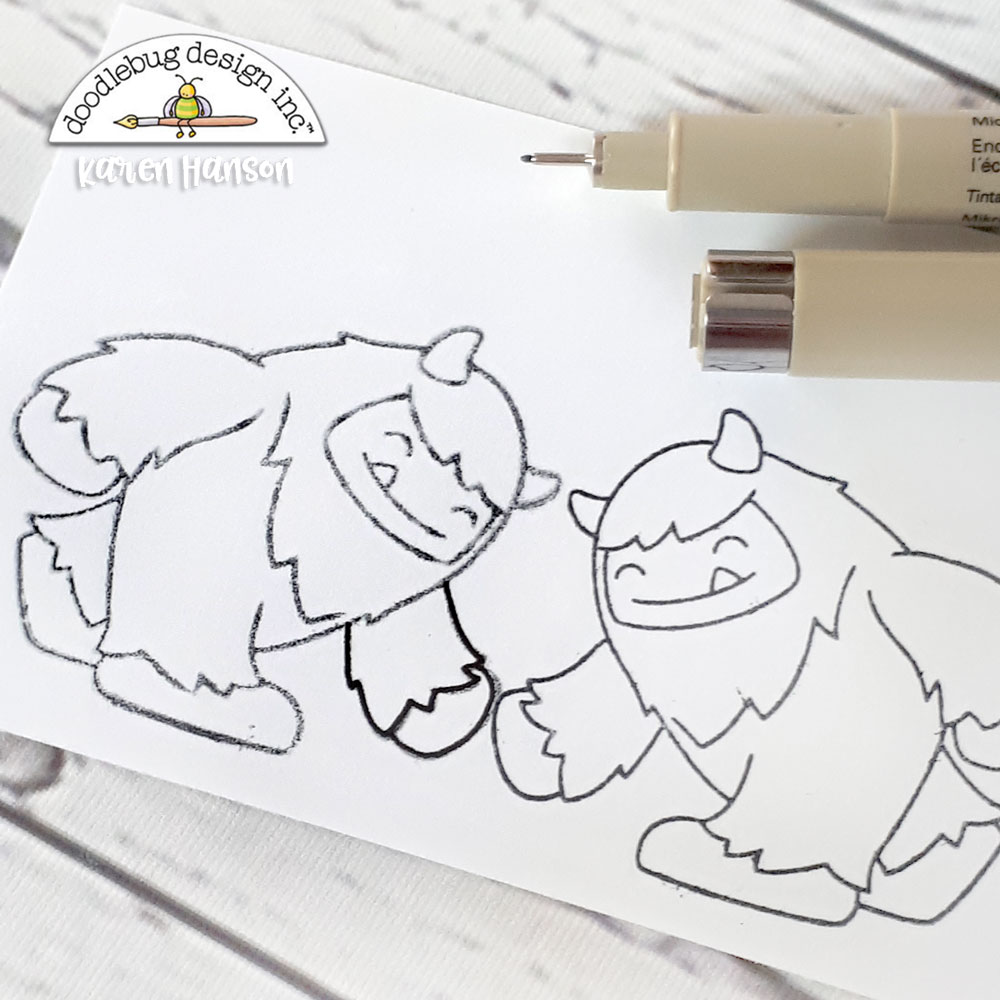
One of the tricks that I have (and I actually use this trick all the time when stamping the regular way in situations where I don't get the perfect press), is simply to go over the reverse stamped image with an ultra thin black pen. This cleans up the line and will actually create a nice bold line. And while this line will appear darker than the other stamped image at first...
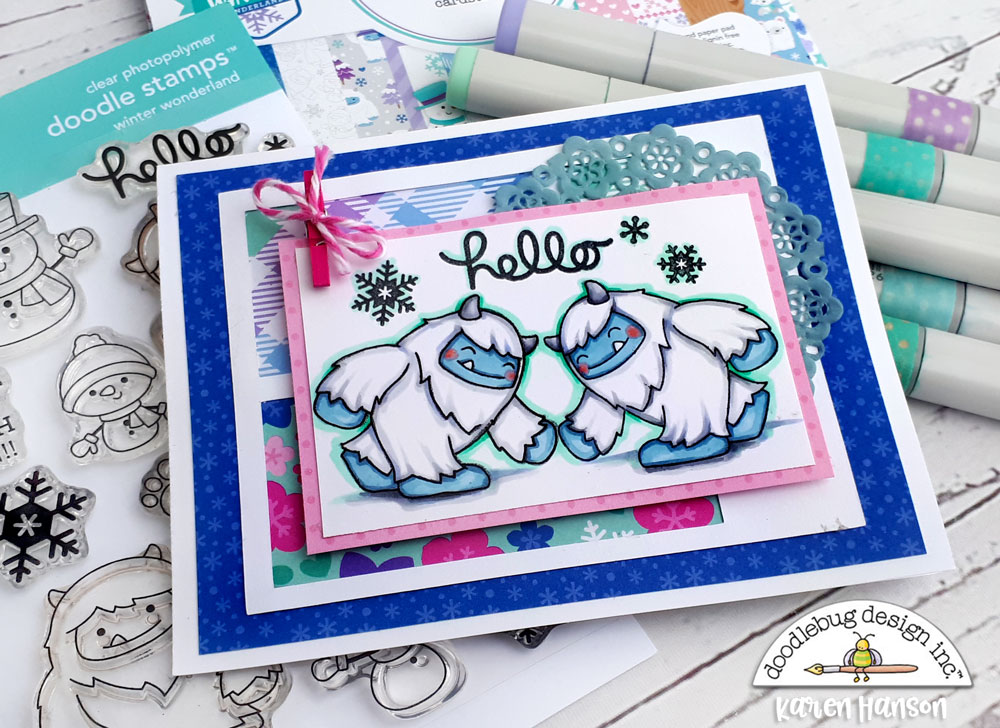
...by the time you colour them in and add some shading, you will not be able to tell the difference at all! I promise - no camera tricks here. This is the same image I stamped in the tutorial pictures!

Now, let's say you don't happen to have a silicone mat to work with. Don't worry- you can still create this effect. In fact, you can find the perfect tool right on the back of your Doodlebug stamps - a clear acetate sheet! Simply pull one off of your stamps and you are ready to go.
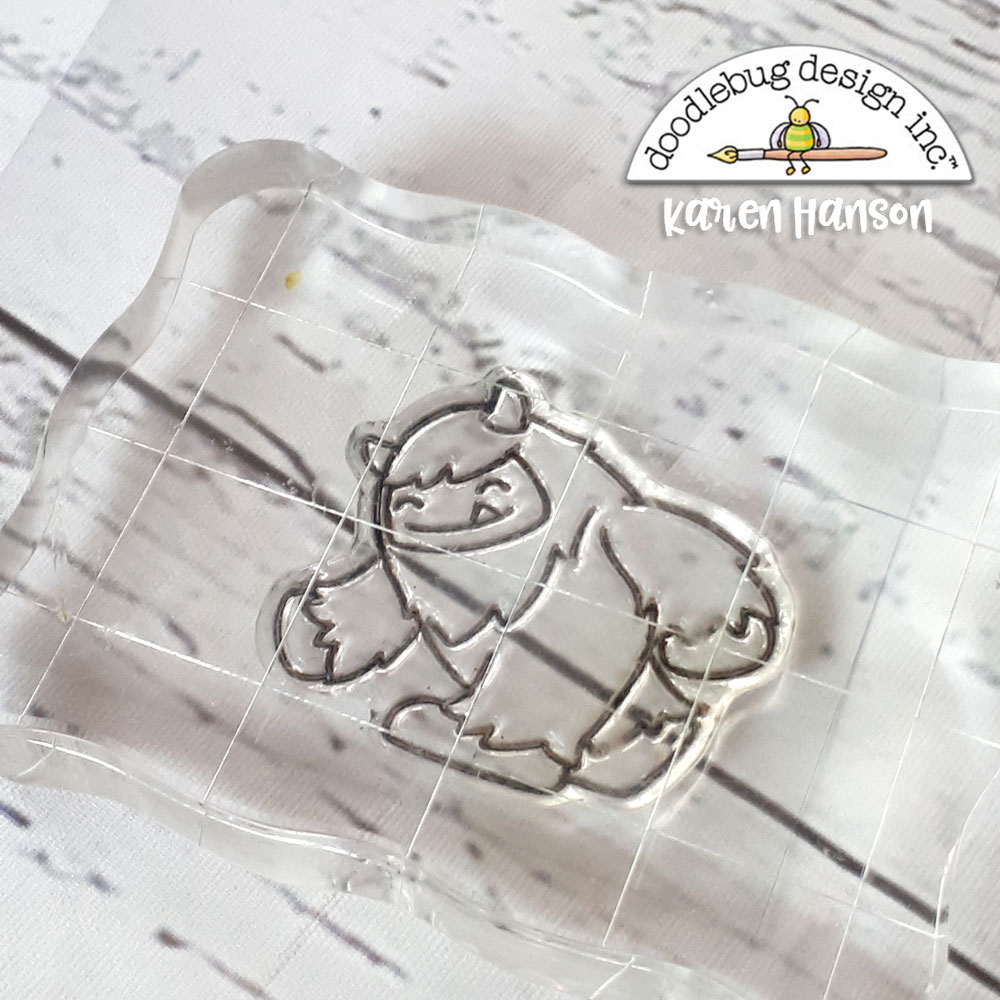
The technique is exactly the same as it is on the silicone mat, except that you are stamping onto the acetate sheet.
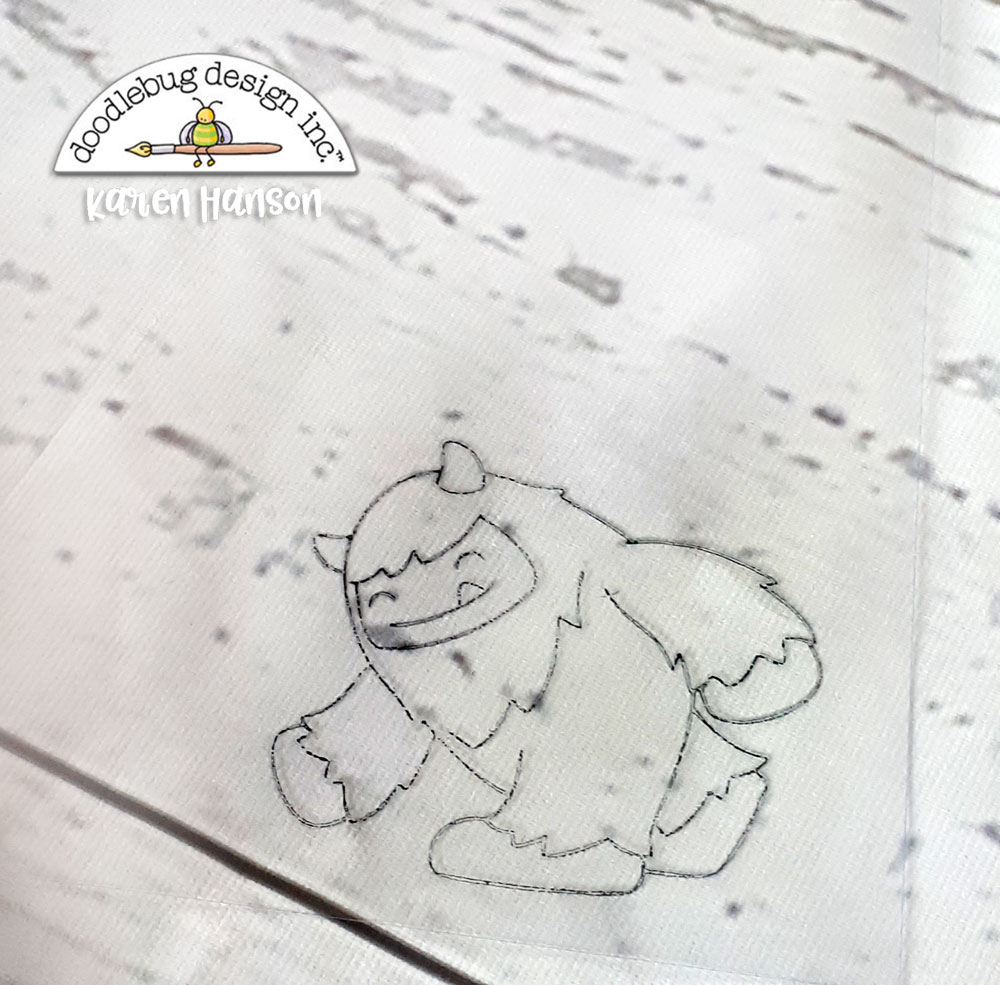
Now you will notice that the ink is a bit more "splotchy" on the acetate than it was on the silicone. I also find that it is more slippery, so you have to be extra careful when placing your paper down onto the acetate.
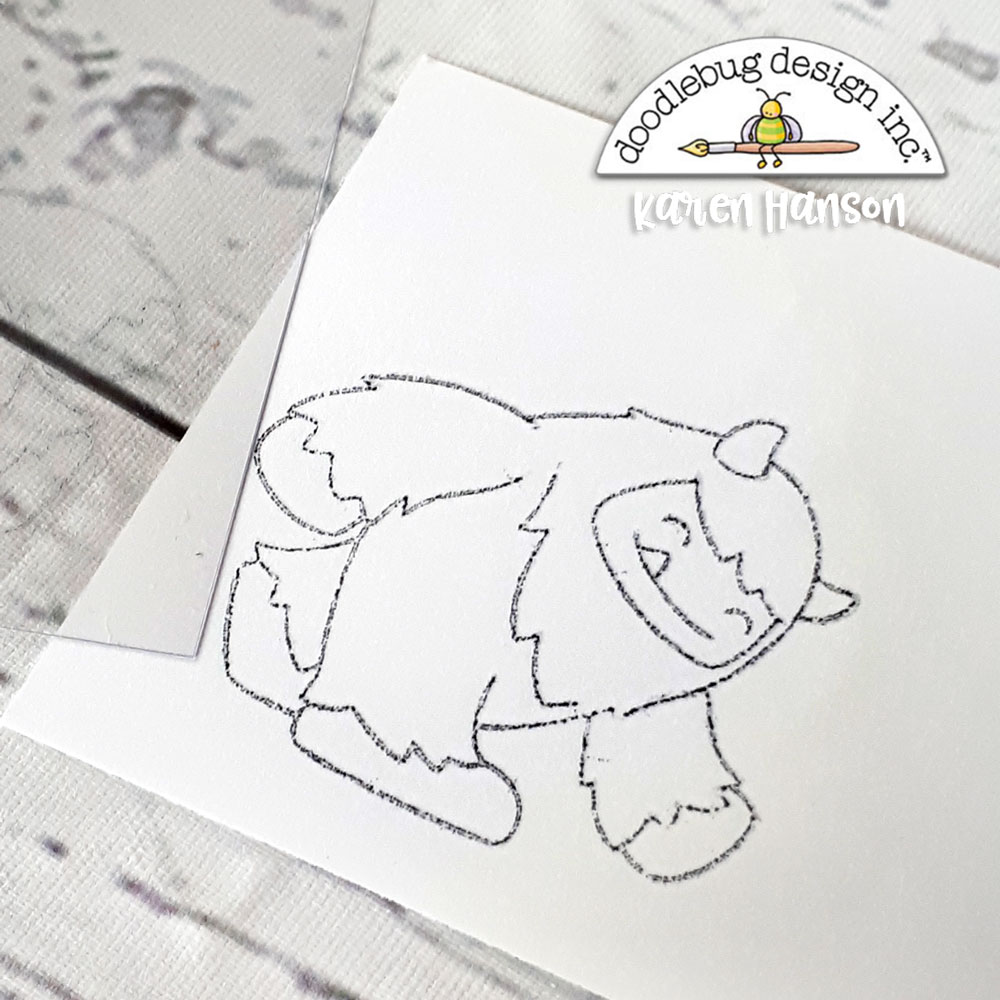
But in the end, you can get a great transfer this way too, and with a little pen work, the image will be perfect!
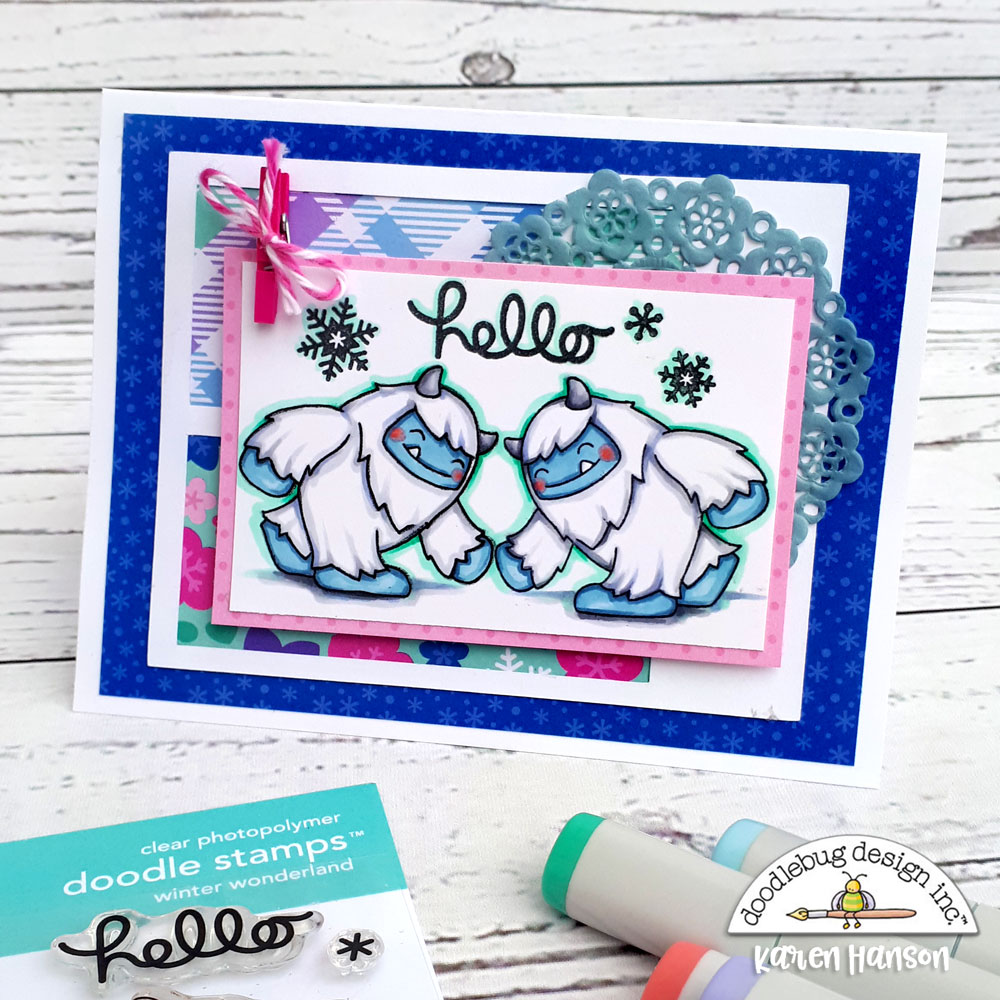
So there you have it - you can have twice as much fun with your Doodlebug stamps! And let's be honest, the only thing better than one adorable yeti is two!
Thanks for stopping by!
Doodlebug Design Product:
Winter Wonderland Collection
Winter Wonderland Stamps
Mini Clothespins
DoodleTwine
Mini Doilies
Other Products:
Silicone mat
Alcohol markers
Ink
White Cardstock
Alcohol markers
Ink
White Cardstock

Cute card! Great idea for reverse stamping! Thanks for the info!
ReplyDeleteHave a great day!
Marilyn❤
Thank you for the great tutorial! I used to do reverse stamping but the process was iffy at best and the results were never quite right! I am going to try this today... just as soon as I find my desk under the mess!💕
ReplyDeleteOMGosh! This is just adorable. I tried reverse stamping before but ti always looked a mess. I must try it again. I LOVE your card and these yeti images. Thanks for the inspiration x
ReplyDeleteFabulous tutorial and such a fun card!
ReplyDelete