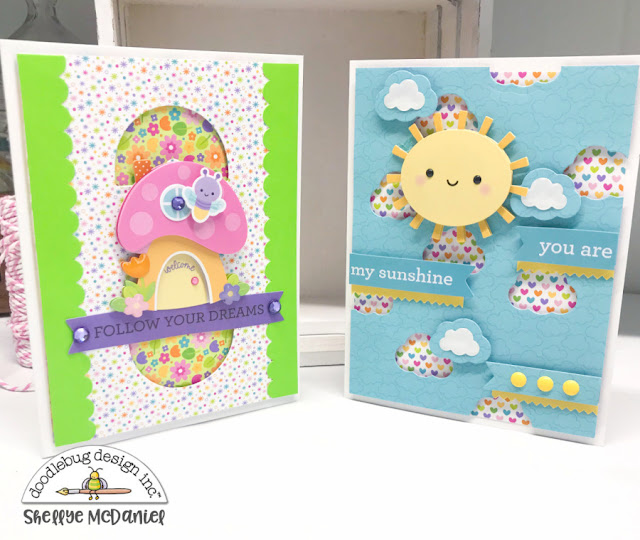
Dies that match with stamps don't always have to go hand-in-hand! Today I'm sharing a couple of cards using the Fairy Garden Collection and a set of the dies that coordinates with the collection's stamp set...oh and Doodle Pops of course!
Pages
Friday, April 30, 2021
FAIRY GARDEN SPRING CARDS | with Shellye
Thursday, April 29, 2021
FAIRY GARDEN MUSHROOM MINI ALBUM | with Traci
Wednesday, April 28, 2021
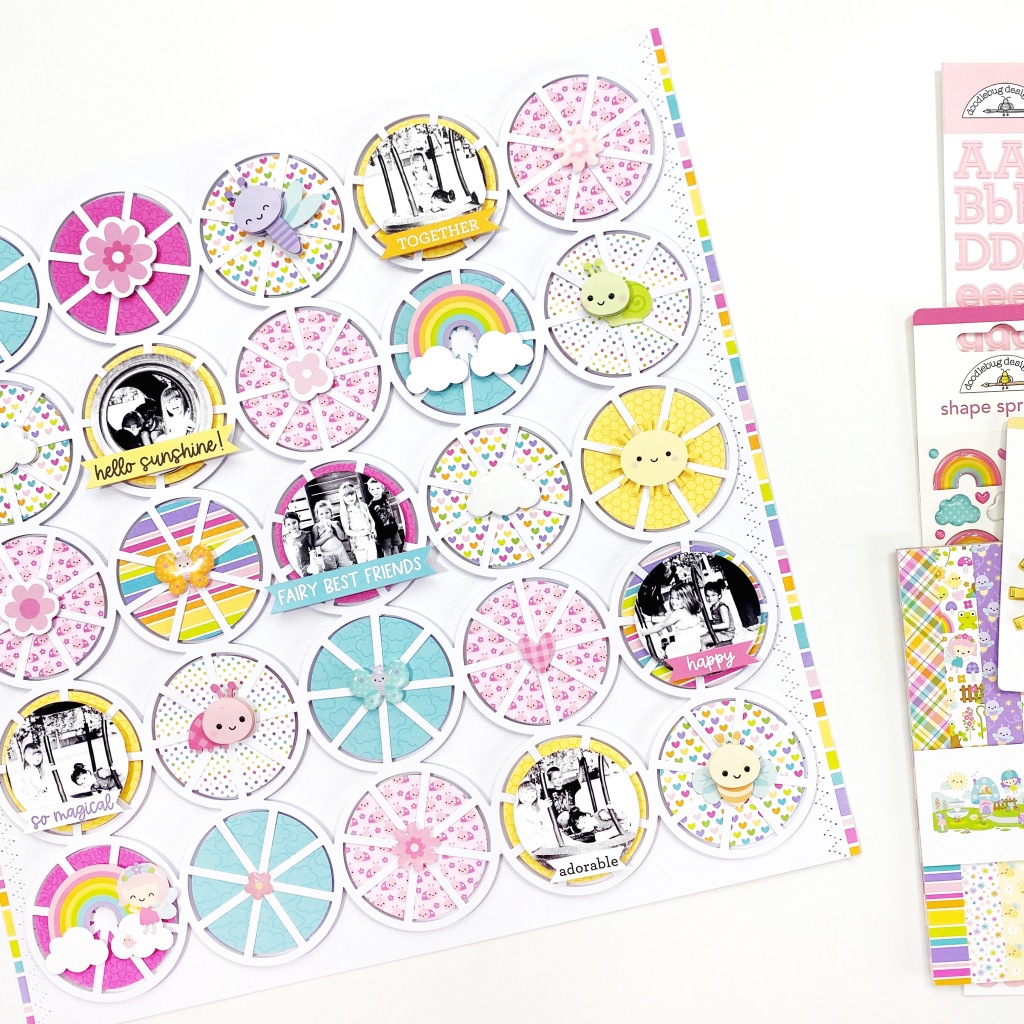
FAIRY GARDEN RAINBOW LAYOUT | with Lisa
Do you love rainbows as much as I do? I could create something with rainbow colors on each and every layout... :), especially using the cute Doodlebug colors. Here's my rainbow layout I created with the new Fairy Garden collection.
Looking at the pretty colors and cute little characters in the collection, I knew I wanted to create a rainbow layout using as many embellishments as possible. I had the idea to create this tiered circle. I have made layouts similar to this one and they always turn out so cute. I didn't have a seven-tiered circle cut file though, so I created one on my Silhouette. I wanted to include six colors and one photo.
Tuesday, April 27, 2021
FAIRY GARDEN FAIRY HOUSE | with Miguel
The idea for my fairy house was spinning inside my head a few days ago and it took me some time and dedication to realize it!
Monday, April 26, 2021
FAIRY GARDEN BUGS & KISSES STAMPED CARDS | with Karen
Up here in Canada, the bugs are just starting to reappear. While I have one daughter that loves watching them, I have another daughter that would rather live in sub zero temperatures all year just to avoid them. One thing they can both agree on though is that Doodlebug's version of bugs are always keepers! Because, come on...how cute are these:
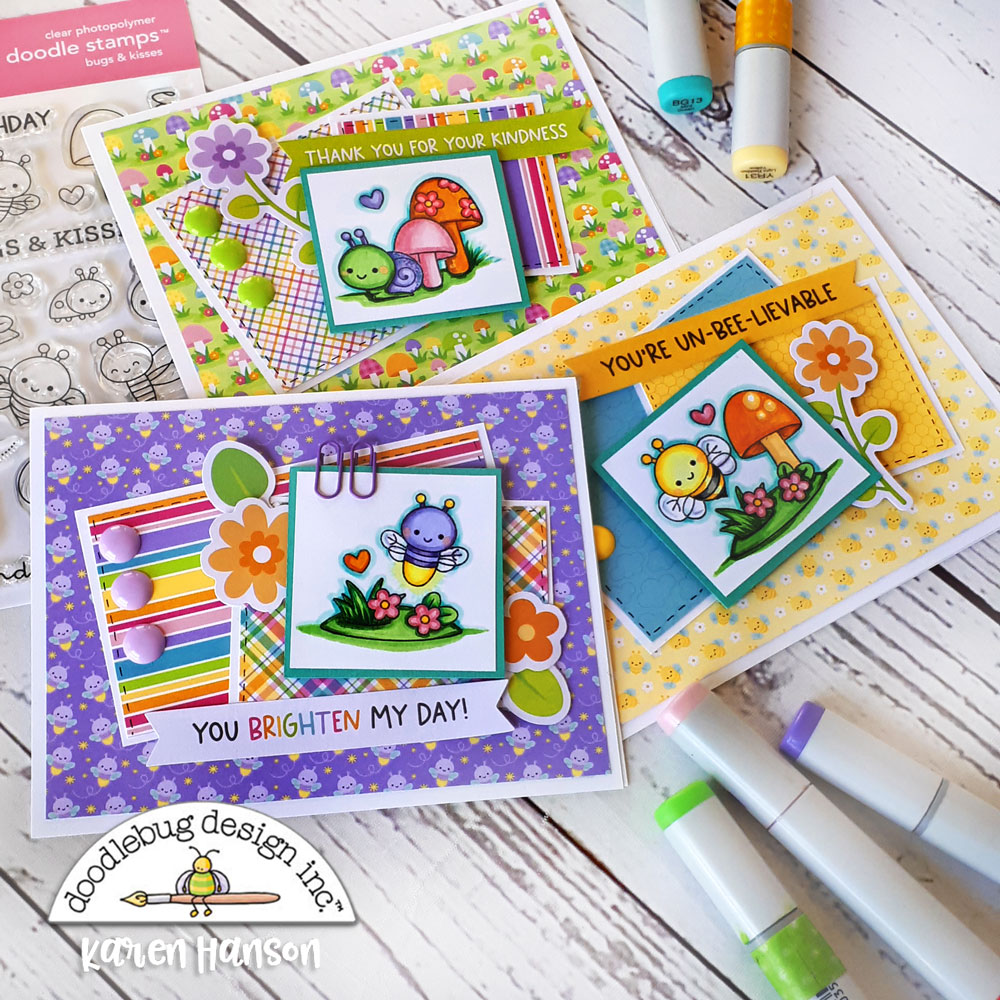
This little card set was created with the 6X6 papers from the Fairy Garden collection and the coordinating stamp set called Bugs and Kisses (yes, name of the stamps is as cute as they are)!

There are so many cute embellishment stamps like the little heart, mushrooms and the grass base that make for cute little scenes.
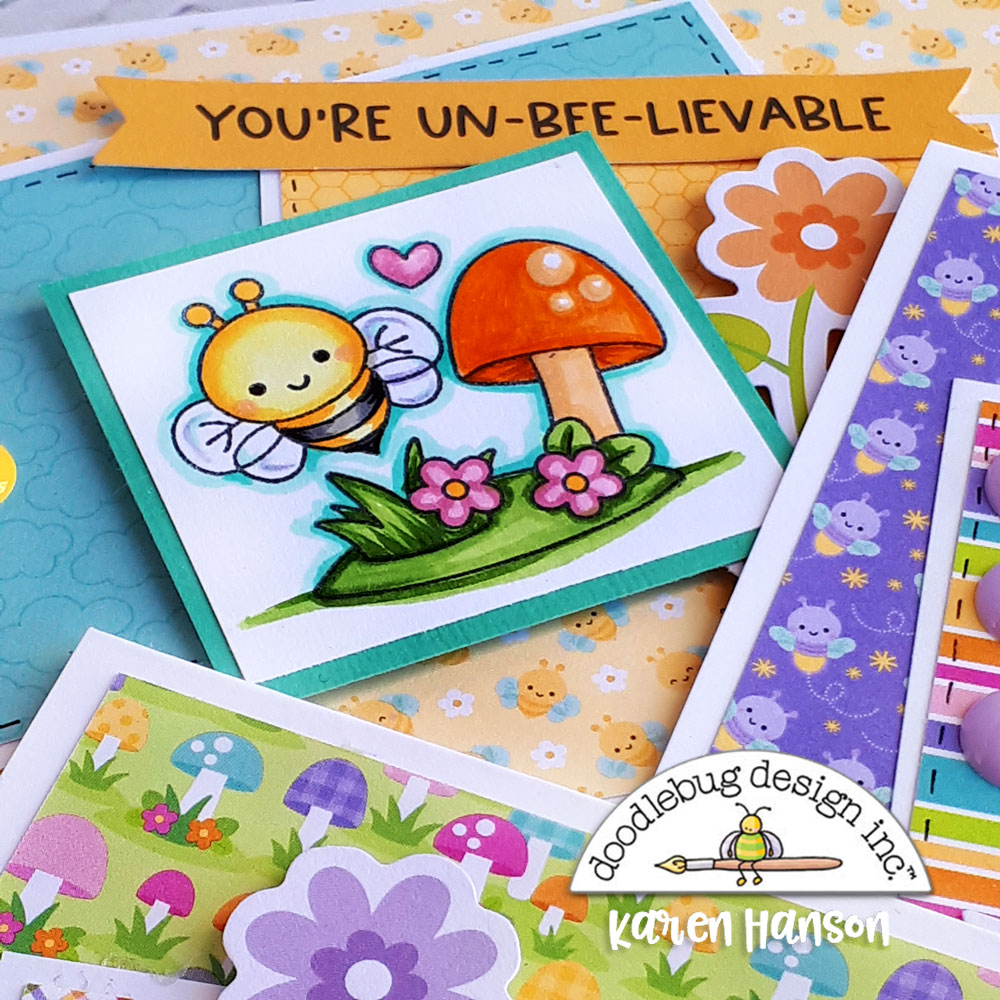
And the coordinating bug patterns in the 6x6 papers are perfect for cards! It really doesn't get any better than this!
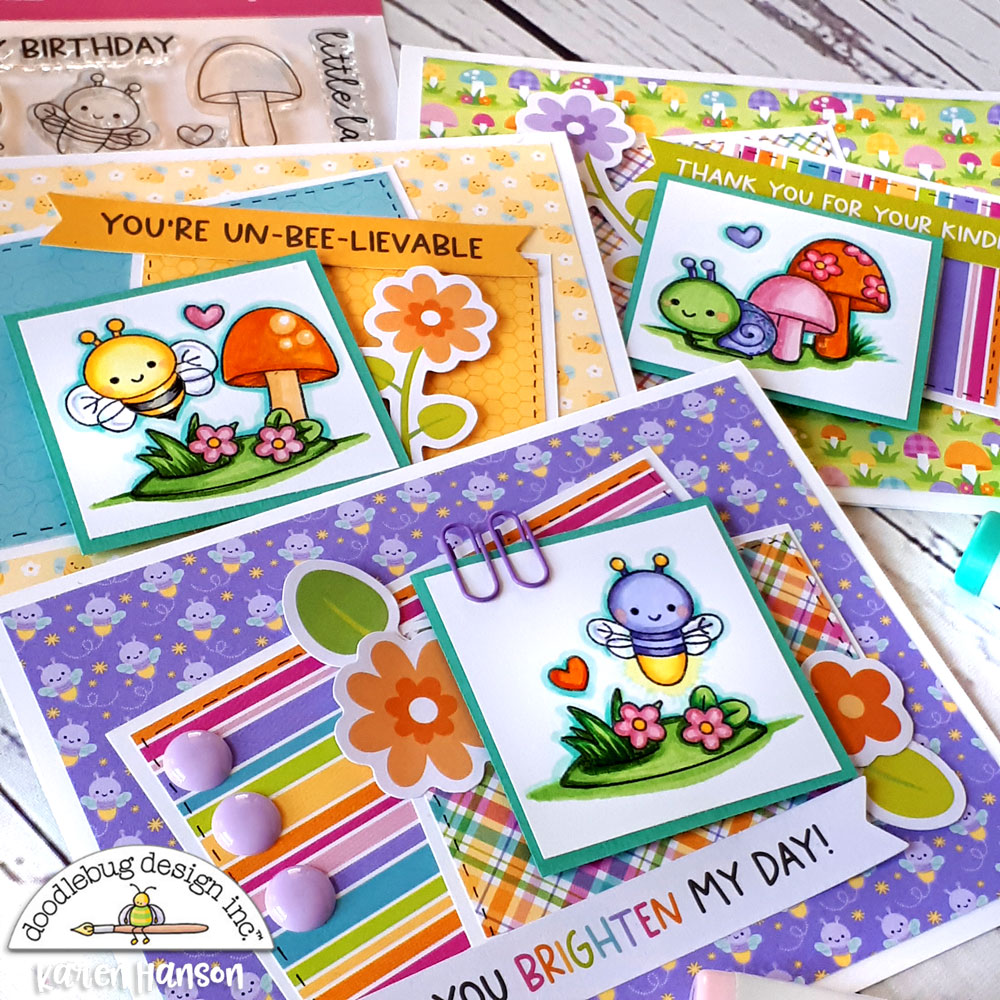
Top them off with some Sprinkles, mini paper clips and even some die cuts from the Odds and Ends pack, and you are set to go! So whether you consider our living bugs friends or foes, you need to pick up this collection and the coordinating stamps. Thanks for stopping by!
Hugs,
![]()
Alcohol markers
Ink
Friday, April 23, 2021
FAIRY GARDEN HELLO 'LIL DREAMER LAYOUT | with Nathalie
Hey there! I don't know about you, but I all the cuteness in the new Fairy Garden collection is just amazing. So what better way to showcase it all than in a scrapbook layout ( and this is a cute one!)
It all started when I saw how my Goddaughter's hair and dress matches the design in the fairies. So, I quickly punched the edges of the Magical Meadow and Pink Posies papers to frame the page.
The 6x6 paper pad provides the perfect size patterned as a layer behind the picture. The softness of the color vellum adds a soft separation from the layout. Then, all it was left to do is embellish the page with all the cute goodies from the collection.
The Garden Flowers Kraft Kit flowers are just a perfect way to ground the embellishments to the page. I just love the Bugs and Kisses stamp set, as it creates the perfect detail for all those flying elements on the page.
I just love how the page turned out. The colors and the cute fairies are perfect for the pictures. I cannot wait to see what you create with the collection! 'Til next time!
DOODLEBUG PRODUCTS USED
Fairy Garden Collection
Fairy Garden 6x6 Paper Pad
Garden Flowers Kraft Kit
Bugs & Kisses Doodle Stamp Set
Sprinkles Gem: Bubblegum
OTHER
Edge Punch
Thursday, April 22, 2021
FAIRY GARDEN PIE CHART LAYOUT | with Erica
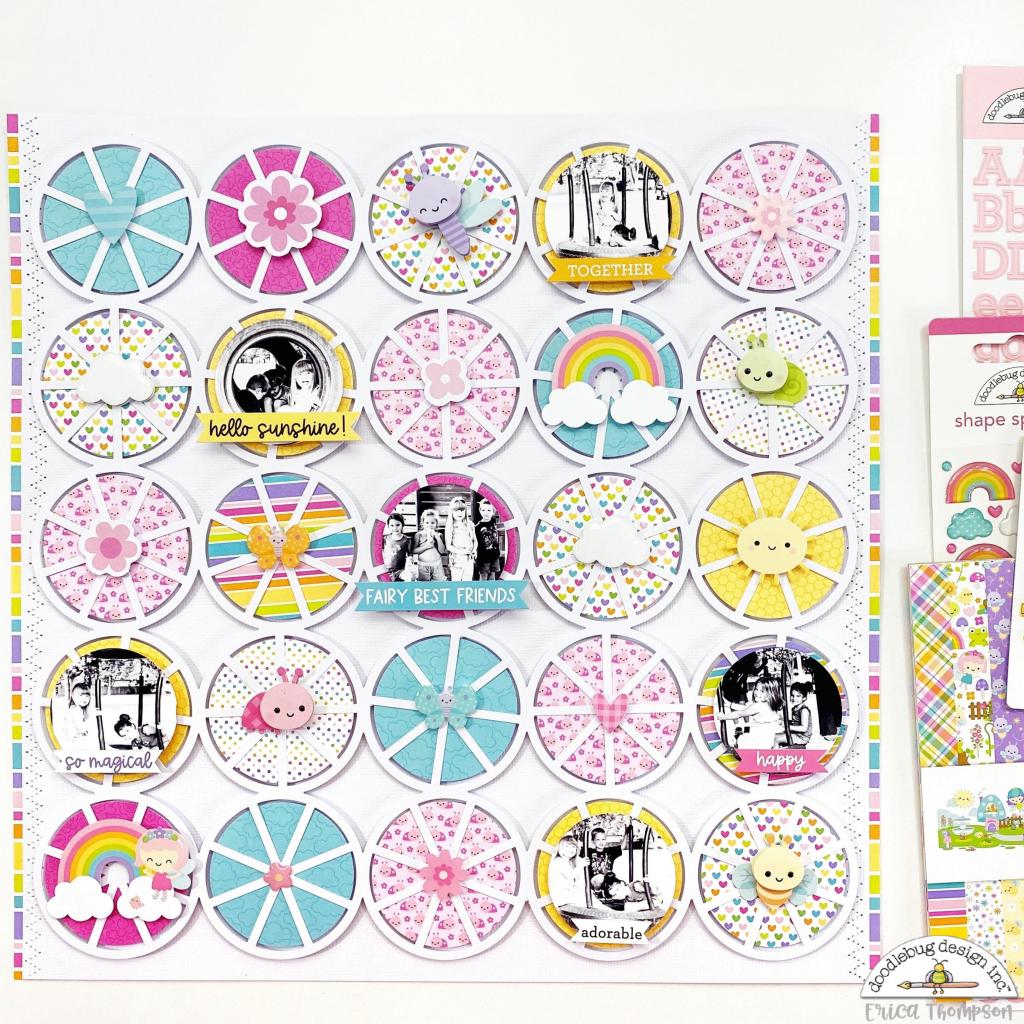
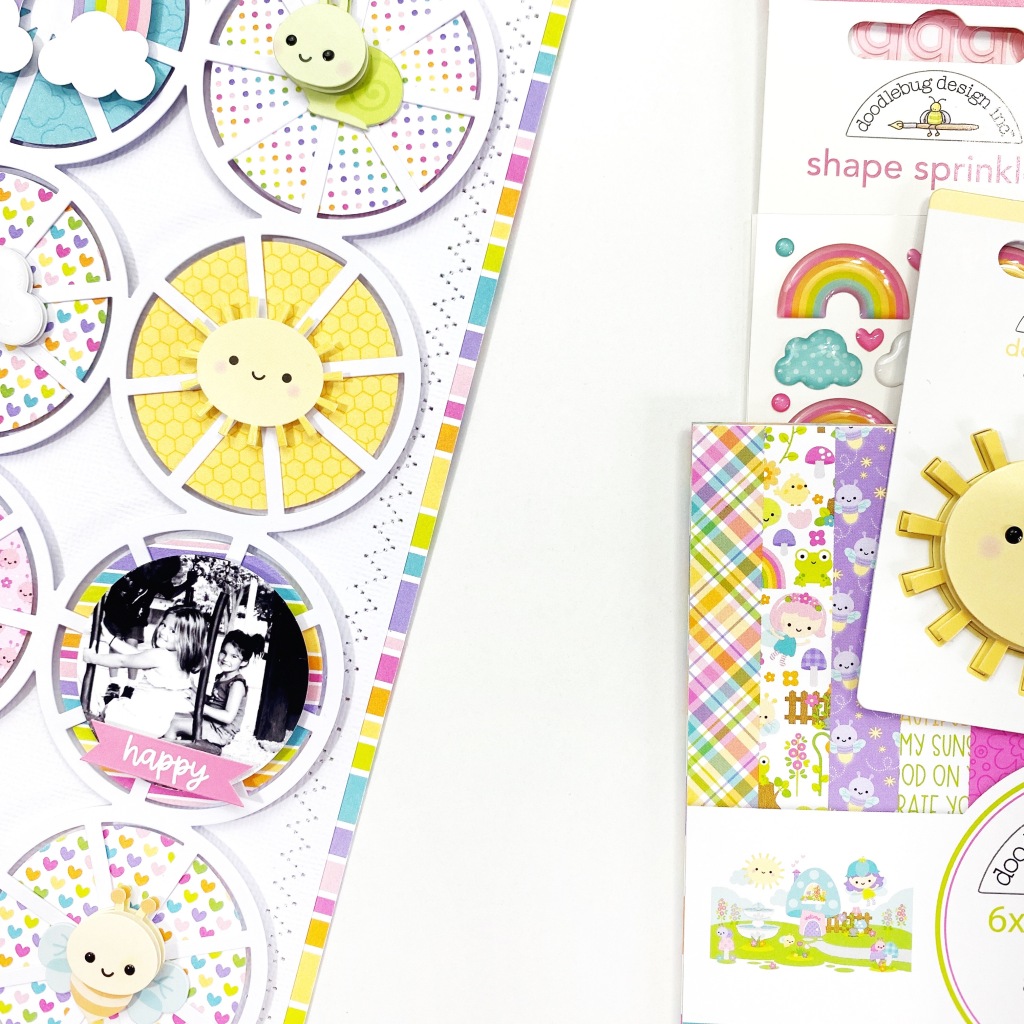
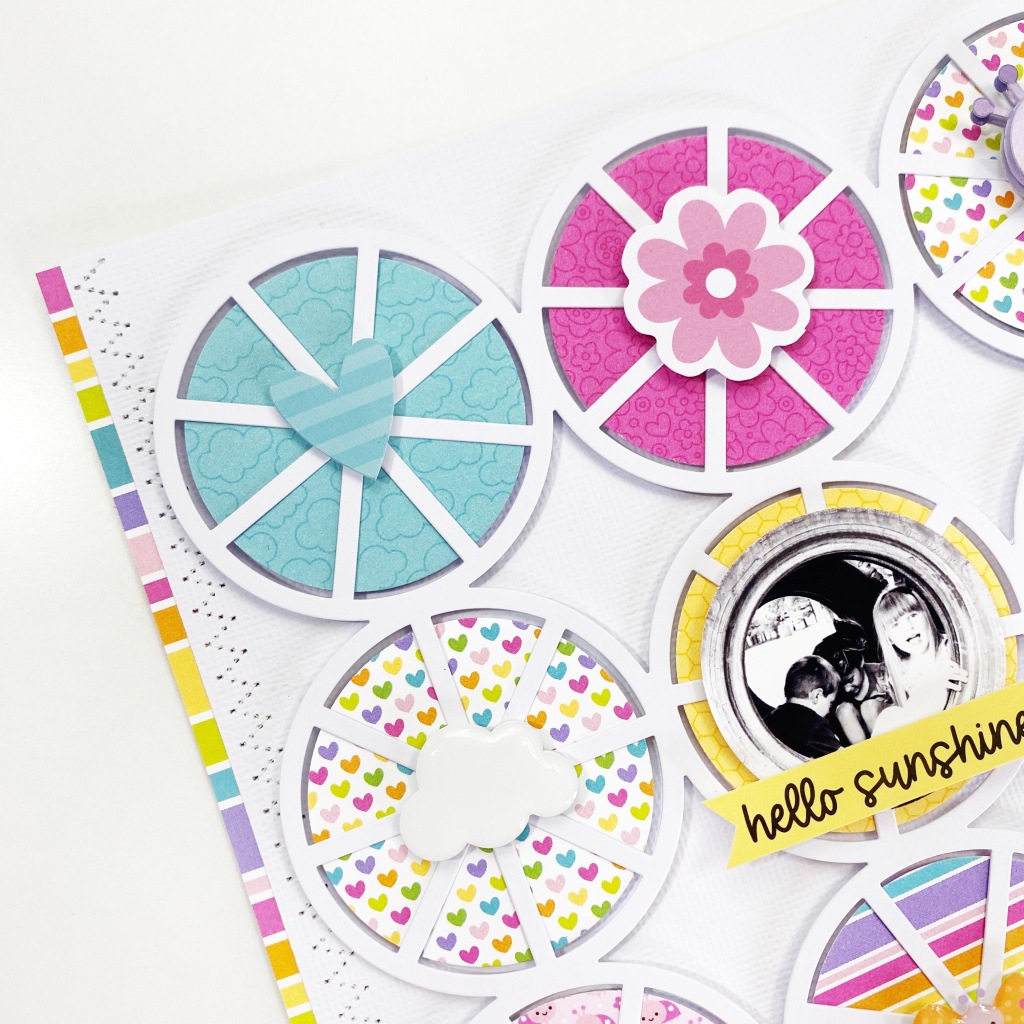
Hey friends! Erica here with you today to share a quick and easy layout using the Fairy Garden collection and the Pie Chart Cut Out from Bella Blvd.
I pulled out a 2 inch punch from my stash and the Fairy Garden 6x6 paper pad. I punched out a bunch of circles from Fairy Garden paper pad. I knew that these circles would not be the exact size to back the circles in the Bella Blvd Cut Out but I really like the look of it! Using the circle punch made it super quick and easy to back this Cut Out!
I adhered the 2 inch punched circles to the back of the Pie Chart cut out and then added foam tape all over the back of the cut out. I used some Doodlebug Design Lily White textured cardstock as my base and trimmed it down on the left and right sides so I can add a pop of color to the sides!
For some added texture I ran the layout through my sewing machine using a zig zag stitch. I added the backed Pie Chart Cut Out to the background and started to add my photos and embellishments.
I used a 1 3/4 circle punch to punch out my photos and added them around the layout to the center of the pie charts. I love using shaped photos on my pages and this is a fun way to create a multi photo page!
I hope you enjoyed my layout today using the Fairy Garden collection. This layout was quick, fun and easy to put together and I love all the cute bits and pieces in the center of some of the pie charts! Have a great day!
![]()
INSTAGRAM | FACEBOOK | YOUTUBE
Doodlebug Products Used
Other Products Used
Bella Blvd Pie Chart Cut Out
Wednesday, April 21, 2021
FAIRY GARDEN - GARDEN JOURNAL | with Wanda
Hi there! Wanda here with a fun Spring project made with the super cute Fairy Garden Collection! I feel like this collection just screams "SPRING" so I decided to make a Spring themed project. A Garden Journal! I used an old kraft blank binder that's been in my stash for a long time and jazzed it up with papers, stickers, letters, and much much more! I encourage you to look at different things you might have in your craft room - things that you can cover with paper and decorate. Some of the things I like to use are - oatmeal canisters (for gifts), cookie tins, blank books, DVD cases and cool boxes. Anything can become new and wonderful again with some Doodlebug!
My Garden Journal is 6" x 4" big, so it's perfect to tuck in your bag. I put in lots of pages for lists and notes.... Here's the cover! I used the awesome Doodlebug Alphabet Stickers to spell out Garden Journal on a piece of white cardstock, and then decorated around it. How cute is that sweet fairy?!
I really like to layer stickers and different elements to have varying dimension on my projects. Here's a close up of the front cover with a sun, a rainbow and some little flowers too.
I will probably give this project as a gift, so I made some matching pens! I took my favorite Ink Joy pens and glued on some pretty flower Sprinkles.
I used lots of green on this project since it's a Garden Journal... I'll walk you through each page. Here is the front inside cover and the first page.
And the second/third page...
And the next pages... This one has a little pocket to tuck things inside...
More room for notes!
More pages....and more room for writing!
And this is the final page, and the inside back cover. SO FRESH - all that pretty green!
The next photos are some close ups of different elements.
Thanks for sharing a little time with me today here on the Doodlebug Blog! Have a happy, creative and wonderful day! I'll see you soon!
DOODLEBUG SUPPLIES:

