Showing posts with label Copic Coloring. Show all posts

Sunday, September 29, 2024

HEY PUMPKIN HALLOWEEN WHIMSY CARDS | with Guest Designer Jenn Shurkus

Hey Everyone I’m back! Jenn Shurkus here from Creative Chick Co.  and a self-proclaimed Doodlebug Addict. I love everything they release and was so excited to be invited to guest design. I have another two cards to share with you where I had a lot of fun mixing a bunch of products from the new Hey Pumpkin release! 

I started by stamping out the cat in a pumpkin tote image and the ghost from the Hey Pumpkin Doodle Stamps and coloring them in with Copic markers which are alcohol-based markers (sharing below the specific markers I used). I die-cut it out with the coordinating Doodle Cuts.

For the first card, I started by water coloring a purple background using Distress Watercolor Pencils, and Distress Watercolor Cardstock. I dried this background, and then trimmed this it down to 4” x 5.25”.  I matted it onto a piece of patterned paper from the Hey Pumpkin 6x6 paper pad. 

For the sentiments, I chose a few speech bubble die-cuts from the Hey Pumpkin Chit Chat Ephemera Pack. I also white embossed “Happy” from the Hey Pumpkin stamp set onto black cardstock. Whenever I do ANY embossing, I prep the surface using the Cottontail Embossing Powder Tool. I also like to use a white pigment ink when I am embossing with white embossing powder. 

Next, I die-cut the “Halloween” word included in the Hey Pumpkin coordinating Doodle Cuts several times out of black cardstock, and once out of black sparkle cardstock. I adhered them stacked together with wet glue. 

I added some Prisma Glitter to the highlights of the pumpkin with a Sakura Quickie Glue Pen. I also added some Sakura Black Glaze Pen to the eyes of the cat, and the eyes and mouth to the pumpkin. 

I added the sentiments, pumpkin and speech bubbles to the card with black foam squares. I then sprinkled a few stars I cut out with the Hey Pumpkin Doodle Cuts out of black sparkle cardstock. Lastly, I added a puffy bat from the Puffy Icons Sticker sheet.


For the second card I trimmed down the Homespun 12x12 Acetate sheet to 4.25” x 5.5”. I also die-cut a stitched frame out of black sparkle cardstock. I used wet adhesive to adhere the frame to the front of the acetate panel. 

I then ink blended a background onto a piece of Distress White Heavystock with the following Distress Inks: Mustard Seed, Festive Berries, Wilted Violet. Next, I splattered some stars” with Gansai Tambi Starry Colors palette. 

I flipped the framed acetate panel over, and added 2 layers of foam strips around all four sides. I then sprinkled some Hey Pumpkin Halloween Night Shakers into the space. I also added some iridescent sequins. I then peeled the backer paper off the foam strips and adhered the ink blended background to them creating a shaker front. 


I added some Prisma Glitter to the highlights on the ghost, and “BOO” banner with a Sakura Quickie Glue Pen. I added some Sakura Black Glaze Pen to the heart and star in the speech bubbles. 

I chose a sentiment banner and some speech bubbles out of the Hey Pumpkin Chit Chat Ephemera Pack. 

I added the sentiment banner to the card front with wet glue. I added the ghost and speech bubbles with black foam squares. 

I sprinkled some candy stickers from the Puffy Icons Sticker sheet, and some stars from the October Sky Shape Sprinkles. Lastly I added some glossy accents to the glasses on the ghost. 

I am sharing the swatches of the Copic colors I used to color the images above so you can easily recreate them with the coloring medium you choose.  If you would like to learn more about coloring with Copic markers or alcohol-based markers, be sure to check out my Copic 101 online class, which includes a workbook! 

If these cards have inspired you to create with your Doodlebug Halloween stash I would love to see what you create! Be sure to tag me on social media!


DOODLEBUG PRODUCTS USED

Hey Pumpkin Collection
Hey Pumpkin Doodle Stamps & Doodle Cuts
Homespun 12x12 Acetate sheet

 OTHER

Copic Markers
Black Ink Pad (alcohol marker friendly)
Distress White Heavystock
Distress Watercolor Cardstock
Distress Inks ( mustard seed, festive berries, wilted violet)
Distress Watercolor Pencils
Gansai Tambi Starry Colors Palette
Glossy Accents
Black Sparkle Cardstock
Black Cardstock
Stitched Rectangle Frame dies
Prisma Glitter
Sakura Quickie Glue Pen
Sakura Black Glaze Pen
Black foam squares
Blender Brushes
Trimmer
Dot Runner
Glue Tube
Misti
Small Acrylic Block
Paint brush

Sunday, September 22, 2024

HEY PUMPKIN SPOOKTACULAR GREETINGS | with Guest Designer Jenn Shurkus

Hey Everyone! Jenn Shurkus here from Creative Chick Co. and a self-proclaimed Doodlebug Addict. I love everything they release and was so excited to be invited to guest design. I have two cards to share with you where I had a lot of fun mixing a bunch of products from the new Hey Pumpkin release!

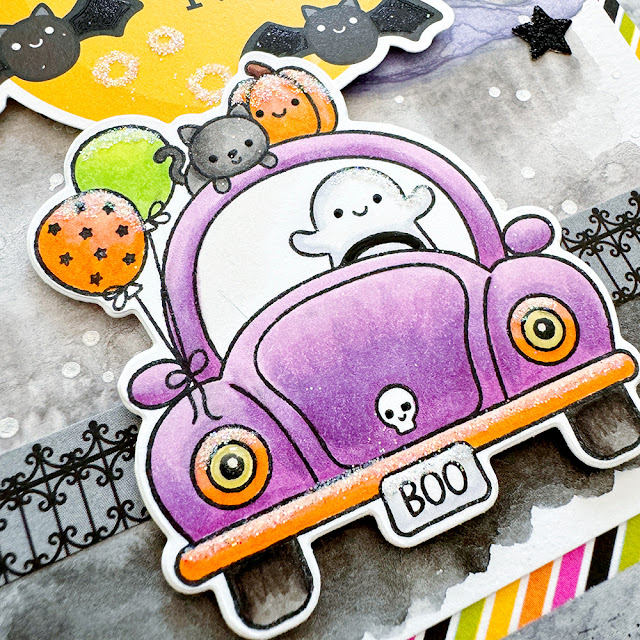
I started by stamping out the pumpkin balloon image and the car from the Hey Pumpkin Doodle Stamps and coloring them in with Copic markers which are alcohol-based markers (sharing below the specific markers I used). I die-cut it out with the coordinating Doodle Cuts. 

For the first card I ink blended a background onto a piece of Distress White Heavystock with the following Distress Inks: Mustard Seed, Festive Berries, Wilted Violet. I trimmed this background down to 4” x 5.25” and stamped some of the stars, sprinkle stamps in the Hey Pumpkin stamp set with Versafine Onyx Black ink. Next I trimmed a piece of patterned paper from the Hey Pumpkin 6x6 paper pad to 2.5” x 4” and adhered it to the bottom of the ink blended background. I matted this onto some black cardstock sized at 4.25” x 5.5”. 

Next I chose a couple sentiments to use out of the Chit Chat Ephemera Pack. I dusted the edges of the “eek” speech bubble with a little bit of Wilted Violet Distress Ink. I added some Prisma Glitter with a Sakura Quickie Glue Pen to the highlights on the pumpkin balloon, ghost, and scalloped trim on the basket. I also added a bit of sparkle to the Halloween banner, and some of the stamped images on the background.


 I used a Sakura Black Glaze Pen to trace the face on the pumpkin.

I added the pumpkin balloon, speech bubble, and sentiment banner to the card with black foam squares. I then sprinkled a few stars, dots etc. from the Puffy Icons Sticker sheet.

For the second card, I started by water coloring a spooky night scene using Distress Watercolor Pencils, and Distress Watercolor Cardstock. I dried this background, and then splattered some “stars” with Gansai Tambi Starry Colors palette. I then trimmed this background down to 4” x 5.25”.  The "b"side of the Plaid it's Halloween paper from the Hey Pumpkin 6x6 paper pad has a variety of decorative strips, from this I trimmed out the one that looks like a fence. I added this to my background. 

I matted this background onto some patterned paper from the same paper pad. 

Next, I took the large die-cut “halloween night” moon from the Hey Pumpkin Chit Chat Ephemera Pack, and added some Sakura Black Glaze Pen to the wings of the bats, and traced over the “halloween” letters. I also used a Sakura Quickie Glue Pen to add some Prisma Glitter to the details on the moon.

I also added some sparkle to the colored in car. I added it on the highlights of the pumpkin, balloons, bumper, headlights and ghost. I used a Sakura Black Glaze pen to dot the eyes of the cat, pumpkin, and ghost. I also filled in the steering wheel. 

I added the moon and car to the card with black foam squares. I then sprinkled a few stars I cut out with the Hey Pumpkin coordinating die set out of black sparkle cardstock. Lastly, I added some glossy accents to the headlights. 

I am sharing the swatches of the Copic colors I used to color the images above so you can easily recreate them with the coloring medium you choose.  If you would like to learn more about coloring with Copic markers or alcohol-based markers, be sure to check out my Copic 101 online class, which includes a workbook! 

 If these cards have inspired you to create with your Doodlebug Halloween stash I would love to see what you create! Be sure to tag me on social media!


DOODLEBUG PRODUCTS USED

Hey Pumpkin Collection
Hey Pumpkin Doodle Stamps & Doodle Cuts

 OTHER

Copic Markers
Black Ink Pad (alcohol marker friendly)
Versafine Onyx Black Ink
Distress White Heavystock
Distress Watercolor Cardstock
Distress Inks ( mustard seed, festive berries, wilted violet)
Distress Watercolor Pencils
Gansai Tambi Starry Colors Palette
Prisma Glitter
Sakura Quickie Glue Pen
Sakura Black Glaze Pen
Glossy Accents
Black Sparkle Cardstock
Black Cardstock
Black foam squares
Blender Brushes
Trimmer
Dot Runner
Glue Tube
Misti
Small Acrylic Block
Paint brush

Tuesday, May 30, 2023

DOGGONE CUTE STAMPED CARDS | with Karen

It is stampin' time! The only thing I love more than stamping is my pooch Watson (okay, there may be a few other people/things as well), so you can imagine my excitement this morning as I sat down to create some new cards with Doodlebug's Doggone Cute collection.
  All-three-1 
This time around, I wanted to feature the adorable stamp set that coordinates with this collection. Doggone Cute, the stamp set, is filled with adorable pup images that you can mix and match. I teamed them up with some of the coordinating Cards & Envelopes and the 6x6 patterned paper simply because the scale on the patterns is perfect for card making.
  Closeup-1 
I did some simple masking to add a few stamps together here - just a puppy, bunch of grass and little ball.
  Closeup-2 
But you can create something more complex too. Here I masked the pup that is in a doghouse with a tree, bone and blade of grass for a slightly bigger scene that worked better on a larger card base.
  All-three-2 
Embellish it all up with some Doodle twine and some mini paper clips and these cards do the collection name justice - they are just doggone cute! Thanks for stopping by! Hugs,


BLOG | INSTAGRAM

DOODLEBUG PRODUCTS USED

Doggone Cute Collection
Doggone Cute Doodle Stamps
Doggone Cute coordinating Cards & Envelopes
Mini Paper Clips
Doodle Twine

OTHER

Adhesive

Saturday, April 29, 2023

PRETTY KITTY STAMPED CARDS | with Karen

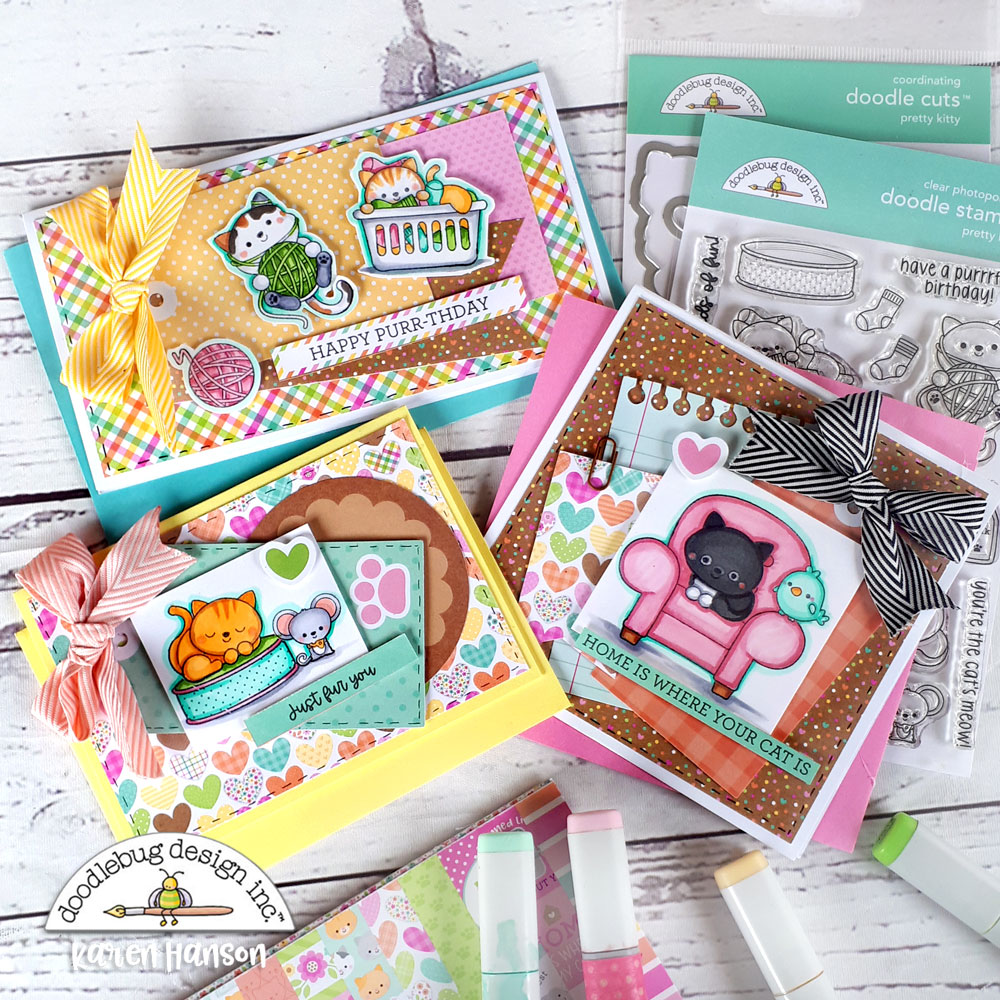
Ummmmmm...I am a dog person. I swear I am a dog person. But as a dog person, I think it is very important to make a confession here. I now want cat. You see, here is the problem. Doodlebug's new Pretty Kitty collection arrived on my doorstep and I was immediately smitten. Yup - smitten for these kittens. And now I need a cat - to justify at least 5 of these collections in my crafty stash!

all-three-Start

The good news is that I do have cat lovers in my life, so I decided to make a set of cards that I could share with them. So out came the Pretty Kitty stamps and I got to work.

Closeup-1

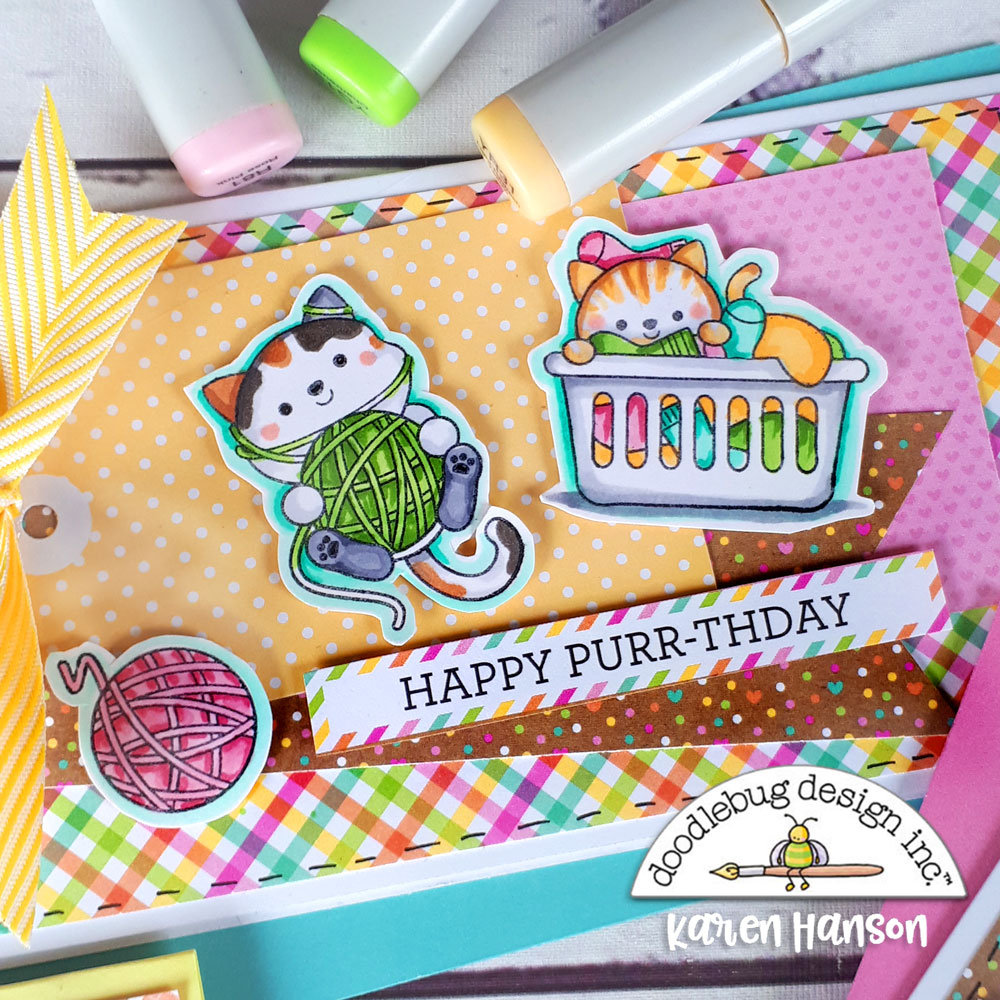
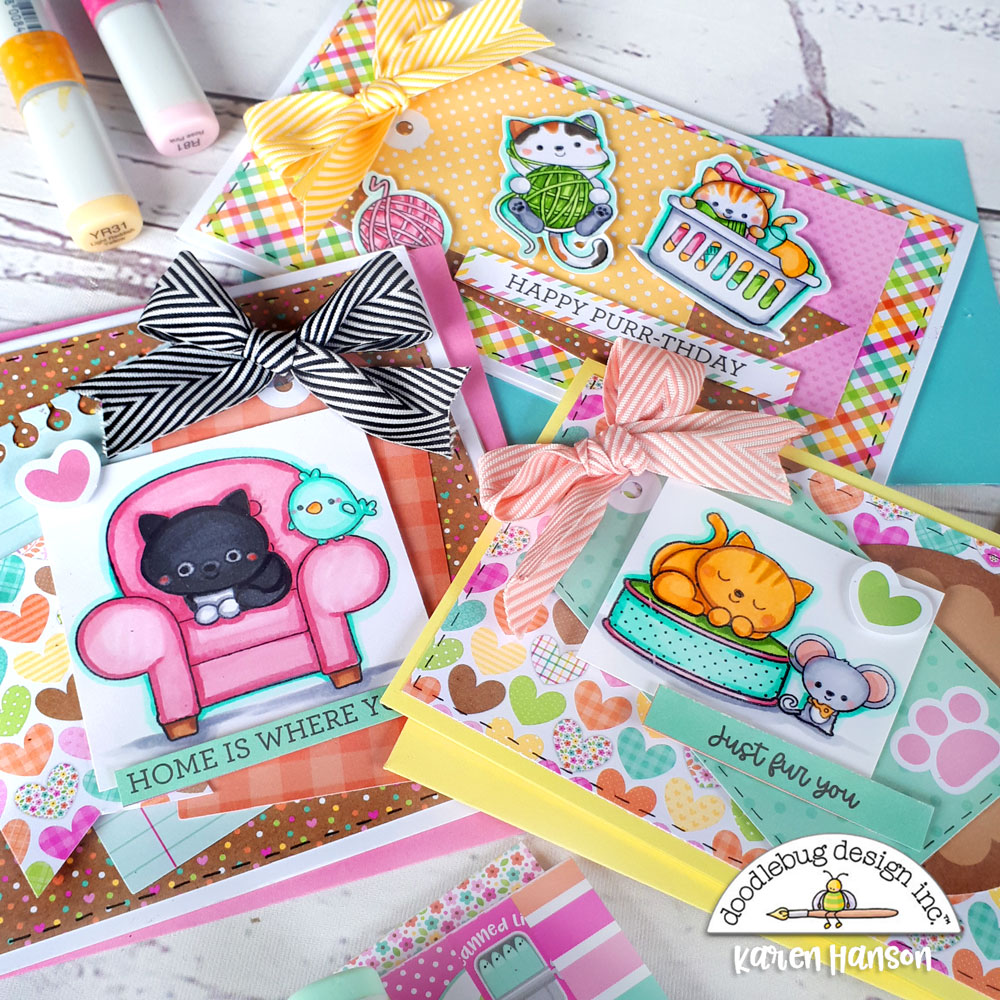
I started by layering some of the patterned papers and Bits and Pieces on the coordinating coordinating Cards and Envelopes. And then, with a little masking, I started to create a few scenes with the stamps. There are all sorts of cute stamps that you can use to layer in this set - a chair, pet bed, accessories...it really is kitty paradise.

Closeup-2

But if you are not into masking when you stamp, don't worry - the kitty stamps and accessories stand alone beautifully too! Just use the coordinating die cuts and you will be all set like I did on this card.

All-3-End

Yup - these little cuties are really calling my name. Oh Doodlebug, what have you done?! Thanks for stopping by! Hugs,


BLOG | INSTAGRAM

DOODLEBUG PRODUCTS USED

Pretty Kitty Collection
Pretty Kitty stamps
Cards and Envelopes - Pretty Kitty Assortment

OTHER

Cardstock
Adhesive
Ribbon

Tuesday, March 7, 2023

OVER THE RAINBOW SPRING CARDS | with Karen

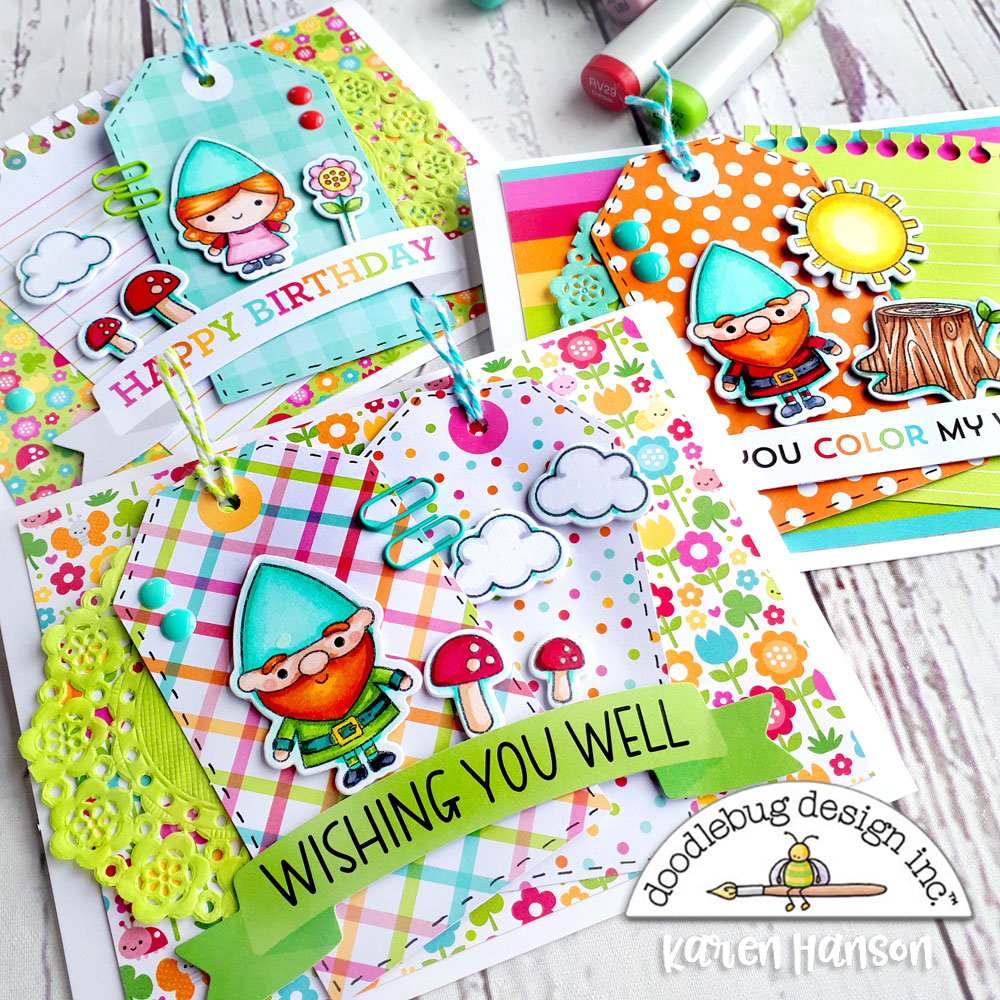
You know, as I find myself in the middle of winter, there is something hopeful about having my crafty table full of colour. The world may be white outside but inside, my space is as bright as a rainbow and it reminds me that spring time is just around the corner. And in the meantime, I can get crafty with all the Doodlebug colours, especially in the new Over the Rainbow collection. And my heart is full!

Cards-all-1

For this little card set, I decided to work with the Gnome Sweet Gnome stamps again because they were just about as cute as can be!

Closeup-1

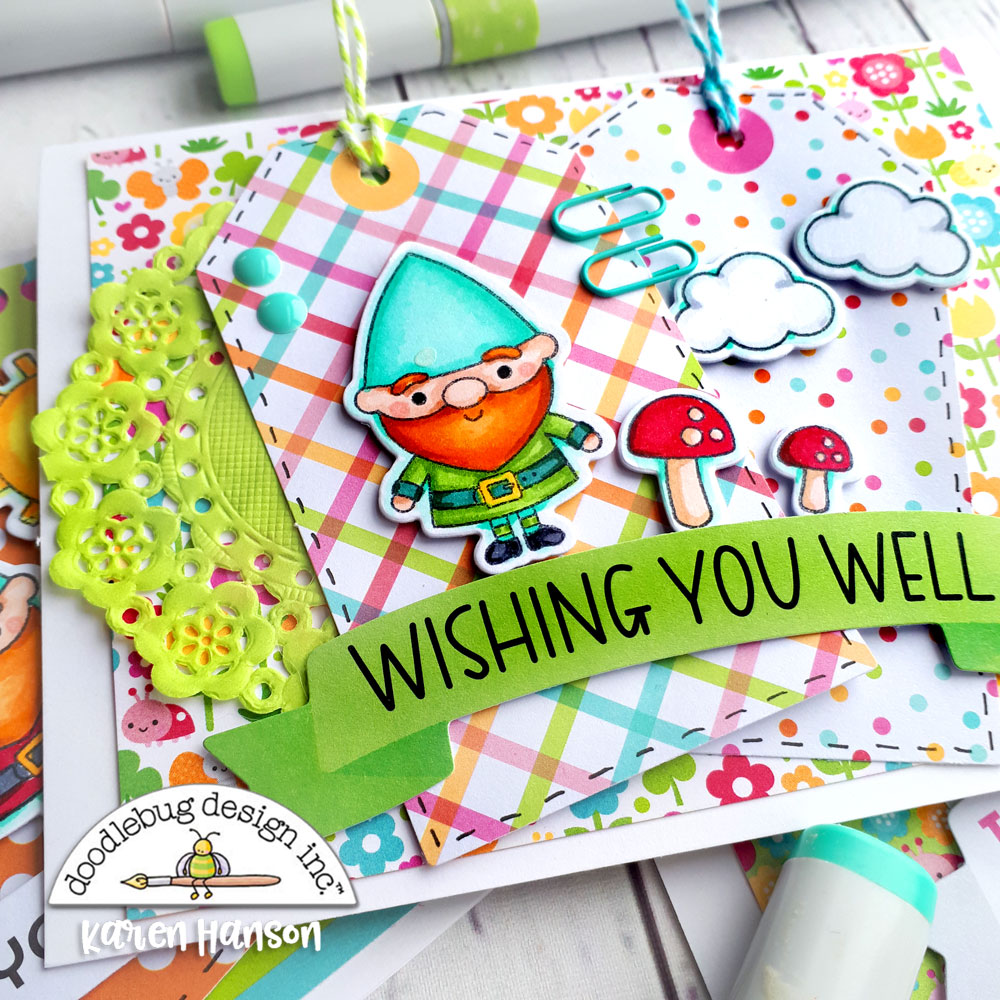
And this time, pairing them up with the coordinating die cuts made creating little scenes on my cards a breeze! A little gnome for each one and then a combination of flowers mushrooms and clouds created the perfect set for each unique card!

Closeup-2

With a few Bits and Pieces and some mini doilies I was able to do some fun layering. And the sentiments from the Odds and Ends packs together with some coordinating Sprinkles and mini paper clips finished off the design.

Cards-all-2

Wherever these little cards end up, I hope they fill up the hearts of the recipients too. If nothing else, I know these little Doodlebug characters will make them smile! Thanks for stopping by!  Hugs,


BLOG | INSTAGRAM

DOODLEBUG PRODUCTS USED
Over the Rainbow Collection
Over the Rainbow - Bits & Pieces
Gnome Sweet Gnome stamps
Gnome Sweet Gnome Die cuts

OTHER

Cardstock
Adhesive

Pin It button on image hover