Showing posts with label Flowers. Show all posts

Wednesday, March 16, 2022

SIMPLY SPRING HELLO NEW SMILE LAYOUT | with Erica

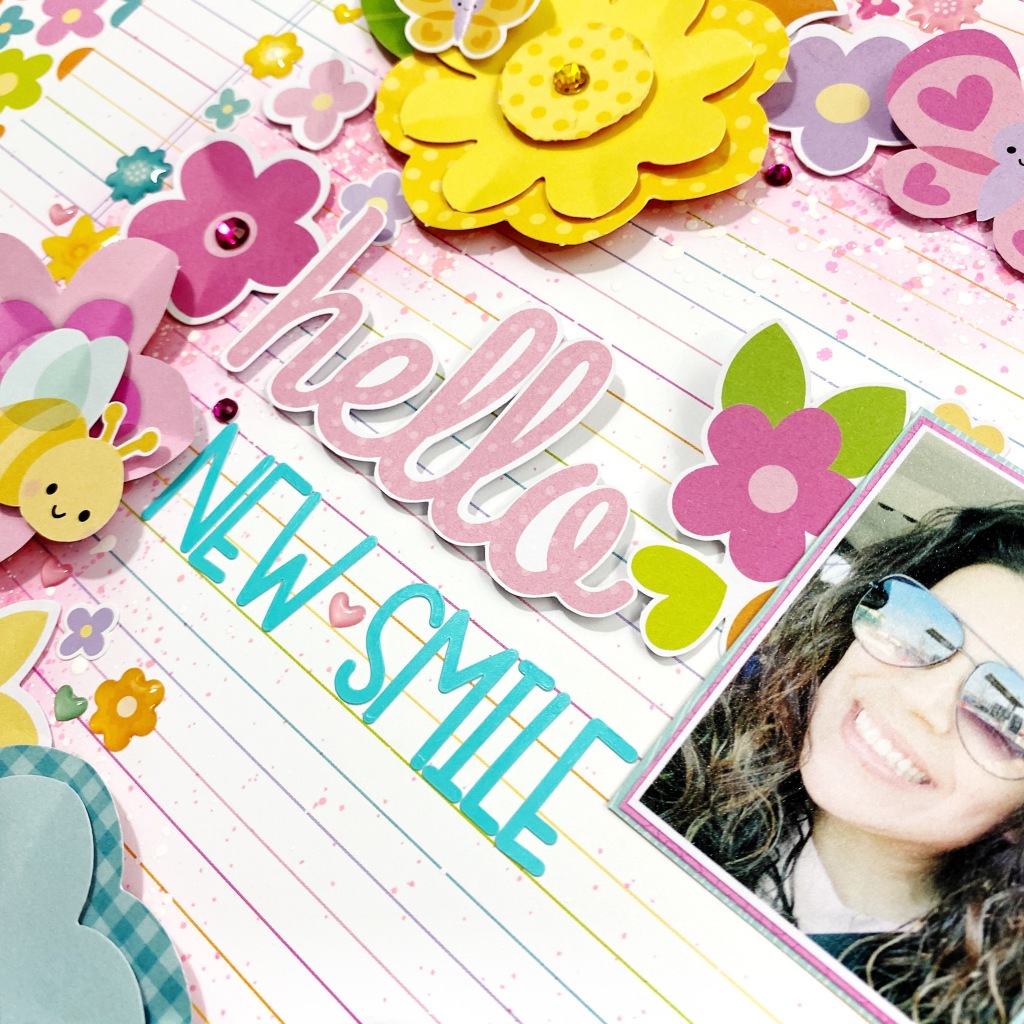
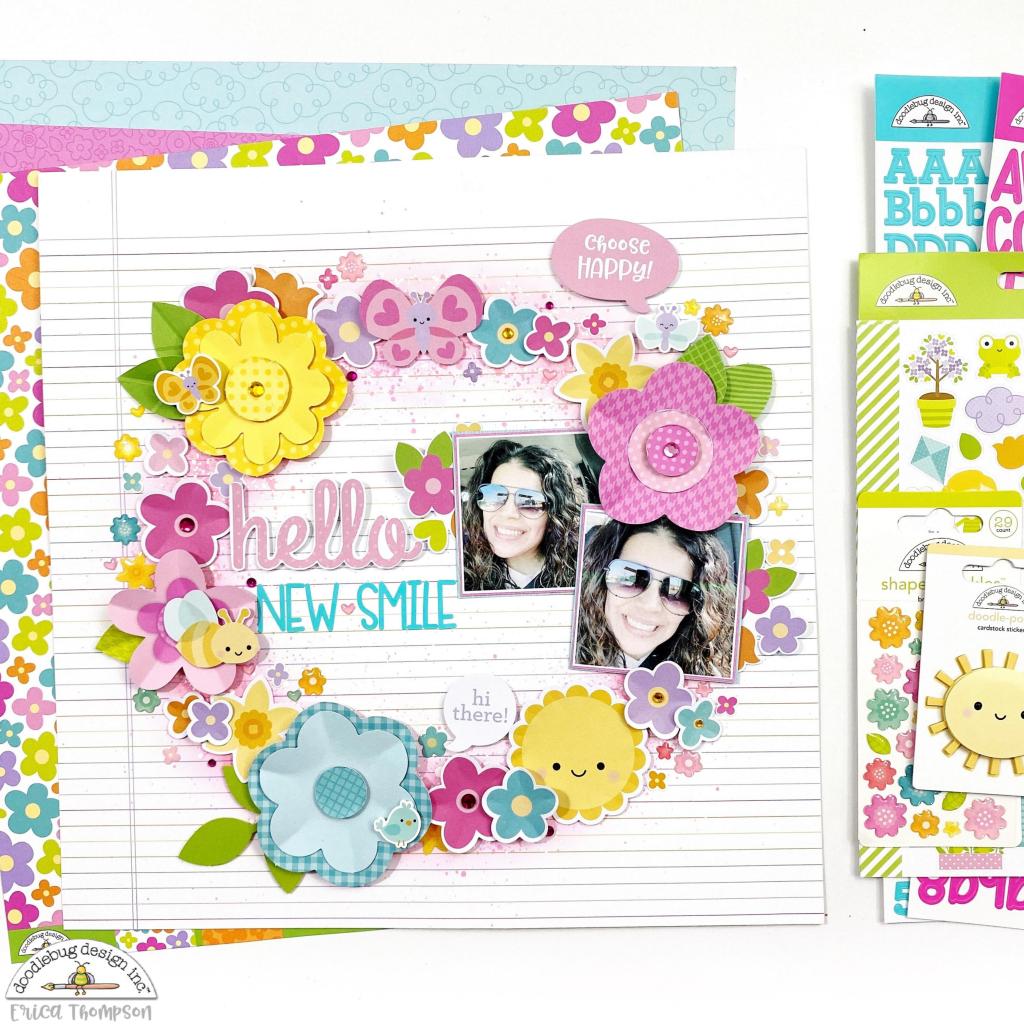
I have been waiting for the day to get my braces off and the day finally arrived!! I had to snap a photo of my new smile and create a layout to document it!

I pulled out some of the Doodlebug Design Simply Spring collection to create a bright and cheerful layout! I started by going through the die cut packs and pulling out all the flowers! I also pulled out some of the Garden flowers! I decided to go with a wreath design in the center of the page.

To add a little color to my background I used some inks.  Next I added my two photos that I matted on some patterned paper from the Simply Spring collection.

I started laying out the large Garden Flowers and popping them up with foam adhesive. I went around the wreath design with the next size flower and continued on until I got the look I wanted. I pulled out some different sprinkles to add around the wreath for some interest and texture.

To create my title I used one of the Simply Spring Chit Chat pieces and some of the Sunshine alpha stickers in Swimming Pool.

I just love how bright and colorful this layout turned out! I am super excited to finally have my braces off and show off my new smile! Thanks so much for stopping by the Doodlebug Blog today!

Doodlebug Products Used

Simply Spring Collection

Monday, February 10, 2020

LOVE NOTES THANKS A BUNCH BOX CARD | with Kathy

I love fresh flowers, they really brighten up a room.  We have a farm stand near us that sells little bunches of flowers in Mason jar vases.  They are so fun, and make the perfect gift!  When I saw the jar with flowers in the Love Notes Odds & Ends pack, I thought it would make a fun card... flowers that would always be bright and cheery!


I used a combination of Petite Prints and Love Notes Papers for the card.  The jar sides are made from transparency material.  I finished it off with a little tag from the Kissing Tag Paper and some Doodle Twine.  The card folds flat for mailing.


I created an SVG for this card and it is available exclusively in the Lori Whitlock SVG Shop.  Here is a quick tutorial to help you piece it together.

1)  Start by cutting the pieces.  Glue the jar shapes to the 2 larger transparencies.  Add the stems to the smaller transparency.  Add the flowers to the top piece and the inside pieces to the jar lid.
2)  Fold the base piece as shown.  Glue the two sides of the Jar to the base.
3)  Add the longer folded strip to the bottom of the jar, making sure it is centered.
4)  Add one of the smaller folded strips to the top of the transparency with the stems.
5)  Glue the transparency with the stems to the inside of the jar lids as shown.  Make sure it is centered.
6)  Add the cover to the Jar, gluing in place.  Add a little adhesive to the folded strip on the bottom of the card to hold the bottom of the transparency insert.
7)  Add the remaining folded strip to the back of the flowers piece and fold out the ends.  
8) Glue to the top of the jar lid, centering.

This card can be used for a number of occasions including Valentine's Day, Mother's Day, Birthdays and "just because."  If you make one, be sure to tag Doodlebug Design on Facebook and Instagram, we would love to see your creations!  That's it for me today, thanks for stopping by to peek!


Doodlebug Products Used
Love Notes Collection
Linen Gingham Petite Prints

Other
Transparencies


Thursday, January 16, 2020

LOVE NOTES FLORAL LAYOUT | with Maryám

Who doesn't love flowers?! I love flowers and that's why I was so excited to see the "I pick you" Odds & Ends set from the Love Notes Collection. Included in this set are 94 die-cut cardstock pieces with images of flowers, leaves, stems, and hearts which make them perfect to create a layout full of beautiful floral scenes.


You probably already know, but if not, one of my favorite things to incorporate into my layouts is lots of dimension and what  better way of doing this than adding some hand-stitching.


What I did was to select a bunch of pieces from the Odds & Ends set and punched some holes around them. Next, I searched in my stash for some embroidery thread and I selected the ones that were closer to the actual color of each of the pieces I was going to stitch. 

After some time, when the stitching part was done, I created a cluster on the left corner of the page where I put the flowers, and since I cannot finish a layout without adding some Sprinkles, I added a few of them around the page.


To add some extra fun, I also took some die-cuts from the "Love Notes" Odds & Ends and used the "So Sweet" from the Chit Chat set as my title.


And that is it for today! I hope you liked this project and I inspired you to create something new! If you have any questions, please leave them in the comments below and I’ll be really happy to answer them.

See you!

Doodlebug Products Used: 
Love Notes Collection

Sunday, May 19, 2019

LOVE YOU BUNCHES GIFT SET | with Tya


Don't have a green thumb? Neither do I! That's why I love these cute paper flowers that I  "planted! I thought these flowers in a painted terra cotta pot would make the perfect gift to brighten someone's day!

I made this planter out of a 3-inch terra cotta pot that I painted with some white acrylic paint and then wrapped with some Playful Plaid paper. I then selected 5 flowers and 3 leaves from the Odds and Ends.  I  trimmed some floral wire and glued the flowers to them. I added a few Sprinkles to the centers of some of the flowers and then add some green paper shreds to the pot to fill it in. There is a styrofoam piece in the center of the pot that the floral wire is sticking in.

 Close up picture of the flowers. I love those shiny Sprinkle centers!
I also whipped up a quick card to go with the flower pot. I made the card using one of the Create-A-Card bases. I  trimmed a 4x6 inch piece of the lined paper side of the Bloomin' Bugs paper. I trimmed the aqua plaid paper from the 6x6 paper pad and notched the end into a banner shape. I then added the cute scallop floral sticker from the This and That sticker sheet and added more of those cute Sprinkles to the flower centers for some dimension. I added a green heart ephemera from the Odds and Ends and the cute banner is from the Chit Chat ephemera pieces.

This was a fun little project to put together in an afternoon! Who wouldn't love a little flower pot to brighten their day and  BONUS - no watering! LOL!  Thank you so much for stopping by the blog today! Happy Crafting!

DOODLEBUG SUPPLIES USED:
Simply Spring Playful Plaid pattern paper
Simply Spring Bloomin' Bugs pattern paper
Simply Spring Odds and  Ends
Simply Spring Chit Chat
Simply Spring This and  That Sticker sheet
Simply Spring 6x6 paper pad
Various Sprinkle Enamel Dots
Create A Card- Bubblegum Swiss Dot

OTHER SUPPLIES:
3-inch Terra Cotta Pot
White Acrylic Paint
Paintbrush
Floral wire
Styrofoam circle for inside of pot
Green Paper Shred

Friday, August 19, 2011

Twine Technique: Pom Pom Tutorial

There is nothing better then something soft and fluffy coupled with bright and fun! That's what we have when you combine the new Doodle Twines with the Petite Print papers and my Cricut machine. Here's a close-up of the project, but you can scroll down and see the whole project. But first, I was so excited to share this new technique I learned, pom pom making!!

I just received my first set of Doodle Twin and new this was the perfect project to create with using this fun product.

And I thought it would be fun to give you some sort of size reference, so these are my most favorite Fiskar scissors next to one of the new Doodle Twin Spools. Isn't it the yummiest little spool of twine??


I saw this fun idea one day when I was surfing around Pinterest and have been dieing to give it a try with the new Doodle Twines. It's super easy and you'll love the end result.

Step 1: Wrap twine around fork.


Step 2: Wrap it 20-25 times around the fork.

Step 3: Cut a small piece of twine and thread through center of fork and tie around both sides of twine and tie into square knot.


Step 4: Pull off fork and it should look like this.

Step 5: Cut through loops and it should look like this...but wait you're not done.

Step 6: Fluff pom pom as much as you can and then start trimming until it starts to take ball foam.

Here is used the new Flower Shoppe Cricut Cartridge to create these 3D flowers, which were perfect for my fun mini pom poms. Once they were assembled (see steps above), I simply threaded them through the center holes of the flowers and hot glued into place.

I thought it would be fun to decorate this $1.00 frame from Ikea. I didn't have a good photo or quote to add to the center yet, but the start of my craft is by far the fun pom pom flower centers. 

Let us know if you try this fun Doodle Twine Technique!! Post your pictures to our Facebook wall too and we can all enjoy your creations inspired by this post today. 

Have a great weekend!
Pin It button on image hover