Do you have a loved one who has just had surgery or a hospital visit? The Happy Healing collection is perfect if you want to document these memories, sometimes these aren't always happy memories but sometimes they are! In my case, my Dad has just had a hip operation and visiting him in hospital was good for him. He is recovering so well from his operation which is awesome!
Saturday, May 4, 2024
HAPPY HEALING RECOVERY LAYOUT | with Tarrah
Wednesday, October 4, 2023
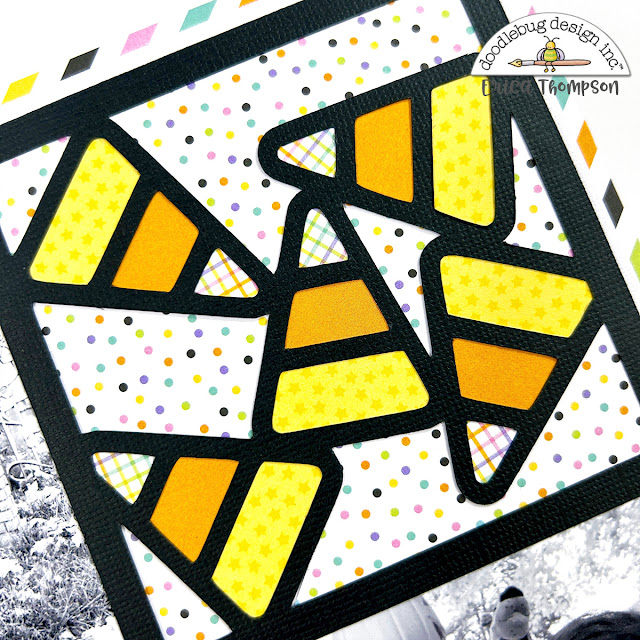
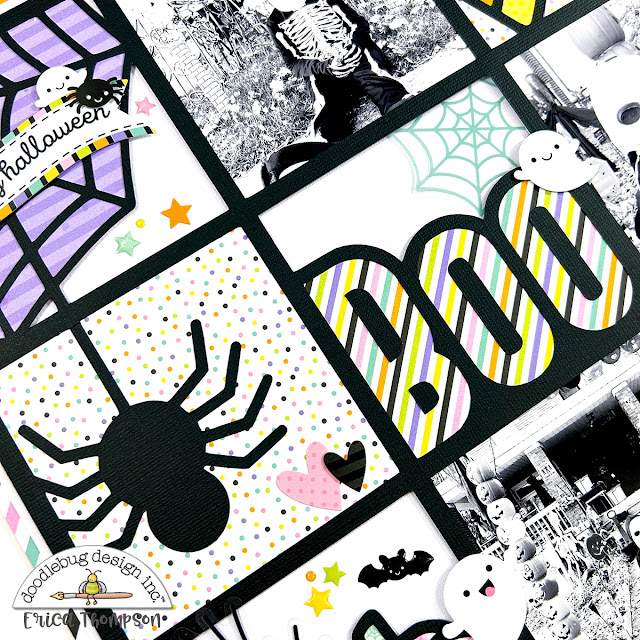
SWEET & SPOOKY HALLOWEEN GRID LAYOUT | with Erica
One of my favorite designs to work with is a grid design! I knew this spooky grid cut file would be the perfect match with the new Sweet & Spooky collection!
I cut out the file with some black textured cardstock. It is going to really help the layout pop with the colors in the Sweet & Spooky collection!
I used the Sweet & Spooky 6x6 paper pad to back some of the squares in the grid cut file and placed my black and white photos in the open squares.
Once the file was backed I adhered it to a piece of white cardstock and then matted it onto this gorgeous Candy Sticks 12x12 striped paper from Doodlebug Design.
Next I went in with some of the embellishments from the Sweet and Spooky collection! I love the acetate pieces from the Odds & Ends and the fun Doodle pops!
We are so excited for spooky season and our little Liam can’t wait to get dressed up and go trick-or-treating! I love how this layout turned out! Such a fun way to document your photos and create little scenes in each square!
Thank so much for stopping by the blog today! I hope you are inspired to create with the Sweet & Spooky collection!
Tuesday, August 29, 2023
HELLO AGAIN GOOD COFFEE TIMES LAYOUT | with Nathalie
Raise your hand if you love coffee as much as I do! I can sincerely say that it is my favorite drink and addiction. So, imagine how happy I was to find all the coffee icons in the Hello Again collection, and used them to document my coffee routine.
I am using Alphabet Soup Puffy Alpha Stickers and Puffy Stickers to number each of the coffee cups in their corresponding order. I added a few gems to the tags that do not have photos in them!
To complete the page, I once again mixed Bits and Pieces, Chit Chat, and Alpha Stickers to create my title at the bottom of the page. A few extra sprinkles complete the page.
I love how this turned out! My coffee cup pictures truly shine with all the beautiful patterns and colors from the gorgeous Hello Again collection. Be sure to check it out! XO
DOODLEBUG PRODUCTS USED
Hello Again Collection
Sprinkles
Floral Graph Petite Prints
Alphabet Soup Stickers
Thursday, August 24, 2023
HELLO AGAIN USING 6x6 PAPER ON 12x12 LAYOUTS | With Traci
Hi everyone! Traci here and today I have two colorful 12x12 scrapbook layouts to share with you. My focus was to use paper from the Hello Again 6x6 paper pad in a creative way so that they'd coordinate and each have a unique design. Take a look ...
For both layouts, I used the 12x12 Patchwork Plaid print as the base. It has all the gorgeous Hello Again colors and the geometric pattern makes for a great background.
On this first page, I added a sheet of lily white card stock. Next, I cut the 6x6 paper into squares (2 3/4"x 2 3/4") and then cut them in half diagonally. I arranged the pieces in a heart shape ... like a quilt pattern!
For embellishments, I added the super cute Bit of Happiness Doodle-pops. I'm loving the metallic gold! I also used some die cuts from the Odds & Ends, Chit Chat, and a few word stickers from the This and That sheet. Finally, I sprinkled around a few gold hearts from the puffy shapes and ... she was complete!
For the second page, I
added the petite prints candy stripe & sprinkles in bubblegum and
another piece of lily white card stock. I created my favorite grid
layout and used the 6x6 pattern paper for my nine 3 1/4 x 3 1/4"
squares.
I used lots of goodies on this layout. The books in the photo above are from the icon
stickers. The butterflies are from the Odds & Ends. Then, I added
the gold puffy hearts and a beautiful gold enamel dot sprinkle.
In another square, I used the globe from the Odds & Ends and added the Love You piece from the Chit Chat on top. And ... more gold enamel dot sprinkles, of course!
I love creating different projects with the Hello Again collection. Such pretty colors, icons, and touches of gold. I hope this collection and these pages inspire you to use your 6x6 paper pads on 12x12 layouts! Happy scrappin'!
Sunday, August 13, 2023
HELLO AGAIN JUST BE YOU LAYOUT | with Tya
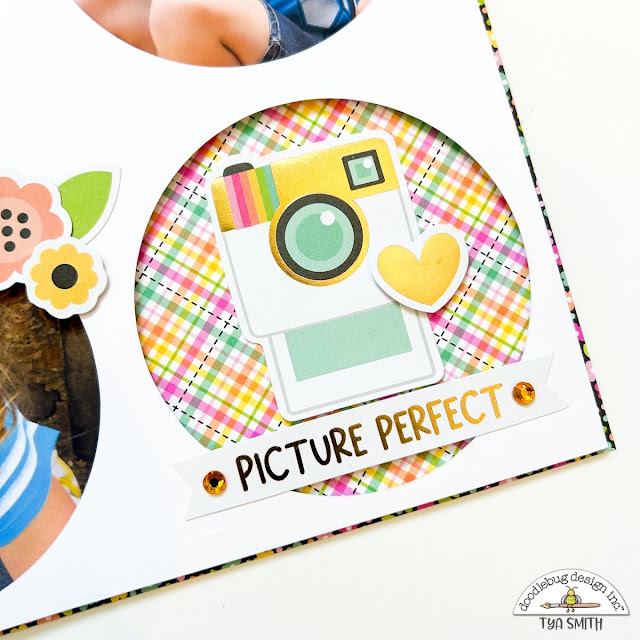
Looking for a fun way to add lots of embellishments to your layouts? Try making a circle grid layout! I am back today sharing another layout featuring the simply lovely "Hello Again" collection! I have mentioned before that Doodlebug really knows how to do embellishments right!! The array offered makes creating layouts so much fun because of the endless possibilities! You can mix and match all different types of embellishments! I am showcasing this design type here with my layout today
Wednesday, May 31, 2023
DOGGONE CUTE I LOVE MY PUPPY LAYOUT | with Erica
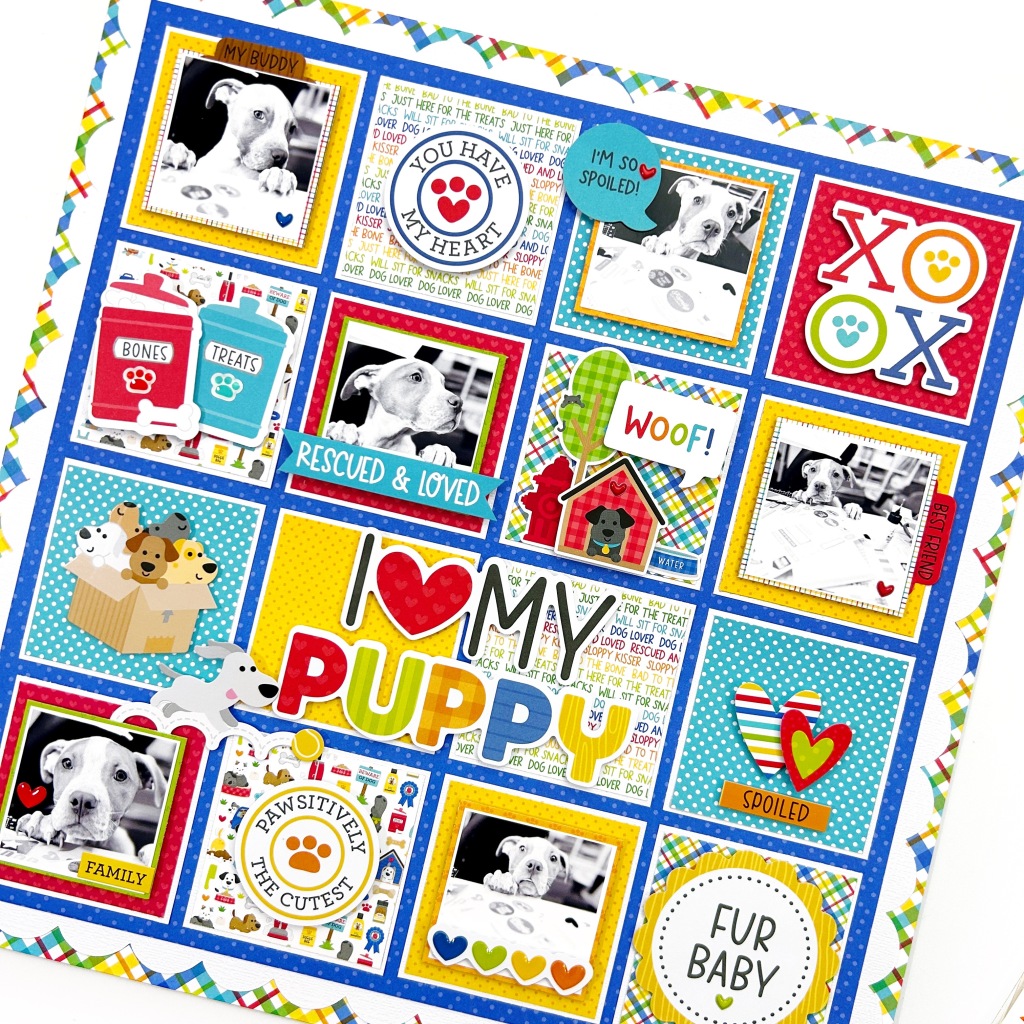
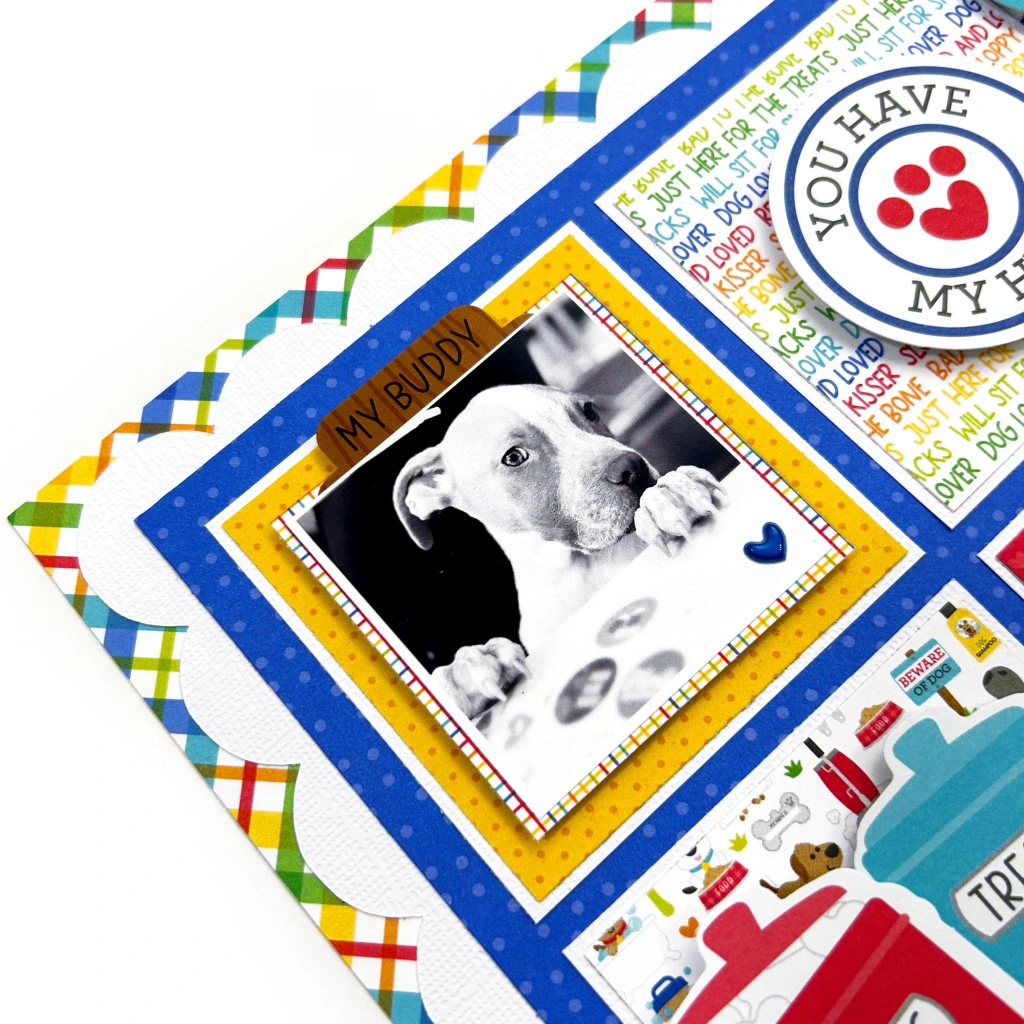
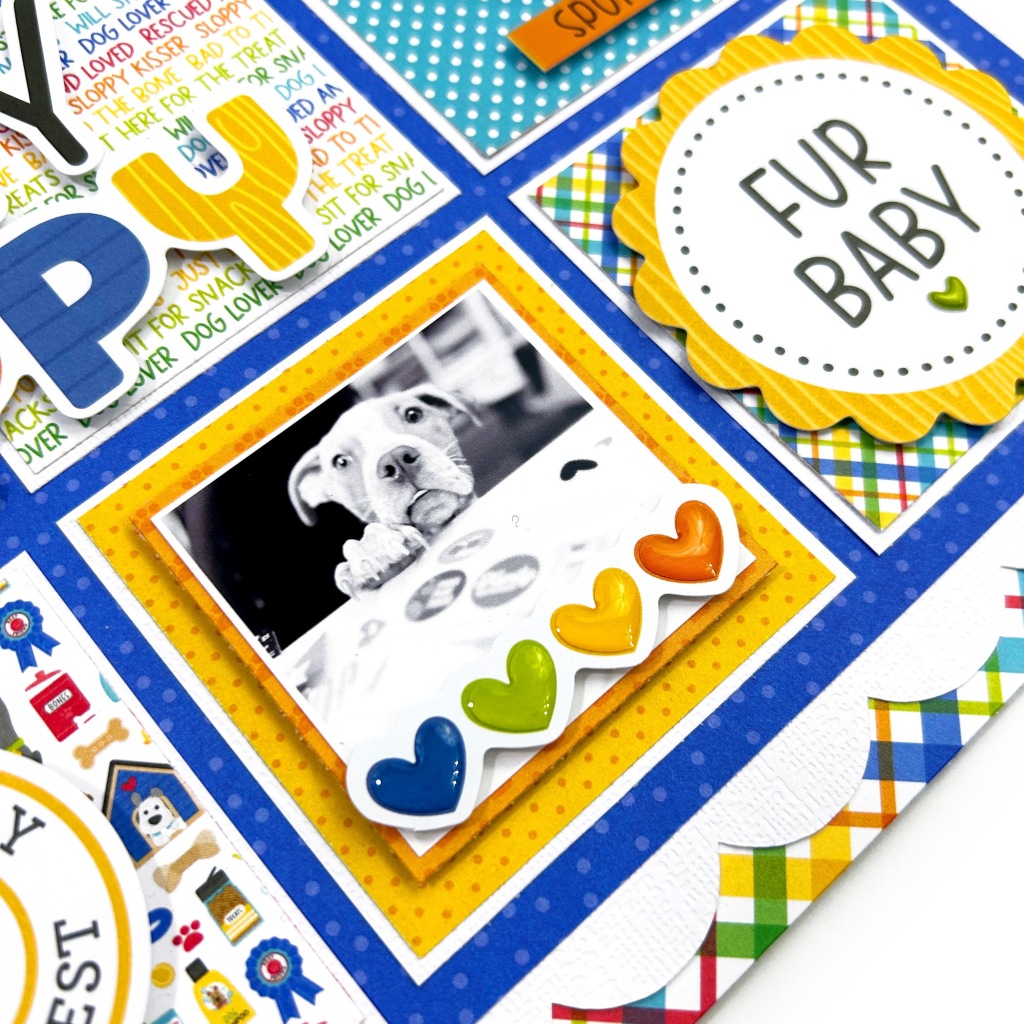
We are having the best time with our new puppy Apollo and I have so many photos of his adventures! The Doggone Cute collection is perfect to document our sweet and very curious Apollo!
I had 6 photos of our curious little guy that I snapped when he jumped up to see what I was working on one night in my office. He has the cutest little face and he did try to run off with some scraps of paper. I knew a grid layout would be a great way to document these sweet photos!
I started with the playful plaid 12x12 paper from the Doggone Cute collection as my base and adhered this fun Scallop Background Cut file. I love the little detail it adds around the layout. Next I layered a 11x11 piece of Blue Jean Candy Stripe-Sprinkles Petite Prints.
Each white square is 2.50" x 2.50" and the pattern paper mat is 2 3/8" x 2 3/8". All of my photo mats are 2" x 2" and popped up on foam adhesive.
I embellished around each square with Doggone Cut icon stickers, odds & ends, chit chat pieces and sprinkles!
Grid designs are a great way to create multi-photo layouts! You can add a lot of fun color and pattern on one 12x12 layout and document a ton of photos! I love adding little details around each square on the grid!
I added 6 photos to my grid but this design has room for 16 photos! That is a lot of photos on one layout!
To finish up my layout I created my title with chit chat pieces from the Doggone Cute collection.
Thank you so much for stopping by the Doodlebug Blog today! I hope you are inspired to create using this grid design! I would love to see how many photos you can get on one 12x12 layout!
DOODLEBUG PRODUCTS USED
Doggone Cute Collection
OTHER
Thursday, February 23, 2023
OVER THE RAINBOW YOU COLOR MY WORLD LAYOUT | With Traci
Hey everyone! Today, I'm sharing a colorful 12x12 layout that's perfect for spring! I was inspired by an older Doodlebug scrapbook page designed by Tonya Prawitt. Scrolling through Pinterest, I saw her layout and knew I had to scraplift the idea of these little Polaroid photos. So cute and you know me, I love a grid and straight lines!
For this project, I chose lots of colorful papers and embellishments from the Over the Rainbow collection. I started by layering two 12x12 prints - Shine Bright (stripes) and Gnome Sweet Gnome (hearts).
Next, I cut 18 rectangles out of white card stock that were 2" x 2.5" to create the Polaroids. I picked out 4 photos that I wanted to use but, you could choose as many as you'd like. I trimmed the photos and lots of pretty pattern papers to 1.75" x 1.75" and adhered them to the white mats.
Now for the really fun part ... embellishing! I used so many goodies from the icon AND mini icon stickers, puffy stickers, sprinkles (rainbow assortment dots and spring garden flowers), and the This & That stickers.
I just love all the details the different stickers add to the page. I layered them using enamel shapes and other pieces. I added foam tape behind some to give them dimension. The butterfly above looks like she's flying!
The flower title originally said Thinking of you. I changed it by covering the words with a green scallop sticker from the this and that sheet, and the You Color My World piece from chit chat. Love how those flower sprinkles shine!
Here's Tonya's cute dog themed layout that inspired me. I hope you have fun with this page and enjoy using all the cuteness in the Over the Rainbow Collection!
Over The Rainbow Collection




.png)
.png)
.png)
.png)
.png)







.jpeg)