Showing posts with label Kay Miller. Show all posts

Tuesday, May 14, 2019

STAMPING ROCKETS, PLANETS AND ALIENS | fun cards with Kay

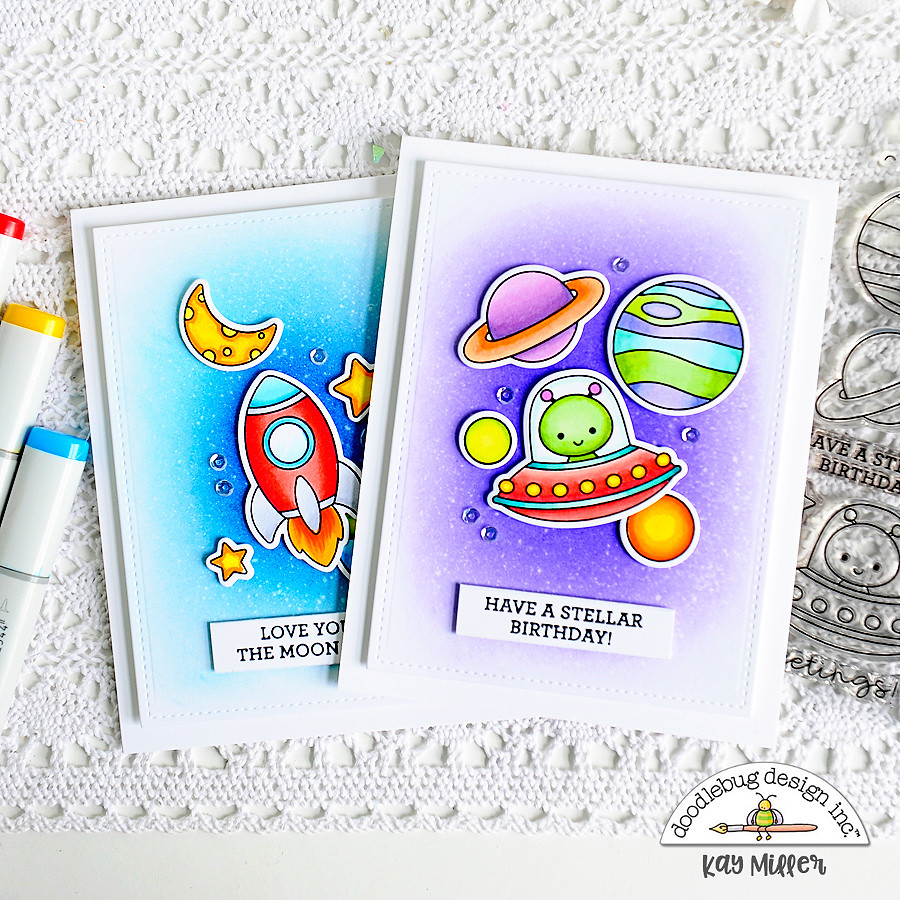
Hi there! I have a couple of fun cards to share with you today that I created with the adorable Far Out Stamp set and coordinating dies.


For my first card, I created the background by blending Distress ink onto Bristol Board card stock and sprinkling with water. All of the images were colored with Copic markers, cut out with the coordinating dies, and adhered with foam tape.


I added a few clear sequins around to finish it up and give the illusion of a few more stars out there :)


My second card, I did pretty much exactly as the first one, blending purple Distress inks for my background instead of the blue.  Again, all of the cute images were colored with Copic markers, cut out with the coordinating dies, and added with foam tape.


Thanks so much for stopping by!

Doodlebug Supplies Used:
Far Out Stamp set
Far Out Dies


Friday, May 10, 2019

YOU'RE SWEET STAMPS & CUTS | with Kay

Hi there! I have a couple of cards to share with you today that I created with the adorable You're Sweet Stamp set from Doodlebug Designs. This stamp set coordinates with the French Kiss Collection, and has so many fun images!


For my first card, I blended Distress inks onto some Bristol Board Card stock and spritzed with water. I cut this out with a stitched circle die and mounted it onto my A2 white card base. I added the sentient banner from the Card stock stickers underneath with foam tape.


The cute images were all colored with Copic markers, cut out with the coordinating dies, and added to the card with foam tape.


For my second card, I blended some aqua dye ink onto the panel of my card for the background. All of the images were colored with Copic markers, cut out with the coordinating dies and adhered with foam tape. I cut the little floral bouquet apart, and added part of it to the top of the sentiment.


Thanks so much for stopping by!

Doodlebug Supplies Used:
You're Sweet Stamp set
You're Sweet Die set
French Kiss This & That Card Stock Stickers


Friday, April 26, 2019

SIMPLY SPRING | Stamped Tags with Kay

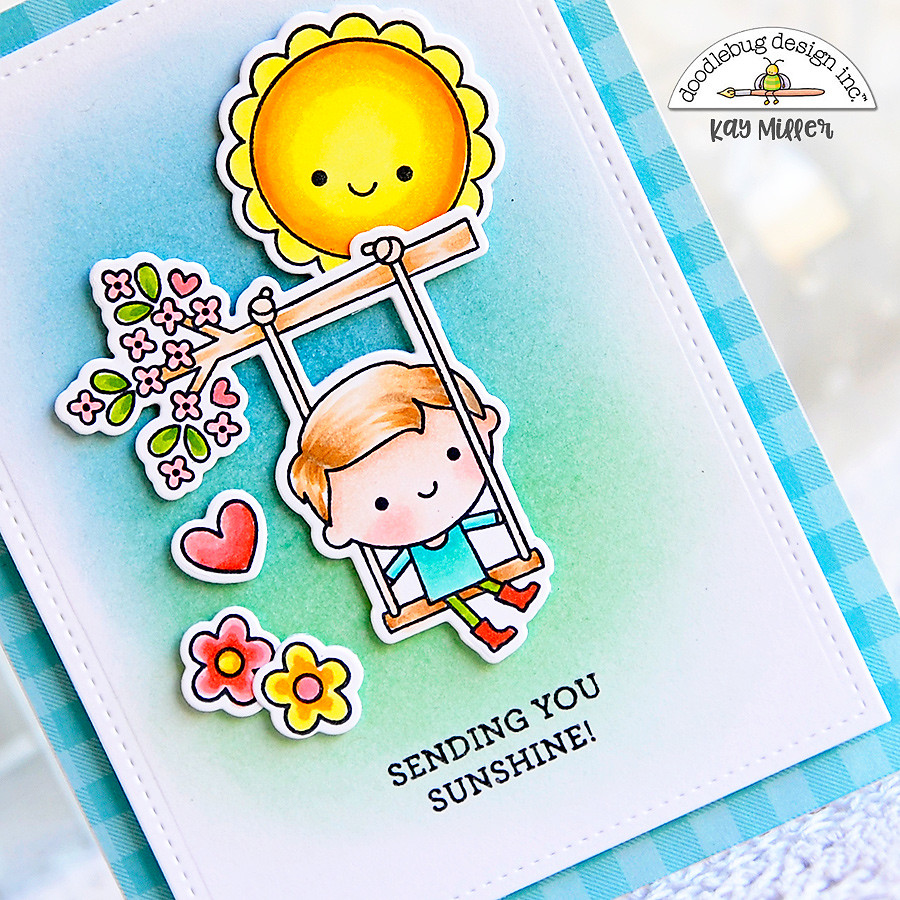
Hi there! I have some cute tags to share with you today that I created with the Flower Girl and Oh Boy stamp sets from Doodlebug Designs. I loved the smaller images included in the sets and really wanted to focus on those for my project, so I made some tags!


For my first two tags, I used a large die and decorated the top and bottom with paper from the Gingham-Linen Rainbow Petite Prints 6x6 paper pad. 


I used a circle stencil to blend a bit of blue ink in the center to create a focal point for the cute images. All of the images were colored with Copic markers, cut out with the coordinating dies, and added with foam tape. I used the tiny clothes pins and twine at the top.


The second two tags are a little bit smaller.  I used the same paper pack but decorated them a little differently. 


I used the Simply Spring This & That Card Stock Stickers for the sentiments and added some Sprinkles to the top corners. 


Doodlebug Designs Products Used:

Oh Boy Stamps
Oh Boy Dies
Flower Girl Stamps
Flower Girl Dies
Simply Spring 6x6 paper pad
Gingham-Linen Rainbow Petite Prints 6x6 paper pad
Doodle Twine: Swimming Pool, Bubble Gum, Beetle Black
Mini Clothes Pins: Limeade, Bubblegum, Bumblebee, Black & White
Bubblegum Sprinkles
Limeade Sprinkles

Thanks so much for stopping by!

BLOG | FACEBOOK | INSTAGRAM

Friday, April 12, 2019

HOPPY EASTER | Easter Cards with Kay

Hi there! These adorable little bunnies from the new Hoppy Easter Stamp set hopped right into my heart! They are so cute! This stamp set makes adorable Easter cards, but also has some fun sentiments that make it perfect for  many other occasions too.

For my first card, I watercolored the background using Distress inks and the sprinkled with water. The sweet little images were all colored with Copic markers, cut out with the coordinating dies, and added to the card with foam tape.


For my second card, I used some papers from the Hoppy Easter 6x6 paper pad and from the Floral Graph Rainbow Petite Prints 6x6 pad. I also die cut some clouds for the background.


All of the cute images were colored with Copic markers, cut out with the coordinating dies, and added with foam tape.
Doodlebug Designs Supplies Used:
Hoppy Easter Stamp set
Hoppy Easter Die set
Hoppy Easter 6x6 paper pad
Foral-Graph Rainbow Petite Prints 6x6 paper pad

Thanks so much for stopping by!

Friday, March 29, 2019

SIMPLY SPRING | Stamping with Kay

Hi there! I'm excited to share a couple of cards with you today that I created with the super cute new stamps from the Simply Spring Collection. There are two stamp sets, Flower Girl and Oh Boy! I made a card featuring each set, but used stamps from both sets on each of them. They go together perfectly!


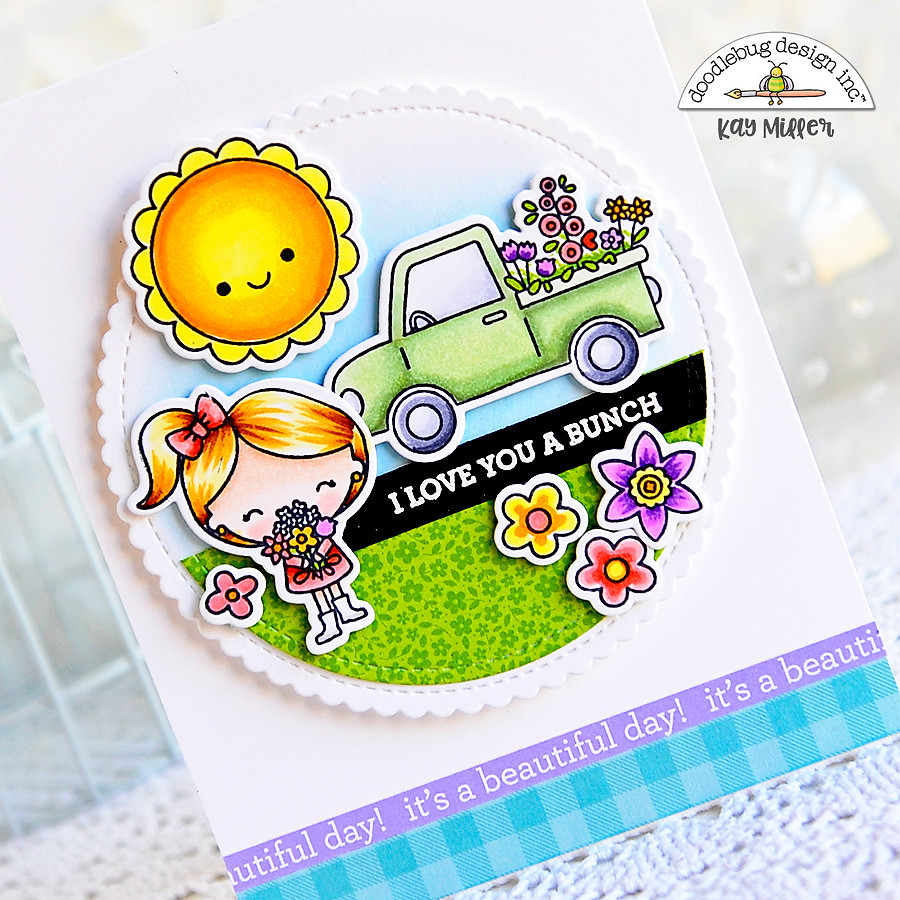
So my first card is using primarily stamps from the Flower Girl stamp set along with the coordinating dies. I used a scalloped circle die to create a background. I blended some distress in along the top, and added some grass along the bottom by cutting out a half circle of green patterned paper from the Floral-Graph Rainbow Petite prints paper pack. 

The two papers along the bottom of the card are from the 6x6 Simply Spring paper pack. All of the cute images were colored with Copic markers, cut out with the coordinating dies, and added to the card with foam tape. The sentiment was heat embossed with white embossing powder.

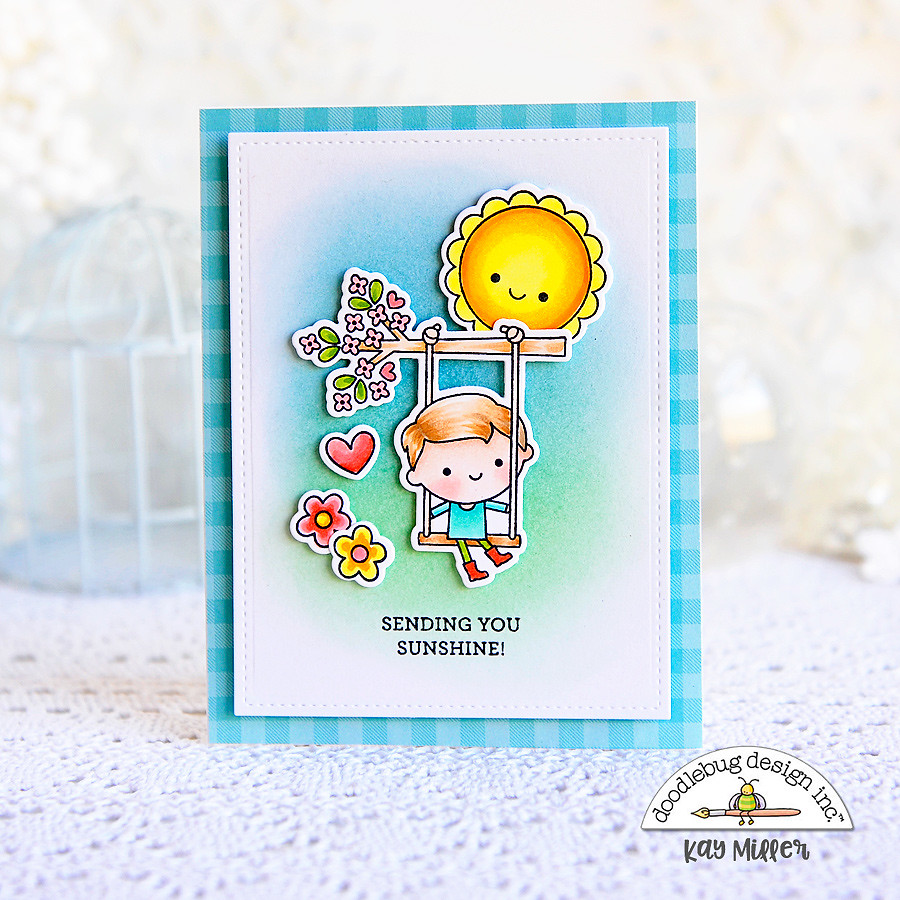
My second card features mostly stamps from the Oh Boy! stamp set. I created a soft background by blending some blue and green Distress inks onto my white background. I mounted this onto an A2 size card base covered with patterned paper from the 6x6 Simply Spring paper pack. 


All of the cute images were colored with Copic markers, cut out with the matching dies, and added to the card with foam tape. 


I hope you have enjoyed my cards today!
Thanks so much for stopping by!


Doodlebug Supplies used:
Flower Girl Stamp set
Flower Girl Dies
Oh Boy! Stamp Set
Oh Boy! Dies
Simply Spring 6x6 paper pad
Floral Graph Rainbow Petite Prints Paper pad


Friday, March 15, 2019

LOTS O' LUCK - Stamping | with Kay

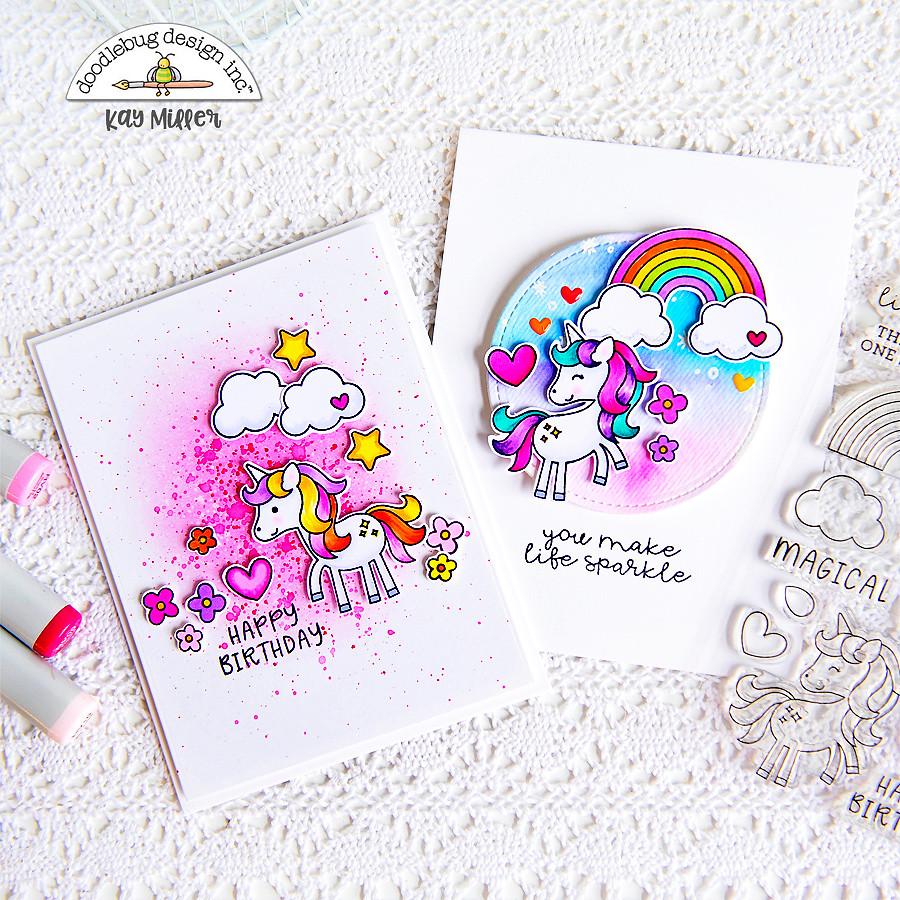
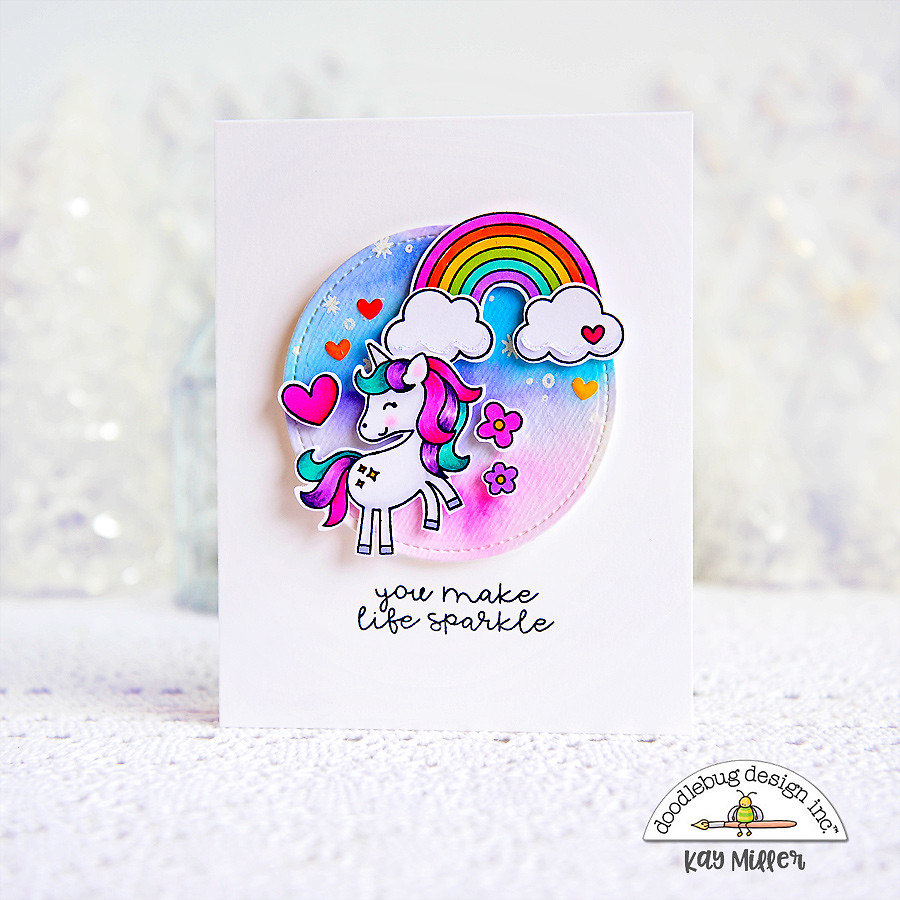
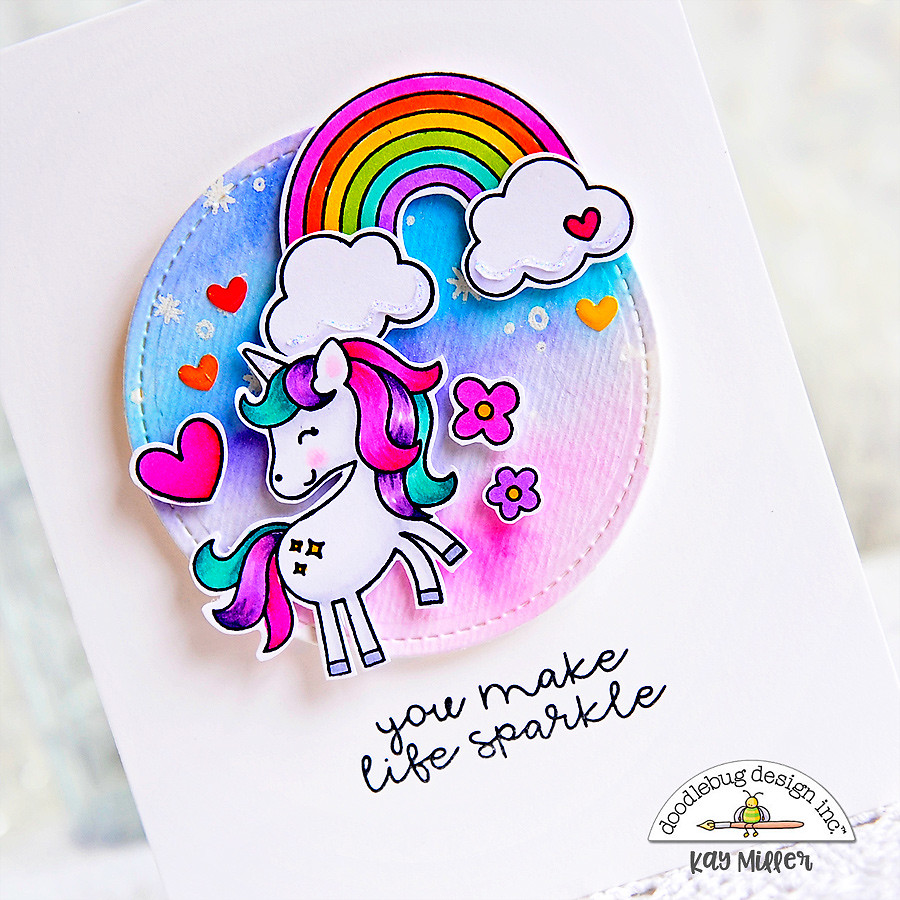
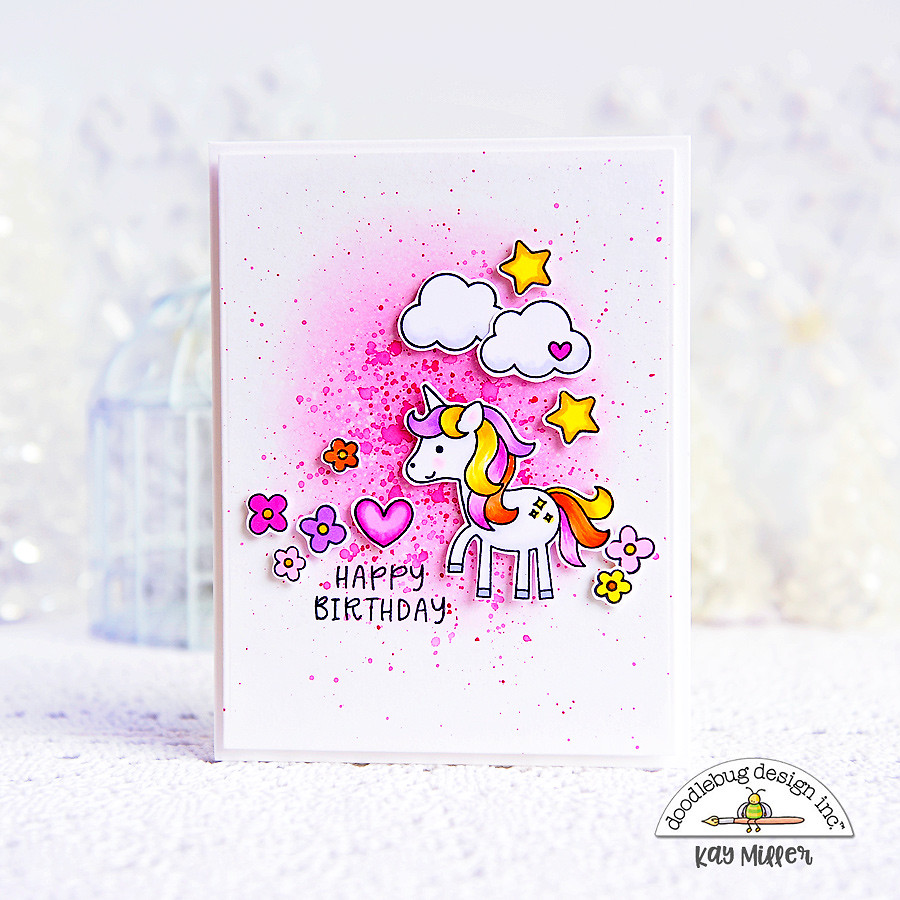
Hi there! I cannot tell you how excited I was when I found out that Doodlebug Designs was coming out with stamps and dies! To have their adorable designs in stamps that I can color over and over is a dream come true! I am thrilled to be sharing my first cards with their new stamps set Rainbows & Unicorns!
These stamps do have coordinating dies, but at the time I made these cards, they had not shipped yet, so I fussy cut all of the images you see here.
So for my first card, I watercolored a background, and cut it out with a stitched circle die. I mounted that to my card front. The cute images were colored with Copic markers, cut out by hand, and added to the card with foam tape. 
I stamped the sentiment underneath, and I added some stickies glitter to the clouds and the unicorn's horn.


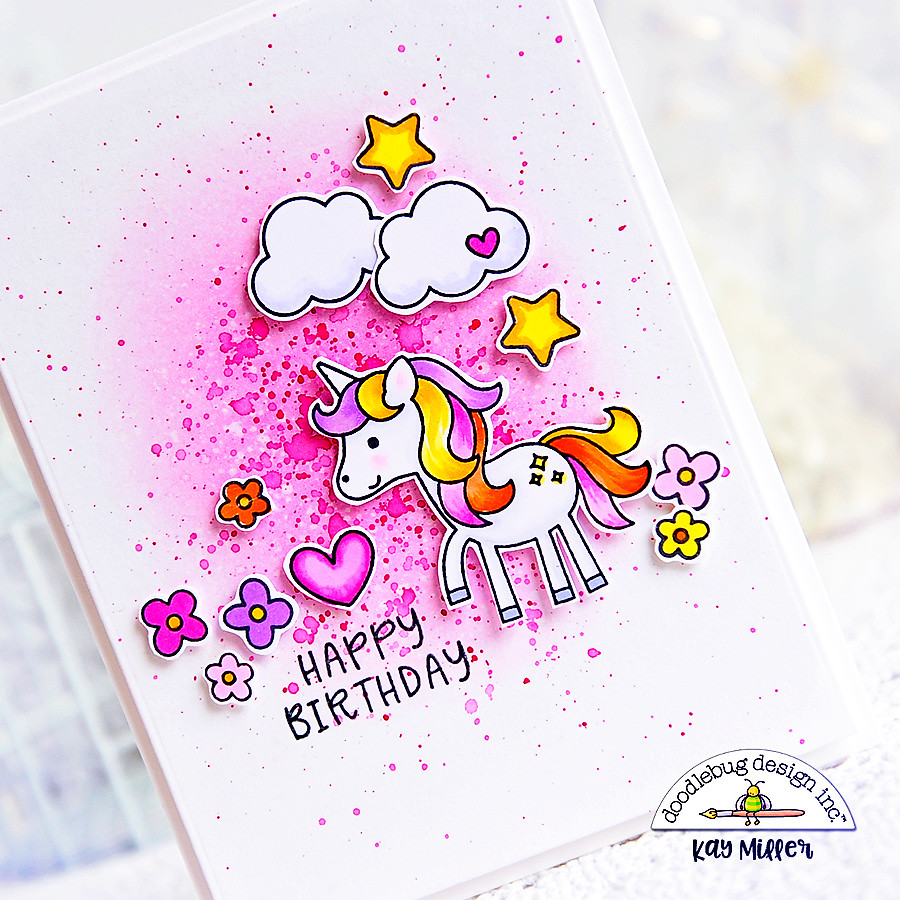
For my second card, I blended some Distress ink onto my card front, then speckled with the same color mixed with a little water.  After this dried I stamped the sentiment with black ink. All of the images were colored with Copic markers, cut out by hand, and added to the card with foam tape. 
I hope you have enjoyed my cards today! I am so looking forward to sharing more cards made with all the new Doodlebug Designs stamps and dies! They are so fun!


Thanks so much for stopping by!


Doodlebug Designs Supplies used:
Rainbows & Unicorns stamp Set
Shape Sprinkles Rainbow Hearts

Friday, February 8, 2019

FRENCH KISS Cute Card Set | with Kay

Hi there! I have a fun set of cards I created with the new French Kiss Collection from Doodlebug Designs! Although the kids are pretty much grown, and I am no longer scrapbooking, I do still love patterned paper, and all the fun scrapbooking embellishments. They are perfect for creating quick and super cute cards!


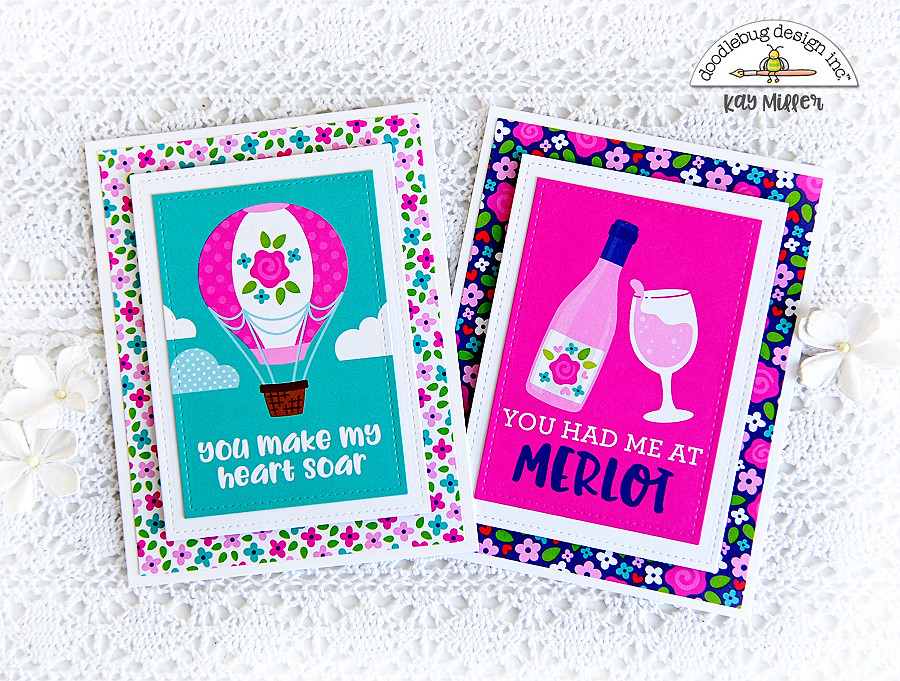
I used the French Kiss 12 x 12 and 6 x 6 paper pads for these cards. I created two 5 1/2 x 4 1/4, and four smaller 3 3/4 x 4 3/4 ones. 

These are the two larger ones, and for these I used the sheet of 3 x 4 cards. I cut them apart and then cut them out with a stitched rectangle die. I layered these on another piece of white card stock cut out with  the stitched rectangle die, and then onto a card base covered with some of the patterned papers.


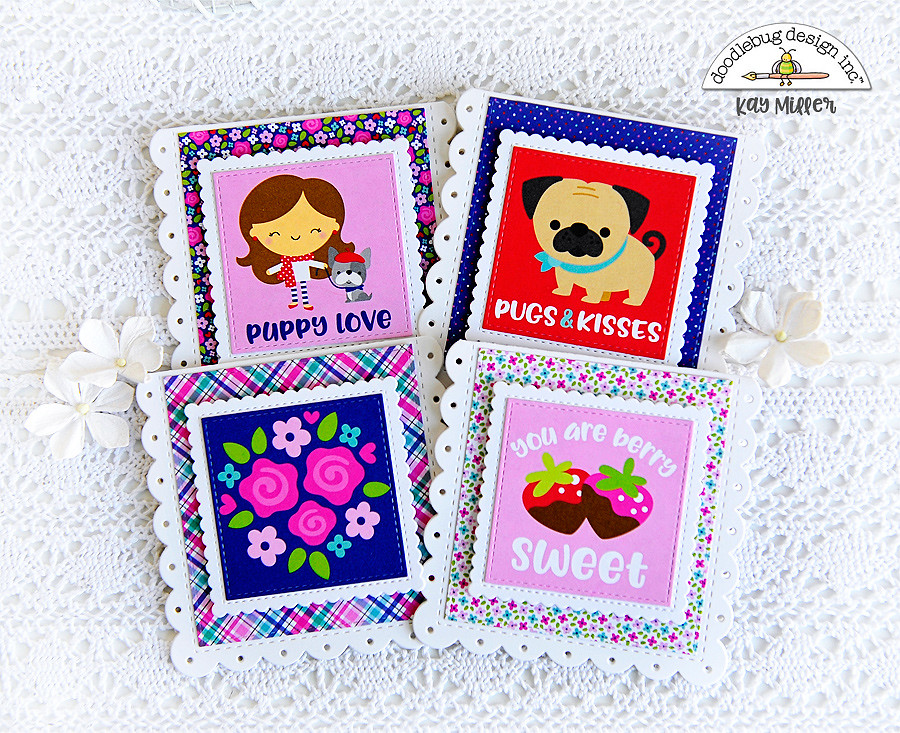
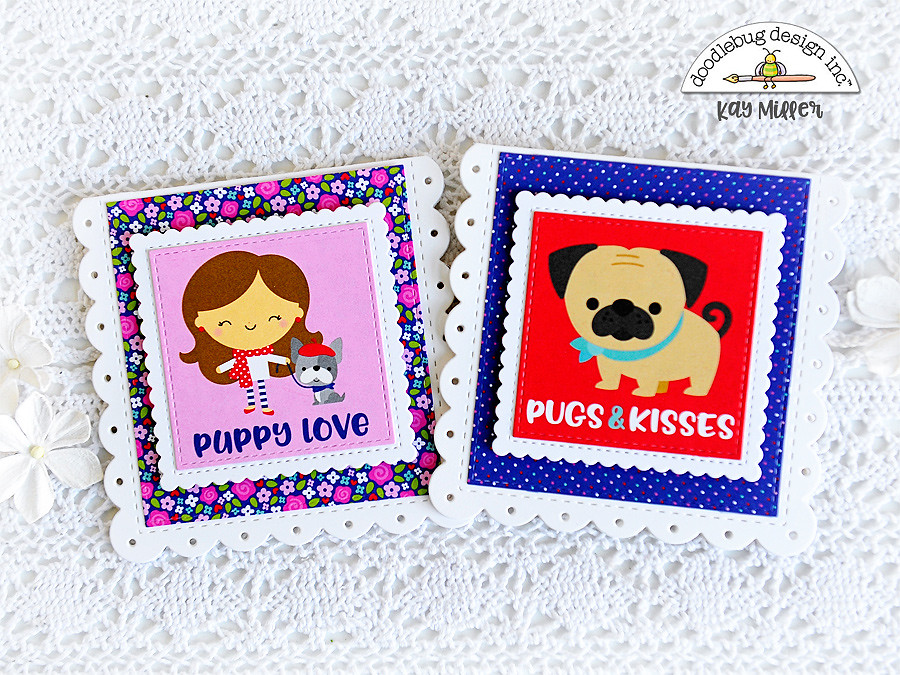
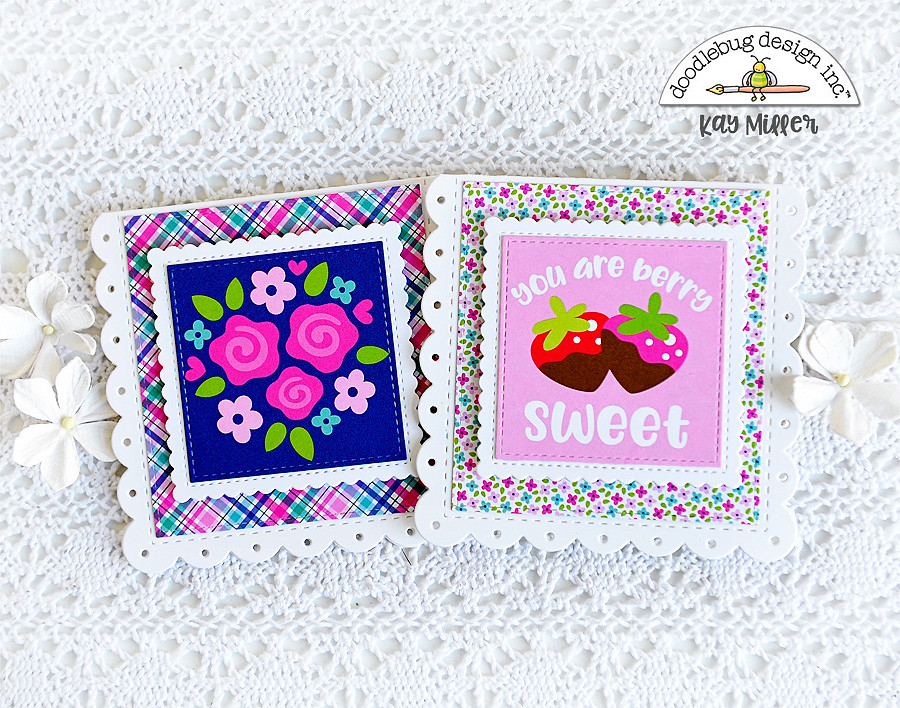
These are the four smaller ones each measuring 3 3/4 x 3 3/4 inches. I used the smaller cards that measure 2 1/4 x 2 1/4.


 I used some scalloped white note cards, cut out some of the patterned papers from the French Kiss 6 x 6 paper pad, and adhered these to the front.


I cut out the  smaller cards and adhered these to square scalloped white card stock die cuts. I then mounted these onto the card fronts with foam tape for dimension. 

Doodlebug Designs Supplies:
French Kiss 12x12 Paper Pack
French Kiss 6x6 Paper Pad

Friday, January 25, 2019

FRENCH KISS Cut File Card Set | with Kay

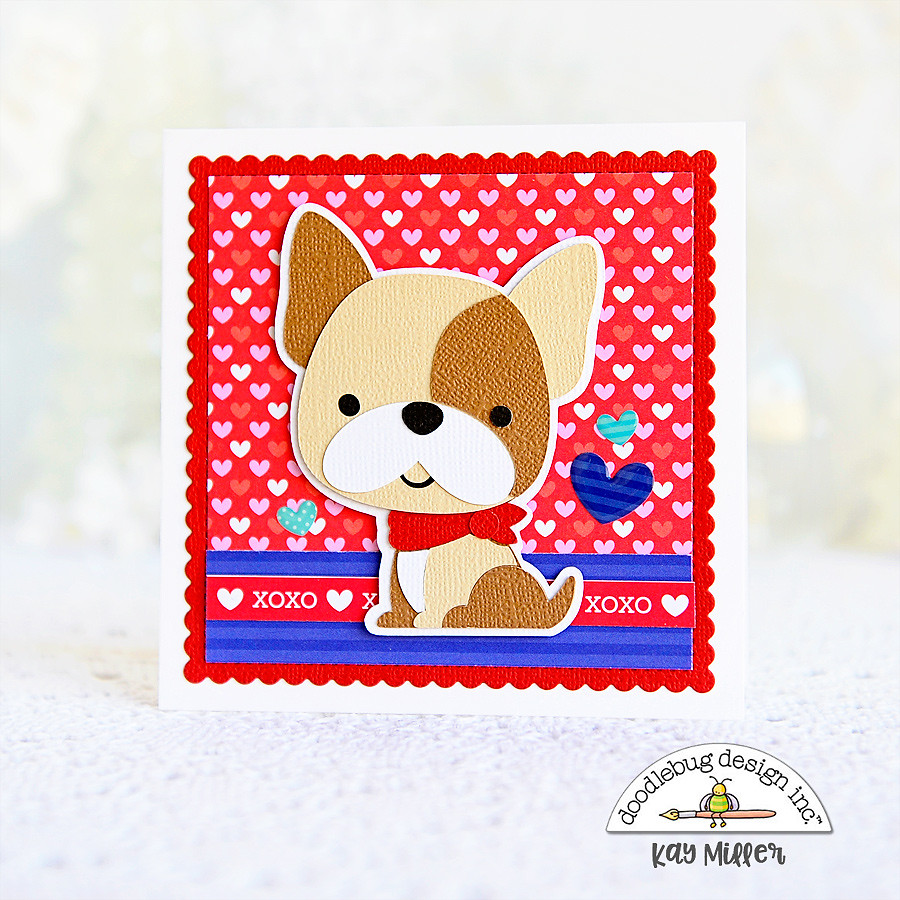
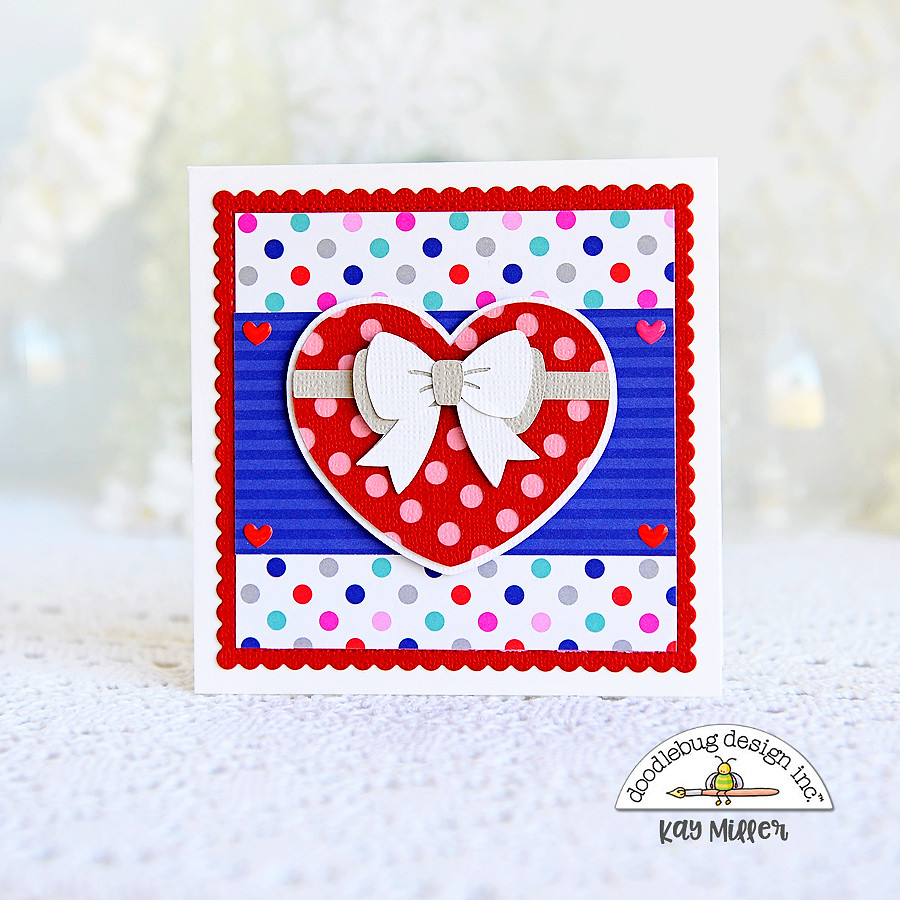
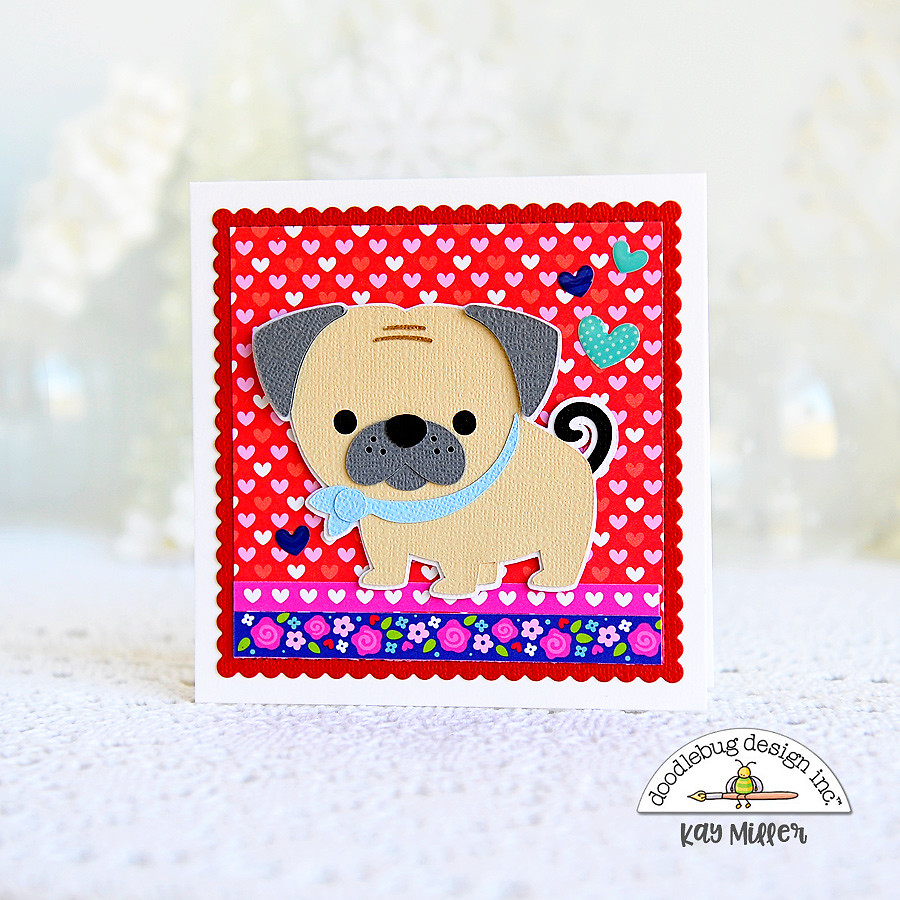
Hi there! I have a fun set of four cards to share with you today using the Newest Collection from Doodlebug Designs, French Kiss. These adorable cards would be great for Valentines, gift tags, or to slip into the lunchbox for a fun surprise! I used the new French Kiss SVG cut files, and cut all the cute designs out with my Silhouette Cameo.

I absolutely love the puppies! I couldn't wait to cut them out and put them together! I used the the Doodlebug Designs textured card stock to cut the designs out of. It cuts super nice in the Cameo.

The cards each measure 4 1/4 x 4 1/4. This is the perfect size to still fit into an A2 size envelope.


I used patterned paper from the 6x6 12x12 French Kiss Double Sided Cardstock Paper pads to layer some papers to create the background for each of the cards. 


I also used the Shape Sprinkles Heart Throb and Baby Hearts to add the tiny hearts to the corners and also around the dogs.


I love the page of borders hat comes in the paper pads! They are perfect to cut and use for borders on your cards and projects!

I hope you have enjoyed my cards today!
Thanks so much for stopping by!

Doodlebug Designs Supplies used:
Textured Cardstock
6x6 French Kiss Paper Pad
12x12 French Kiss Paper Pad
Shape Sprinkles Heart Throb
Shape Sprinkles Baby Hearts
French Kiss Cut Files


Sunday, January 13, 2019

FRENCH KISS Card Inspiration | with Kay and Karen

KAY MILLER:
Valentines day is rapidly approaching and the new French Kiss collection is so perfect for creating some quick, easy and super fun cards to share with your family and friends! These are even easy enough that the kids could make them for their classmates! 

For my first card, I used the Simply Spring Cards & Envelopes. I used some patterned paper from the French Kiss 6x6 paper pad and layered that across the card front. I added the cute puppy and other elements with foam tape to make them pop.


For this card, I used paper from the French Kiss 6x6 paper pad. I used the clouds for the background and cut a strip of the blue for the street. I then added the cute elements with foam tape. I added a few Shape Sprinkles baby hearts above the girl’s head.


Doodlebug Supply List:

French Kiss 6 x 6 Paper Pad
Cards & Envelopes Simply Spring Assortment
Matte Sprinkles Love Assortment
Shape Sprinkles baby hearts
French Kiss Chit Chat
French Kiss Odds & Ends

I hope you have enjoyed my card today! Thanks so much for stopping by!


KAREN HANSON:
Although French Kiss is the cutest Valentine-themed collection ever, I decided to create some general purpose cards.  This collection is a great way to show you love someone any time of the year, on their birthdays or simply as a way of saying "hello".
Both of these cards utilize a step-card design which gave me plenty of space to use a handful of the adorable Odds and Ends die cuts on each.  This collection is definitely going to be on my crafty table year round...if I don't use it all up by the end of the month first!


Doodlebug Supply List:

Pin It button on image hover