Showing posts with label North Pole Collection. Show all posts

Tuesday, December 18, 2012

12 Days of Christmas - Day 9 with Tiffany


I've been wanting to make this Advent Calendar since I got my Silhouette for Christmas last year.  This was last year's advent calendar sold by Silhouette, and it's great because the boxes are big enough for decent size treats (for those of us with a sweet tooth) or even little gifts.  I made the boxes with white paper because I didn't want to use up all my cute patterned paper where you wouldn't see it, but then I covered the fronts with patterned paper and punched the tab with a 3/4" circle punch.
Even if you can't get one of these Silhouette advent calendars, there are lots of different companies that sell ready-to-embellish advent calendars of all shapes and sizes, some that look a lot like this one.  Just pick one up and then pick up the North Pole collection from Doodlebug, lots of letter stickers, twine, pearls, jewels, and go to town!


I guess this is a lesson in embellishment.  When embellishing something like this I like to stick to a color palette of 3-4 main colors.  That way it won't look more busy than it already will :)  In this case: red, green, white, and grey.


Then just think of ways to add interest by adding the following:
Twine
Jewels
Pearls
Buttons
Brads
Glitter
Stickers
Die Cuts
Number and/or letter stickers
and my favorite thing in the world:  Dimensional foam adhesive

Just make sure you're spreading out your colors evenly, and add texture with crushed velvet number stickers and twine, dimension with dimensional adhesives, and voila!

Supplies:
In a Flurry cardstock, Christmas Cheer cardstock, Santa's Scarf cardstock, Playful Pines cardstock, Frosty Friends cardstock, Holly-Days cardstock, Festive Frames cardstock, Sweet Tweets Cardstock, North Pole Cute Cuts, Jewels-Christmas Assortment, Mini Pearls-Christmas Assortment, Festive Flock Mini Doodle-Pops, Flurry Pops Mini Doodle-Pops, Snow Buddies Mini Doodle-Pops, Doodletwine-Christmas Assortment, North Pole cardstock sticker, North Pole Frames cardstock sticker, North Pole Party Banner cardstock sticker, Doodle Twine Alphabet stickers-Ladybug, Shin-Dig Crushed Velvet Alphabet stickers-Beetle Black/Ladybug/Lily White, Teensy Type Alphabet stickers-Limeade/Ladybug/Beetle Black, Jack & Jill Alphabet stickers-Beetle Black, Candy Shoppe Alphabet stickers-Beetle Black, Candy Shoppe Sugar Coated Alphabet stickers- Beetle Black/Ladybug  

Monday, December 17, 2012

12 Days of Christmas - Day 8 with Wendy

Hello there, Doodlebug friends!  It’s Wendy Sue here today – sharing a fun little holiday project.  I created this fun glittery snowflake garland using lots of colorful doodlebug supplies.  It was quick and easy – and would have been a great project to do with the kids!


I started by cutting out the snowflake shapes (from white cardstock) with my Silhouette Cameo, but if you don’t have one you could certainly cut them out by hand.  Next, I applied liquid glue with a sponge brush, then sprinkled sugar coating glitter to cover each snowflake.  After each snowflake was dry, I flipped it over and did the back (this step is optional and I probably didn’t need to do it since the back is against the door – but if you were putting it in a window or some other spot where the back was visible, you’d definitely want to cover the back.)


After the glue was dried and the glitter was all cleaned up (I know, who am I kidding…glitter is never completely cleaned up!), I started embellishing the centers of some of my flakes.  Some of them have sweet little snowflake braddies added.  Other have slightly larger, and oh so fun, doodle-pops in the center.


After the embellishments were added, I glued them all to a long piece of doodle twine with a hot glue gun.


…and hung the finished garland on the door.  Now I’m loving how it looks as we add holiday cards to the door, one by one.


One of my favorite things about this banner is that it will remain on this door throughout January, since it’s not necessarily a “holiday"/christmas” ornament – but a colorful WINTER decoration instead!!
Hope your winter is full of glitter and bright colors too!
Supplies:  cardstock: lily white; sugar coated glitter (metallic assortment & glitter assortment); boutique brads (holiday assortment); braddies (frosty flakes); doodle-pops (snowman, mr. penguin, snowflake)

Friday, December 14, 2012

12 Days of Christmas - Day 7 with Kandis

by Kandis Smith

I'm always needing little tags--especially around Christmas time! They are perfect for any gift, goodie bag, or plate of treats. I created these three for some plates I'll be bringing to my neighbors this year--I always like to add a little creative touch to them!


Tags are the easiest to make! You can use some pre-made tags from the office supply store or make your own. I created these with my Silhouette using a tag shape. It was fast and easy--plus the Doodlebug paper comes double sided so you can use either one!


I used the North Pole collection on all of these. The best part is that the collection has it all--diecuts, stickers, letter stickers, pop ups, patterned paper, twine, etc! Everything you need to make a ton of tags!


This is just the beginning for me--I need to make a bunch more! So grab out your collection and get to work--I promise it wont take long!

Thursday, December 13, 2012

12 Days of Christmas at Doodlebug - Day 6 with Ro

by Ro Philippsen

For me and my family Christmas is the most magical and the most wonderful time of the year. I have a feeling that when December begins, something really magical surrounds our lives: the magic of Christmas...I really believe that! It is when we gather with family to celebrate peace and love, this is the greatest message we receive from God.

And one of the things I find most symbolic about Christmas is the Advent Calendar, that doing the countdown, we feel the magic taking our hearts day after day.

Every year I like to do a new Advent Calendar, it's like renewing my faith, so this year I decided to do something interesting, I using  empty tape rolls, like the ones you see in the image.

During the year I kept all empty rolls I used, knowing that at some point would use them!
I covered the inside and outside of the rolls with the gorgeous "North Pole" Collection cardstocks, and also applied gesso at the edges.


And then I was just have fun with the amazing Doodlebug "North Pole" Collection and Doodlebug Alphabet Stickers, to create the Advent Calendar this year.

I hope you've enjoyed this inspiration, and wish you all have a Magic and Enchanted Christmas with your family and all the people you love.

Visit Ro's Blog


Tuesday, December 11, 2012

12 Days of Christmas at Doodlebug - Day 5 with Kathy

Hi Doodlebugs! Kathy Martin here today with a crafty gift tutorial to help with those hard to shop for peeps on your Christmas list. I had always heard that older boys are difficult to shop for but I didn't realize just how much until this year while brainstorming gift ideas for our 11 year old son. Oh boy! I don't want to buy stuff just to have something under the tree and I don't like how boring and impersonal money can be so how about making cash fun to receive by pairing it with candy? You can even throw in a gift card or two for variety.

For today's tutorial I'm going to show you how to make candy bar wrappers for Hershey bars using Doodlebug Design's North Pole collection. I started off cutting some white card stock into 5.5" by 6" pieces, one for each bar. You could also use patterned paper.


Next, you score your card stock using the measurements shown in the photo below.


Once your score marks are made fold your card stock and seal with a piece of double stick tape. Now your bar is like a blank canvas, ready to decorate!


I started accenting my Hershey bars by adding a Fancy Frills scalloped border sticker and a strip of striped patterned paper above that.


Next, I added three tags. Two were ready made Cute Cuts and one was created with a die. If you like texture and detail, laying is a great way to achieve that. Hint: To keep each tag from laying flat against the next, add a little pop dot in between them.


Now have some fun attaching the tags with some bits and baubles. I used Doodle Twine, a Button Boutique button and a jingle bell.


Now that your candy bar is festively decorated, tuck in some cash and place in a container.

I used this pretty red metal bucket purchased from Target's dollar spot. You can decorate your bucket with more tags, twine, buttons and jingle bells to match.

I hope this gift idea has helped you cross off a few names on your Christmas list and gives you more time to kick up your feet, sip some cocoa and relax in front of the tree. Merry Christmas!

Visit Kathy's Blog for More Inspiration

Monday, December 10, 2012

12 Days of Christmas at Doodlebug - Day 4 with Jessy

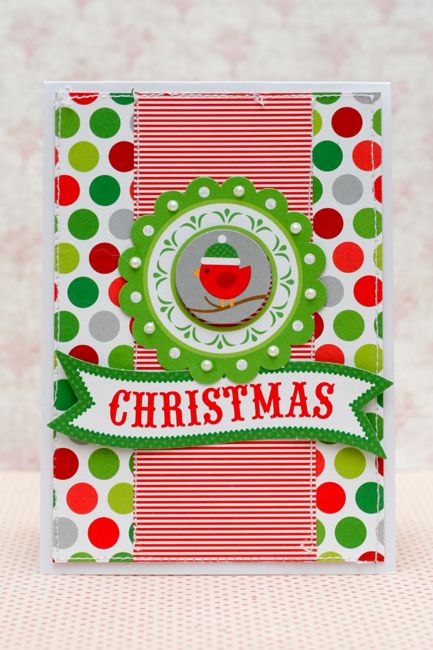
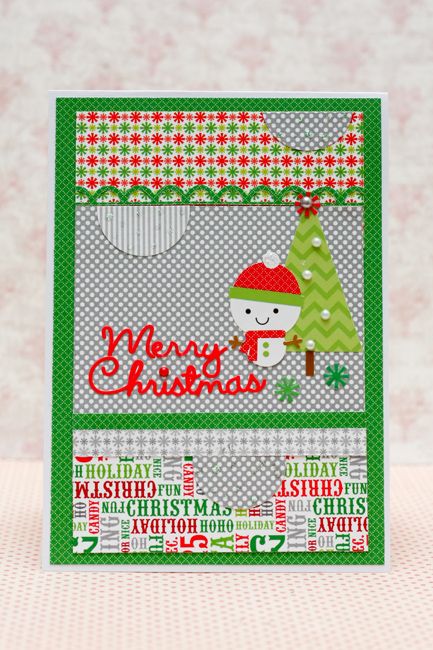
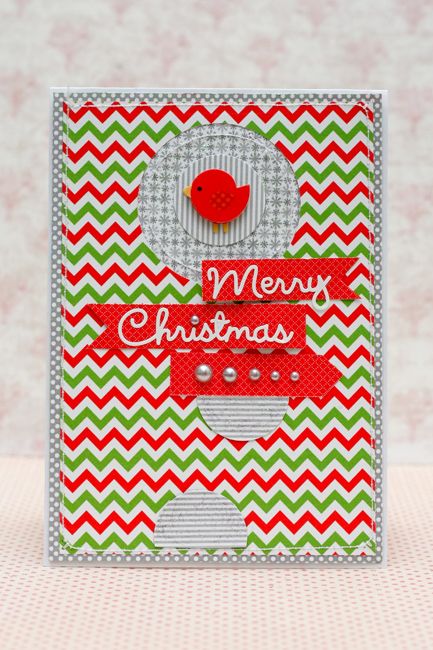
Hello creative Doodlebug peeps!! Today it's my turn to share with you what I have created for the Doodlebug Christmas Countdown #4. I have created four Christmas cards using the ever cute-fabulous-colorful Doodlebug collection called "North Pole". What I really love is the hint of grey that is in this collection and it worked brilliantly with all the reds & greens!

I have 3 elements that I want to cooperate on these cards. I must include the shape of a circle (or half circle), mini pearls & of course the fabulous color - grey! Just some guidelines for me to create. It doesn't work all the time but at least it helps when I am low with mojo *wink*

Here are my cards using North Pole Collection...

Photobucket

Photobucket

Photobucket

Photobucket

Supply list: North Pole collection (12x12 paper pad, 6x6 paper pad, cute cut, cardstock sticker) Doodles Cardstock Sticker (multicolor merry christmas), Christmas mini pearls & Mini doodle-pops (festive flock). 

Thanks for coming by and I hope you'll get inspired to create your own set of Christmas cards!
Have yourself a merry little Christmas :)

Xoxo Jessy


Thursday, December 6, 2012

12 Days of Christmas - Day 3 with Monique

Hi Doodlebug fans, it's Monique here with some projects to share for Doodlebug's 12 Days of Christmas!! As I couldn't decide on a project (layout, card or something else) I decided I'd make several!

Let's start with 2 layouts: 

My first layout "Jip" is my favorite, it's about my sweet Cocker Spaniel: Jippie:


The photo was taken on December 25th 2011 (my son decided Jippie should join us in the celebrations as well and so he gave her a Santa hat). To emphasize the date I used my Silhouette to cut the numbers background and the big "25". The round scalloped background was also cut with the Silhouette. The other fun details like the snowman, the sign post and the deer are all Doodlebug stickers.


Doodlebug North Pole supplies: 12x12 Patterned Paper, 6x6 Paper Pad, Cardstock Stickers (Icons and Party Banner), Doodle Twine, Cute Cuts, Mini Doodle-Pops, Doodles Cardstock Stickers (Merry Christmas).

Then my second layout "Faster", a totally different style as I wanted to try something else entirely.


When I made this page I decided to use the strip with the Doodlebug logo as well. I think it adds a funny little detail to the layout. 

Doodlebug North Pole supplies: 12x12 Patterned Paper, 6x6 Paper Pad, Cardstock Stickers (Icons), Cute Cuts, Mini Doodle-Pops, Teensy Type Alphabet Stickers.

My next project is a Christmas card: 


Don't you just love this collection? Look just how sweet this little birdie is!! 
The snowflake was cut with the Silhouette. 

Doodlebug North Pole supplies: 12x12 Patterned Paper, 6x6 Paper Pad, Cute Cuts. 

And then last but not least, a teeny tiny tutorial for a Christmas ornament. I figured if you're not ready decorating by now you wouldn't want a lengthy tutorial, but rather a quick fun one and maybe even one to do with your kids .... maybe something like this?


Well, take your 6x6 paper pad and your scissors and let's get started! 

1. Choose one sheet of 6x6 paper


2. and fold in half: 


3. Take your scissors and cut about 9 lines (while you paper is still folded), starting at the fold and stopping half an inch before the edge (the spaces between the cut lines are about half an inch as well), like this:

4. Open the folded paper and now fold it the other way: 


5. Adhere the sides with double sided tape or staple and push gently on the top so it will get a bit wider and you get a form like this:


6. To create the second, more playful, form, you fold you paper double as well, but now you adhere the two diagonal corners of your paper with i.e. a stapler: 


7. Add a piece of Doodle Twine in one of the corners and you're done!


Hope you like it!! 

Doodlebug North Pole supplies: 6x6 Paper Pad, Doodle Twine. 

These were my projects for today! Thank you for visiting Doodlebug's blog and I hope to see you back soon!!

Hugs,
Monique
Pin It button on image hover