Showing posts with label Pet Scrapbooking. Show all posts

Monday, May 27, 2024

HOMETOWN USA JULY 4th LAYOUT | with Brianna

Hey friends! Brianna Lepper here today and I get to share a new layout with y'all today using the new Hometown USA collection. Our veterinary office had setup a little 4th of July display to take photos in front of and we couldn't resist a little photoshoot with our dog Cubby. These were perfect for this collection, especially since there's a dog (and cat!) featured throughout the embellishments. Here's my page:


When I first got the collection, I went through it to see what immediately inspired me. It's always different each time and for this round, I was drawn to the coordinating Texture Cardstock pack. I pulled the white, blue and red out and thought it would be nice to create some mattes using each one. I trimmed the blue to an 11x11 and then the white to a 10x10. I distressed the edges and adhered both down to the red. This created a nice bold foundation for the rest of my layout.


For some extra color and a bit of mixed media, I added in some ink blending using the Lumberjack Plaid and Prize Ribbon Distress Oxide inks. I then trimmed down a few strips of the Picnic Plaid and All Stars 12x12 Patterned Paper. I used both of the A and B sides of the All Stars paper. I distressed the edges and adhered the layers right in the center of my page.


For my title, I used a few pieces from the Chit Chat Pack and popped them up on foam tape. I then pulled out the Patriotic Puppy Doodle-Pop and adhered it right next to it. It's so cute!!!


I put my photos right in the middle of the page on top of the patterned papers and then embellished around it in a diagonal line. Next, I pulled out the fireworks circle pieces from the Chit Chat Pack and adhered them along that same line. I also pulled out a few elements from the Bits & Pieces Pack as well as a few of the Cardstock Icons Stickers and adhered those down. That truck pulling the kids? Adorable!!!


For some finishing touches, I sprinkled in a few of the Puffy Icons stickers and some of the Star Spangled Shape Sprinkles. This page makes me so happy!


Here's one last look at this super patriotic page featuring my adorable puppy dog!


Thank you so much for stopping by today, I hope that I've inspired you in some way. I'll see you in my next post friends! xo Brianna


DOODLEBUG PRODUCTS USED

Hometown USA Collection

OTHER

Distress Oxide Inks

Tuesday, February 20, 2024

LOTS OF LOVE - LOVE YOU PET LAYOUT | with Nathalie

February is not over, so we keep celebrating love and all the lovable things in our lives. For me, it is probably my sweet baby boy, aka our 13yr old Boston Terrier. So, what better way than to use the fun Lots of Love collection for it.

I started with cutting two hearts from the patterned papers ( I drew a heart on copy paper, and used it as a template for the patterned paper hearts). I wanted contrasting, but simple designs so that they will stand out on the page.

I set them on an offset at the center of my base and then frame the entire page with a contrasting paper. I added a bit of foam adhesive behind the corners of the hearts to add dimension to the page. I added my photo next at the junction of the two hearts.

I am using all the flowers that I could find to embellish my layouts. The flower swag was just perfect for adding details to the edges of the hearts. I then added larger clusters of Bits and Pieces to the top of the hearts.


I added small phrase stickers to each of the clusters, and a few sprinkles to just complete the cluster. I then added a few extra embellishments to my photo. The cute stamp washi tape is amazing!!

To finish the page, I used Chit Chat pieces to create my title. I added a few extra stickers to make the title pop a little bit more, and completely balance my page.


I hope this gives you some inspiration for your next project with the beautiful LOTS OF LOVE collection. Cannot wait to see what you create! XO


.
INSTAGRAM BLOG | YOUTUBE 

DOODLEBUG PRODUCTS USED

Lots of Love Collection
Lots of Love Coordinating Cardstock

Monday, January 15, 2024

SNOW MUCH FUN HELLO WINTER LAYOUT | with Brianna

Hey friends! Brianna Lepper here today and I don't know about you, but it's freezing where we are! It's probably not as cold as our friends up in the North, but it's definitely cold for us. When we lived in Louisiana, it snowed once every few years and every time we got to experience it, we LOVED it! I used the new Snow Much Fun collection to document this photo of our pups in the snow and had a blast creating this page. The color palette is gorgeous and so are all of the adorable icons. Here is my layout:


To start, I went through the 12x12 papers in the collection and was immediately inspired by the Wintery Woods paper. It has all of the gorgeous collection colors and I knew right away that I wanted to use it and embellish tone on tone. I went through my Shimmerz sprays and pulled out the sprays that matched the tree colors and sprayed them all on a piece of white cardstock. Once it was completely dry, I took my snowflake punch and punched out a bunch of snowflakes.


Next, I tore into the Wintery Woods paper, distressed edges and adhered it to a piece of white cardstock. I then arranged all of my snowflakes and had them cascade down the page and popped each one up on foam tape. They turned out so cute and added so much interest and dimension to my layout.


I then went through the Odds & Ends pack and pulled out pieces for each color section. I even pulled in a few of the 12x12 Cardstock Stickers, some of the Snow Colorful Shape Sprinkles and the Puffy Stickers. The purple section is my favorite!


For my title, I used one of the Chit Chat phrases and centered it right above my photo. It fit perfectly!


I wanted some extra sparkle so I sprinkled in a few of the Mini Jewels. They were perfect little additions.


Here's one last look at this super cute winter layout:


Thank you so much for stopping by today, I hope that I've inspired you in some way! Have you had a chance to grab this collection yet? It's so fun to work with and it's just so beautiful! See you in my next post friends!


DOODLEBUG PRODUCTS USED

Snow Much Fun Collection


OTHER

White Cardstock
Snowflake Paper Punch
Shimmerz Paints Sprays

Saturday, November 25, 2023

HOME SWEET HOME CHIPBOARD ALBUM - DOGGONE CUTE | with Tarrah

The Home Sweet Home chipboard album is the perfect album to create a keepsake showcasing pictures and memories of your much loved pets! The Doodlebug Designers have all been asked to decorate the house shaped album these last 2 weeks, I decided to use the adorable Doggone Cute collection to decorate my album and I just love how it turned out!


I covered the front of the album with the 12' x 12' Man's Best Friend paper and cut out the window spaces with my craft knife. For the roof section, I covered this with the Playful Plaid paper and added the red scalloped sticker from the This and That sticker sheet. I knew I wanted to create little scenes in each of the windows on the front cover, I chose the Go Fetch blue spot paper for the windows and added some Sprinkles from the Throw, Fetch, Repeat set, some Hearts from the Happy Home Doodle Pop set, and some bone Puffy Shapes to create the pile of bones - how cute is that right?! I added the tree from the Odds and Ends die-cut pack.


I covered each of the pages with a 12' x 12' paper and worked on both sides of the pages. For the top pages, I mostly added a sticker from the This and That sticker sheet but also dressed these up a little with a puffy shape or some Sprinkles. For this page, I created a pocket to hold some journaling cards from the See Spot Run paper. I added another border sticker from the This and That sticker sheet here, a die-cut from the Chit Chat set and some of the mini heart puffy shapes in a line. I love how the dog sits at the bottom and you can see him when you close the album!


For this page, I added some tags and heart from the Bits and Pieces die-cut pack, some of the cute paw print washi tape, and a tab and a title from the Chit Chat die-cut pack. I wanted the option to add small photos here or journaling or both. For contrast under the title, I took one of the blue bone papers from the 6'x 6' paper pad and placed it under the title.


For this page, I made some photo matts using the brown spotted paper from the 6' x 6' paper pad and adhered white cardstock on top. I added a dog face puffy shape to the larger photo mat and a paw print to the smaller one. I grabbed another title from the Chit Chat die-cut pack and adhered it in the middle of the 2 photo mats.


To finish the album, I put all the pages through the rings that came with the album and I added the gorgeous I Love My Dog charm to the left ring and tied some bows to each ring with some red and white chevron ribbon from my stash. I love that I can add photos of our much loved dog - Baxter! I actually made this album for my youngest son who will pull it out and look through the photos all the time, reminding him of how much we loved Baxter.


Thanks so much for stopping by today! I hope you are inspired to decorate your Home Sweet Home chipboard album! I hope you are enjoying all the different takes on the album from the designers this week! Aren't they all so gorgeous?! Happy creating!


DOODLEBUG PRODUCTS USED

Home Sweet Home Chipboard Album
Doggone Cute collection

OTHER

Red and white chevron ribbon

Tuesday, October 24, 2023

SWEET & SPOOKY HALLOWEEN COSTUME LAYOUT | with Nathalie

We are so close to celebrating Halloween once again! I am sure that many of you are getting your costumes ready for the day, just like my cousin's doggie! Though, we bought the costume here in Canada, it had to travel all the way to Ecuador. As soon as I got the pictures of the fitting, I had this idea for a new project featuring the beautiful Sweet & Spooky collection.

The starting point for this page was the Taffy Stripe paper. I just saw the stripes as a fun way to create a banner for my page.

I cut 2 strips of 1.5in, then cut each color section out - the little pieces looked like small squares-. I then, used a pair of scissors to round one of the edges. Using a thin chopstick, I curled the straight edge of each paper, then using liquid glue attached the rolled edge to Beetle Chunky Doodle Twine. I alternated the a and b sides in the formation of the banner.

I glued the banners to the top lilac textured cardstock, making sure they draped from the top of the page. This paper was then framed with Candy Sticks paper.

I used stickers and Doodle Pops to add a bit of interest to the banners that were of a solid color. Once the banners were set on place, I added a few sprinkles for pops of shine throughout the banner.

I cut a few pieces of paper to create side banners at the bottom of the page. This was a perfect way to anchor my photos to the layout, plus provided space for my title work. and extra embellishments. I just love combining stickers, Doodle Pops, and Chit Chat for this.

A few extra stickers and gems complete the page. I hope this inspires you to get your Halloween memories documented with the Sweet & Spooky Collection, XO

DOODLEBUG PRODUCTS USED

Sweet & Spooky collection
Chunky Doodle Twine
Textured Cardstock

Monday, September 18, 2023

SWEET & SPOOKY HALLOWEEN COSTUME LAYOUT | with Brianna

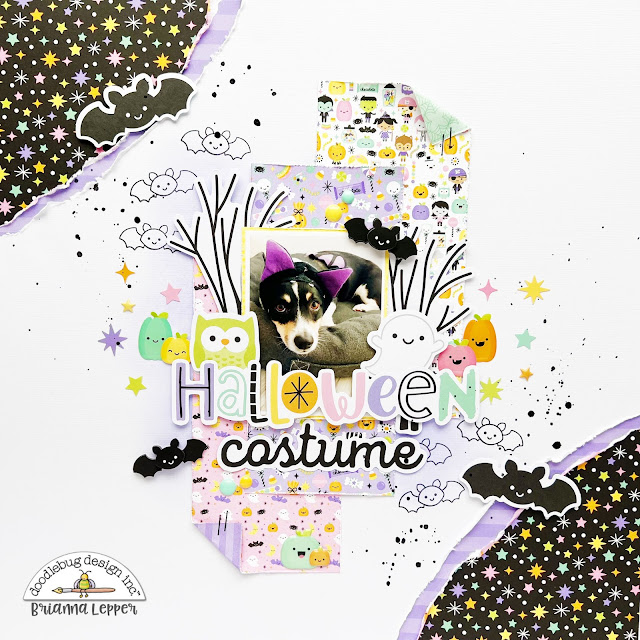
Hey friends! Brianna Lepper here today and I’m so excited to share my first layout using the gorgeous Sweet & Spooky collection. I can’t get enough of it! My favorite color is purple and I love that this collection has so much of it! A couple of years ago, we dressed up our dog Luna as a bat for Halloween. She was so adorable, complete with bat wings and all. The best part? The costume has purple in it! So cute. Here’s my page:

I really liked both the Moonlight Magic and Bitty Boos 12x12 patterns so I decided to have bits of both on the top left and bottom right corners of my design. The purple stripe is the B side of the Bitty Boos paper. After I adhered both papers to my white cardstock, I added in even more purple by ink blending a bit of Shaded Lilac Distress Oxide ink. I also thought it would be fun to add some stamping using the bat from the Sweet & Spooky stamp set.

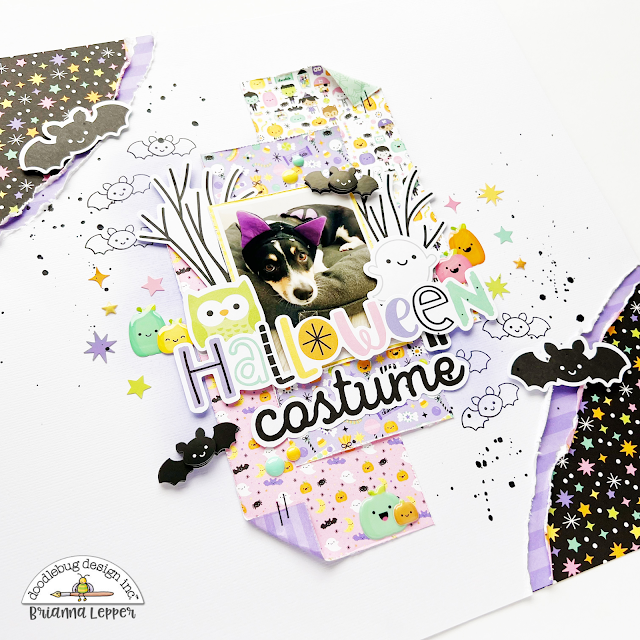
Here’s a closeup of the bottom right corner. Those bat images are just so adorable. I love stamping on my layouts, it just adds a little something extra to my pages.

I love everything about this collection and can’t gush about it enough! I needed to add more of the cute patterned papers, so I chose three different ones from the 6x6 paper pad and trimmed them down to small panels. I distressed the edges, folded down a couple corners, added some black staples and then layered them together in the center of my page.

For my title, I put together two phrases from the Chit Chat pack and stuck them right in the center of my photo. I also added in the cute bats from the October Sky Doodle-Pop.


Next, I created some embellishment clusters and added them to both sides of my photo to sort of frame it. I used the Odds & Ends pack to add in my larger pieces and then added in a few of the adorable pumpkins from the Pretty Pumpkins Shape Sprinkles pack.


I wanted some smaller elements so I adhered a few stars from both the Icons and Puffy Icons sticker sheets.


For some finishing touches, I adhered a few of the Sweet & Spooky Sprinkles and splattered some black paint around the page. Here’s one last look at this super fun Halloween layout:


Thanks so much for stopping by today, I hope that I’ve inspired you in some way! See you in my next post friends!


DOODLEBUG PRODUCTS USED

Sweet & Spooky Collection
Sweet & Spooky Doodle Stamps


OTHER

White Cardstock
Black Acrylic Paint Spray
Black Ink Pad
Shaded Lilac Distress Oxide Ink Pad


Monday, August 21, 2023

HELLO AGAIN MY HAPPY PLACE LAYOUT | with Brianna

Hey friends! Brianna Lepper here today sharing another layout featuring the Hello Again collection. I'm having the best time creating with this collection. It's so perfect for so many everyday moments! Here's my page:


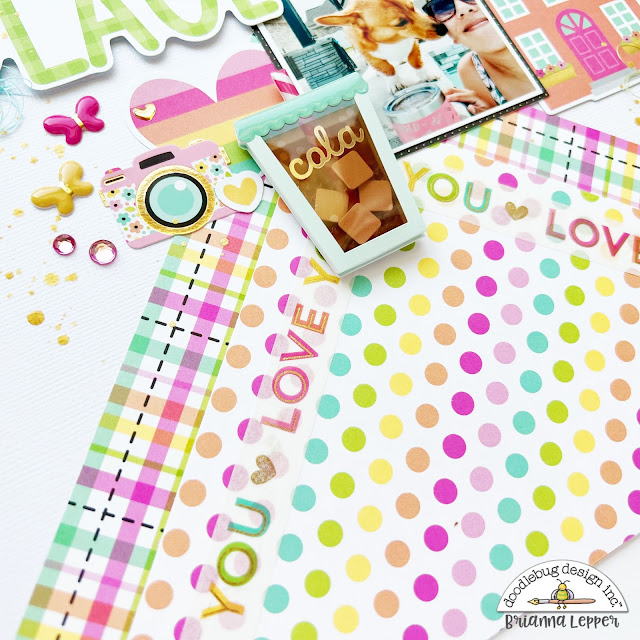
I like to start my layouts by looking through the patterned papers to see which ones inspire me. I fell in love with the Patchwork Plaid and Pretty Polka Dots 12x12 papers and wanted to create a fun design with them. I cut into them at an angle and adhered them at the top and bottom of a piece of textured white cardstock from my stash. I felt like it was missing something so I added in the I Love You Washi and I'm so glad that I did! That washi tape is so cute!


Here's another view of the papers and washi tape. I love all of those pretty patterns together. My photo is of me and my dog sitting in the pool on a hot day. I decided that the Soda Sweet Shaker Pop would be the perfect embellishment right next to it. It's so cute!!!


I chose a phrase from the Chit Chat pack for my title. Our pool really is mine and my dogs happy place. We are in it all of the time!!

This collection has some really cute home embellishments so I pulled a few out of the Odds & Ends pack and built a little scene to the right of my photo. That car is so adorable!

For some finishing touches as well as some sparkle, I added in some Hello Again Mini Jewels, Hello Love Shape Sprinkles and Puffy Icons.

Here's one last look at this bright and happy page:

Thank you so much for stopping by today, I hope that I've inspired you in some way. Do you like to pull inspiration from patterned papers? I know I do! See you in my next post friends!


DOODLEBUG PRODUCTS USED

Hello Again Collection

OTHER

Sewing Thread
White Cardstock
Heidi Swapp Gold Color Shine

Pin It button on image hover