Showing posts with label Winter Mini Album. Show all posts

Friday, January 17, 2025

6 X 8 MINI ALBUMS - SNOW MUCH FUN WINTER WONDERLAND PART 2 | with Jen

Hi everyone!  It's Jen, and I'm back with some of the inside pages of my Snow Much Fun Mini Album. If you missed my cover post you can find it here.   The new Doodlebug 6x8 albums come with 10 pocket protector pages. There are four configurations: four 3x4 pockets, two 4x6 pockets, two 3x4 and one 4x6, and a large 6x8.

These pockets can be really fun to decorate! For my album I used a combination of 6x6 papers and 12x12 papers. I used stickers from the This and That sticker sheet, Icon sticker, Mini Icon stickers, Odds and Ends, Chit Chat, and Bits and Pieces.


All of my embellishments are added to the outside of the page protector. This keeps the page protectors flat and allows you to pop up the embellishments if you would like.


On some of the pages I added flaps to a couple of pages by taking a piece of white cardstock cutting it to the height of the pocket and then scoring it so it folds over the front, adding the space to add photos.


For this large pocket I added a flap with some acetate for something different.

I have a process video for you here.


I'll be back in a couple of weeks with some more from the inside of my mini!  Have a great day!


YOUTUBE | FACEBOOK | INSTAGRAM


DOODLEBUG PRODUCTS USED

Snow Much Fun Collection
Let It Snow Heavy Acetate
Doodlebug Lily White Cardstock
6 x 8 Mini Album - Lilac


Saturday, February 3, 2024

SNOW MUCH FUN CARD ASSORTMENT MINI ALBUM | with Conny

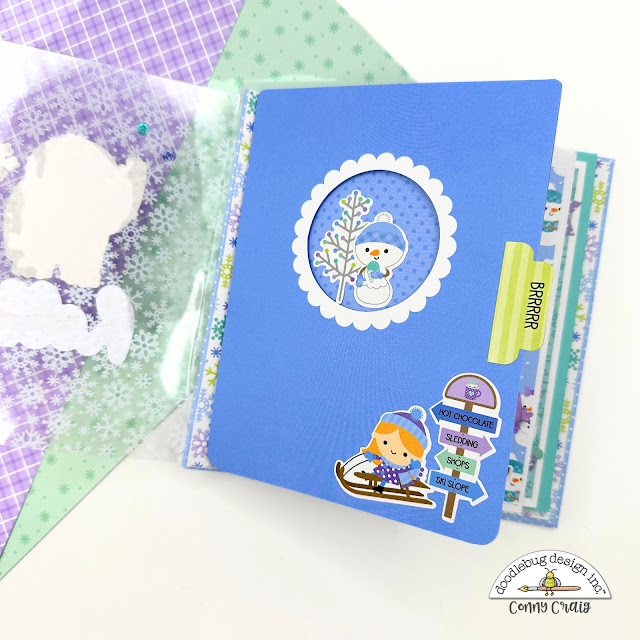
Hello there, It's Conny and I'm excited to share my latest mini album with you, created using the Snow Much Fun Collection. I incorporated acetate and the Snow Much Fun Assortment Cards and Envelopes to make it simple and easy.


I began with two chipboard pieces. One was used for the back cover while the other was for the spine. For the front cover, I used acetate. I wrapped the chipboard with blue polka dot side of the Snow Much Fun paper and added a little extra detail by stitching it.


To create the acetate cover, I cut a piece measuring 6.5" X 6" and scored it at 1.5". I stitched it to the outside of my spine using a sewing machine to keep it together. However, if you don't have one, you can still use your favorite glue that dries clear. To adhere the back cover to the spine, I used a piece of white cardstock measuring 4" X 6", scored at 1.5", and added the 1.5" to adhere it to the spine using your favorite glue.


I used cards and envelopes to create pages for my project. To hold the cards in place, I used hinges that measured 5" X 3". I scored them at 1" and 2". Additionally, I used another piece that measured 1" X 5" and scored it at 1/2". I adhered it to the middle of the first hinge and then placed the hinges in the middle of the spine.


I added double-sided tape to both sides of the hinges, then adhered the cards and envelopes to create pockets or flip-open designs.  Next I started the fun by adding embellishments and decorating! For the cover page, I kept it simple and used Hello Winter Doodle-Pops along with a few gems.


I can't wait to see what you all create using the Snow Much Fun Collection! Take care and see you all soon. XO, Conny.


DOODLEBUG PRODUCTS USED

Snow Much Fun Collection
Let it Snow Heavyweight Acetate
Snow Much Fun Assortment Cards & Envelopes

OTHER

Ribbon
Chipboard

Saturday, January 20, 2024

SNOW MUCH FUN INTERACTIVE MINI ALBUM | with Conny

Hello Crafty Friends! It's Conny, and I am thrilled to showcase my latest creation with all of you today. I have meticulously crafted a stunning project using the Snow Much Fun Collection. This album is the perfect place to exhibit your favorite photographs for this or previous winter/ snow days, as it is brimming with interactive pages that add a touch of creativity and uniqueness to your display. 


Let's get Started! To create the base,  I cut two pieces of chipboard, each measuring 7" X 4 1/4". I also used one more piece of chipboard measuring 7" X 1.5" for the spine. I covered each of these pieces with double-sided cardstock featuring a snow-themed design. To combine them, I used a piece of white cardstock from the Snow Much Fun Textured Cardstock Assortment, measuring 3.5" by 6". I scored it at 1" and 2 1/2", leaving 1" on both sides so that I could place the chipboard spine in the middle. I left 1/8" gaps between the front and back covers.


First, I covered the chipboard inside the album with matting paper. For the inside cover chipboard, I used paper measuring 4 1/8" by 6 7/8". I made a simple hinge for this one with a piece a cardstock measuring 2" X 4 1/2", scored at 1/2" by 1 1/2". Adhere it in the center of the spine.

For the first hinge, I used cardstock measuring 11 3/4" by 6 3/4", scored at 3 3/4" and 7 3/4".

For the middle page, I used paper measuring 6 3/4" by 7 1/2", scored at 3 1/2" and 4". In the middle of that page, I added another flip page on the right measuring 6 3/4" by 3 3/4", scored at 3 1/2".

On the last hinge, I added a pocket. I cut  one paper to measure 6 3/4" by 4" and another paper 7 1/4 by 4".  I scored both papers on the longer side 1/4" and glued,  leaving the right open for a pocket.

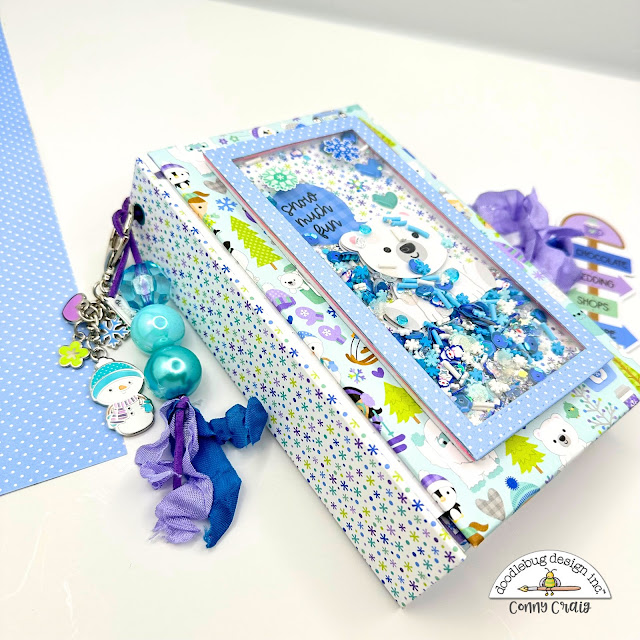
Next I transformed my cover  page into a masterpiece ! I have crafted a stunning Shaker box and adorned it with adorable Doodle-pops and to top it off, I used the high-quality Clear Heavy Weight Acetate to showcase the sequins and embellishments. I added the Snow Much Fun Cute Clip with a few lovely beads on the spine, and I absolutely love how it turned out!


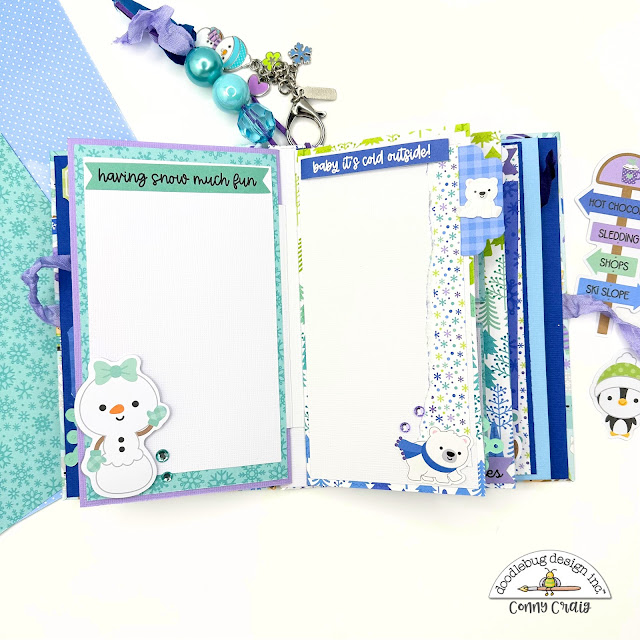
Have you seen the Frosty Furry Doodle Cuts? I sprinkled those snowflakes throughout the album, along with some Chit Chats and Bits & Pieces. I can't wait to see what you all create using the Snow Much Fun Collection! Take care and see you all soon. XO

DOODLEBUG PRODUCTS USED

Snow Much Fun Collection
Snow Much Fun Coordinating Textured Cardstock
Sequins
Snow Much Fun Cute Clip
Clear Heavyweight Acetate
Frosty Flurry Doodle Cuts

OTHER

Ribbon
Chipboard
Beads
Polymer mix
Pin It button on image hover