Tuesday, August 27, 2024

FARMERS MARKET SUNFLOWER HARVEST LAYOUT | with Nathalie

Summer is coming to an end, that means time for harvest, pumpkins, and cozy weather. So, what better way to start documenting all those fun memories with the fun Farmers Market collection. Let's check what I have created.


I just love the colors in this collection, and they were perfect to document this photo of my niece and nephew at the Farmer's Market during Sunflower season.


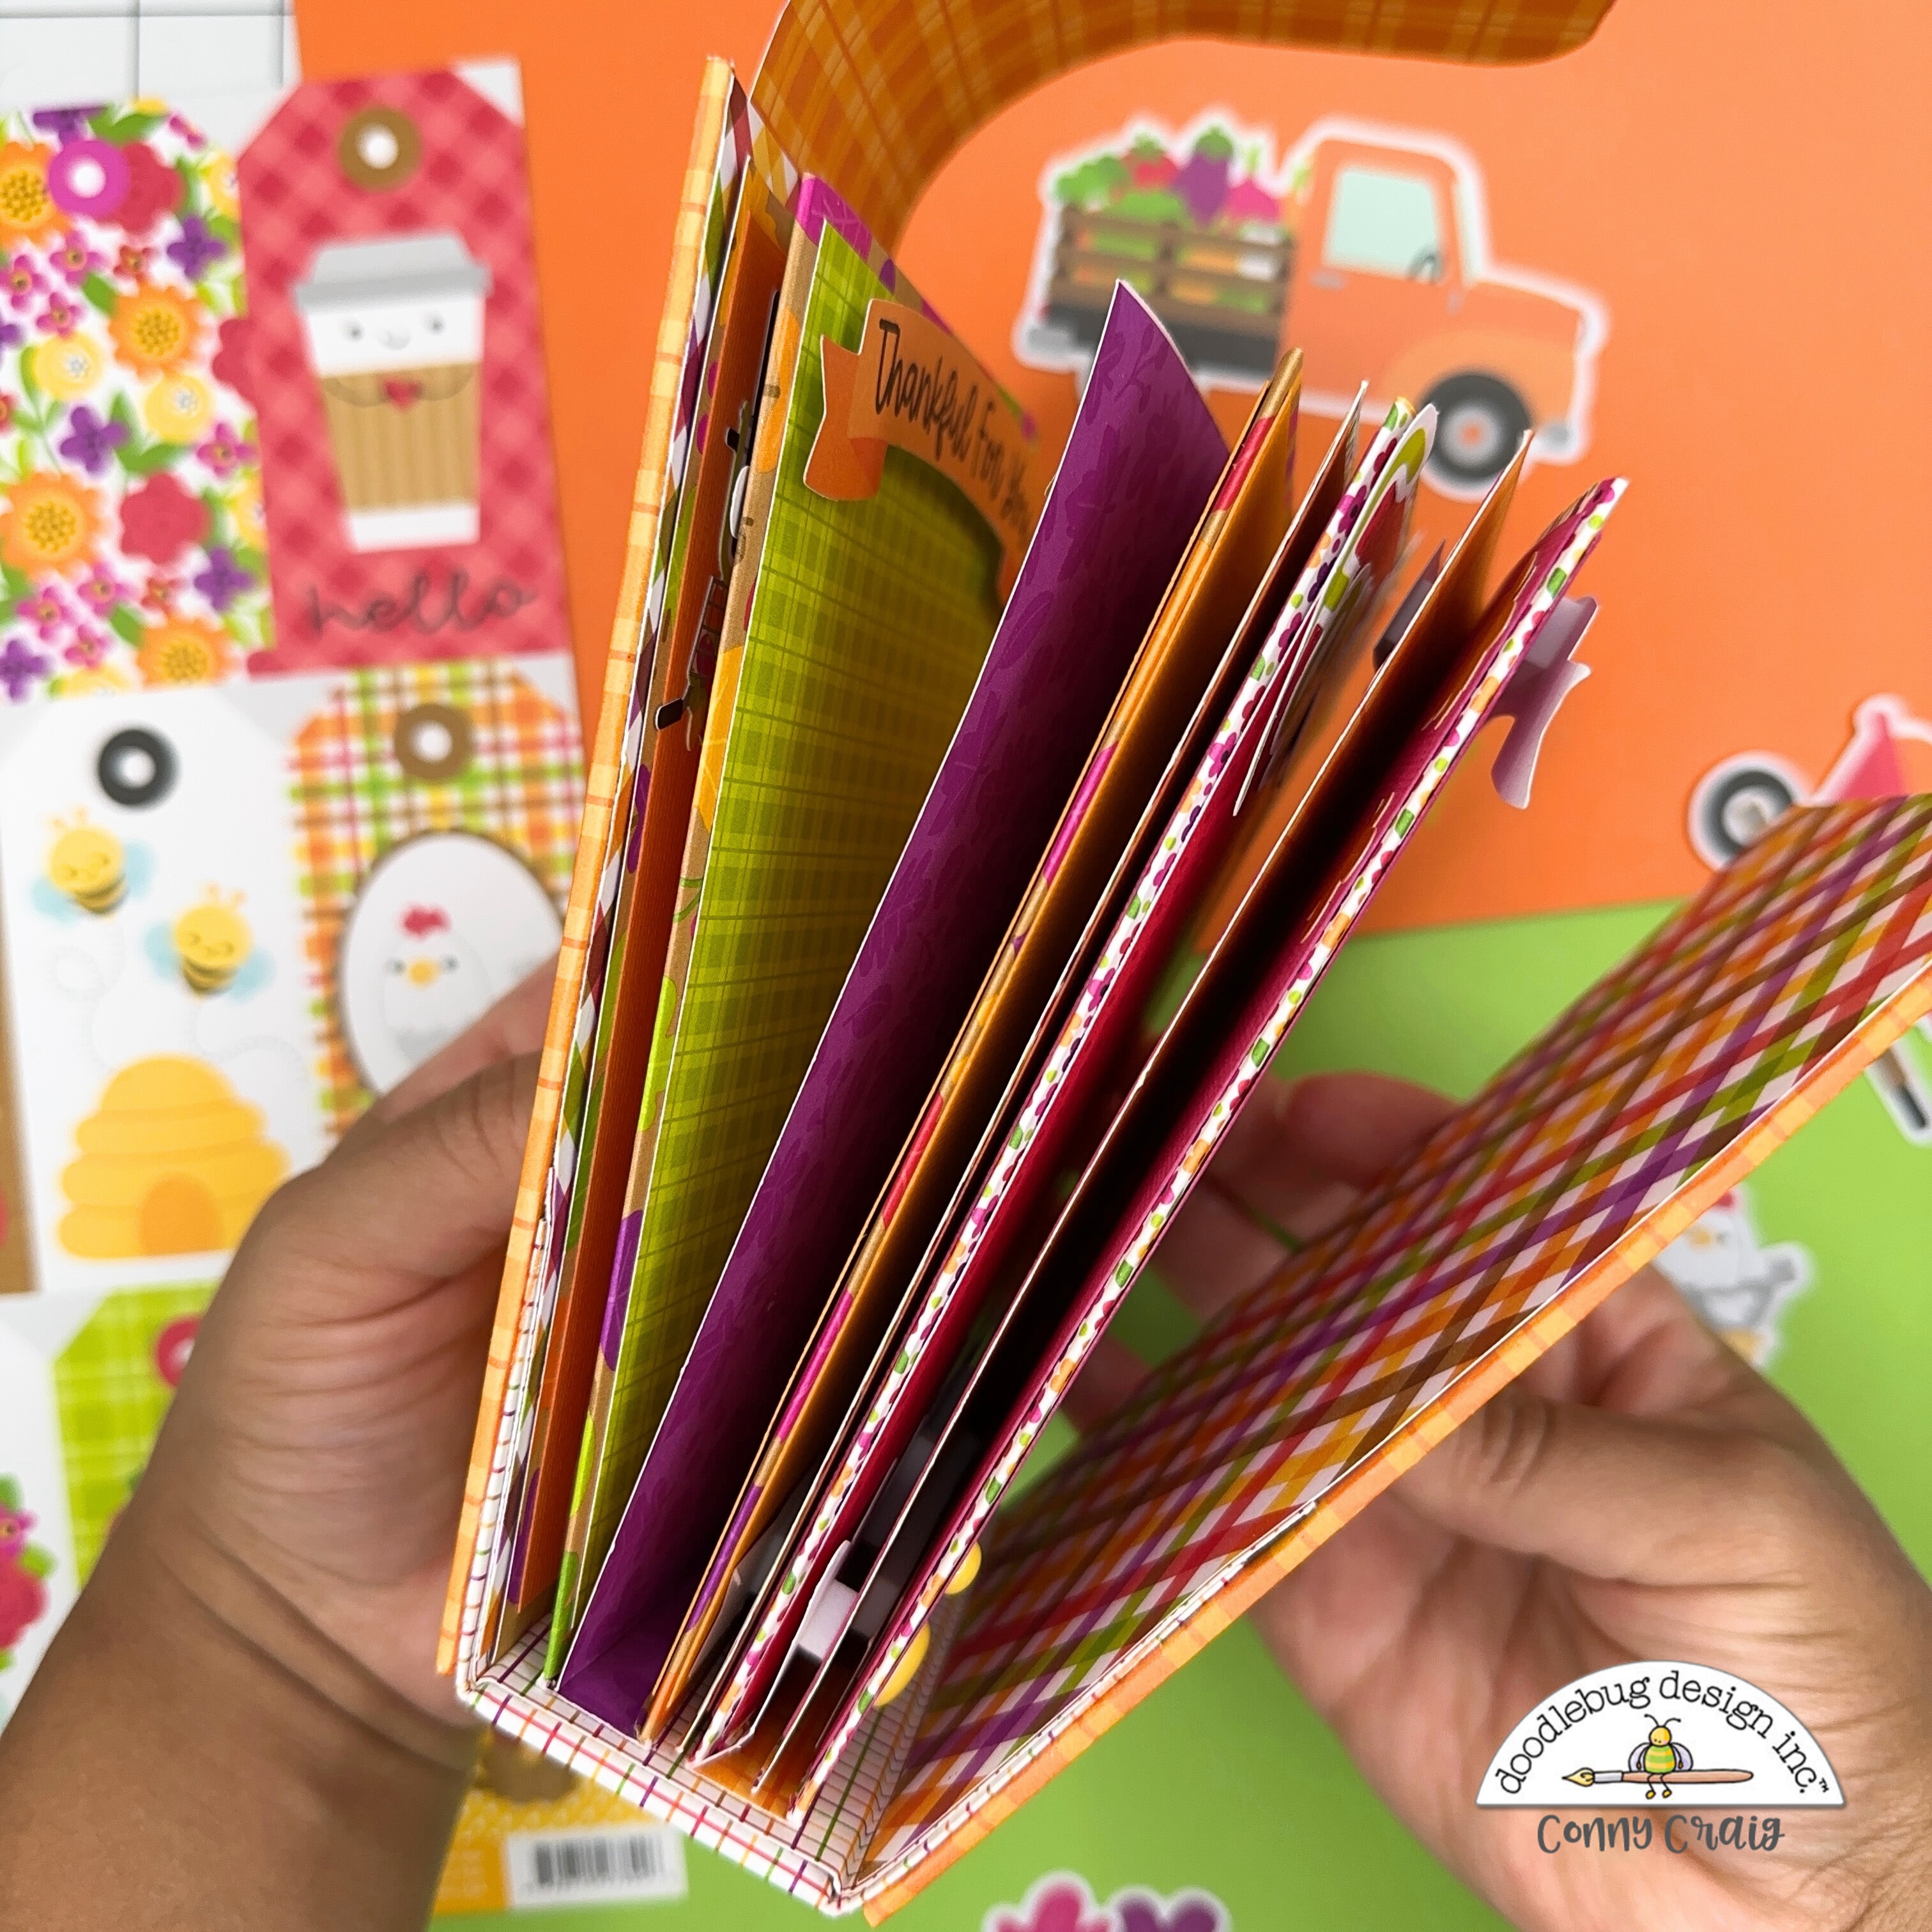
I started with the Farm Fresh Paper, I loved the two sides of the paper, so having the corner fold helped me to showcase the two designs, while creating a focal spot for the picture. I then backed the empty space with a selection of contrasting papers from the collection,


I backed the photo with papers from the 6x6 paper pad, and set it at the end point of the folded paper's corner. I decided to use the edges of the fold to aid me on creating floral clusters for the page.


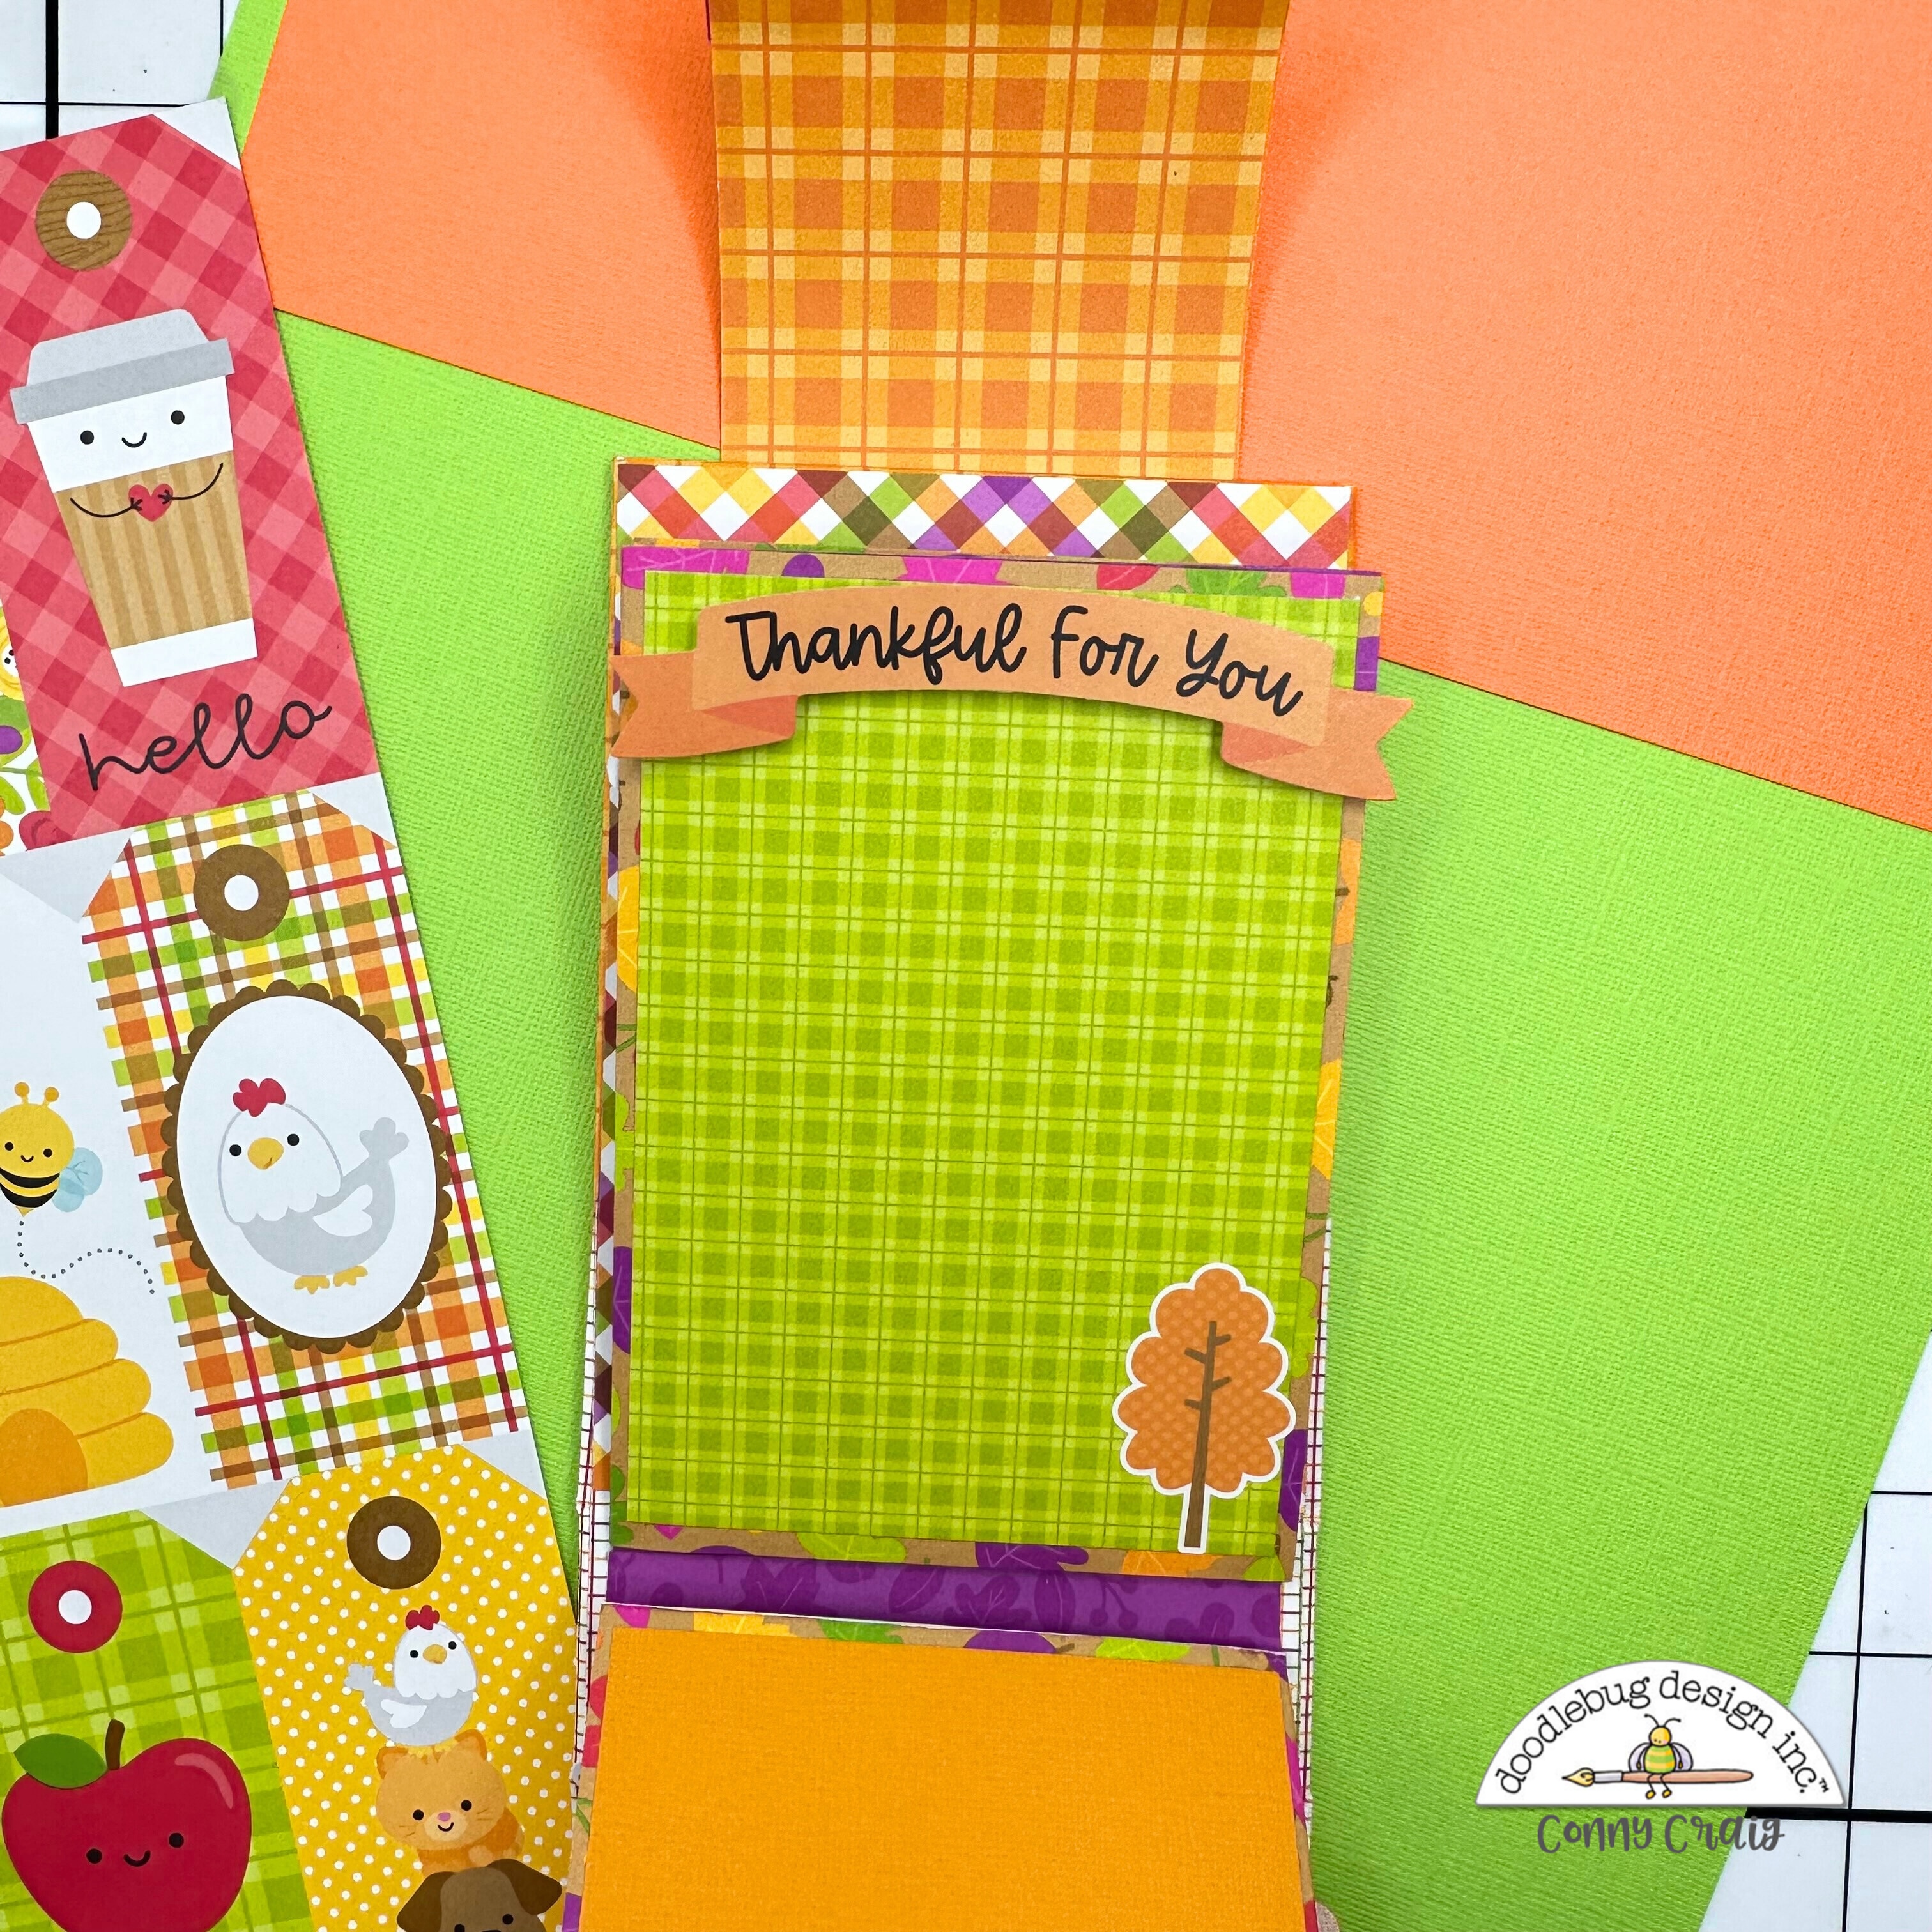
I added a few pieces from the Odds & Ends, and Bits & Pieces behind the photo. This layers help to make the picture pop amongst all the flower embellishments.


For my title, I am using the space above the folded edge to build a floral cluster and also place the title. The angle of the folded piece of paper was the perfect spot to add my title (Chit Chat pieces and Alphabet Soup gold puffy alphas)


To finish my page, I added a few extra sprinkles around the floral clusters. I just love how it all turned out, and I hope this inspires you to check the beautiful Farmers Market collection. XO


DOODLEBUG PRODUCTS USED

Farmer's Market collection
Gold Alphabet Soup Stickers

Monday, August 26, 2024

FARMERS MARKET EASEL MINI ALBUM | with Kathy

I am so excited for fall!  It is my absolute favorite time of year! Apple picking, selecting the perfect pumpkin, baking... the cool air and pretty leaves, it's all fabulous in my book!  I was excited to work with the Farmers Market Collection again, the colors, icons... everything reminds me of my favorite season!  I created this fun easel mini.. I thought it would look great on my desk.  Take a peek....


To create my base, I started with 2 pieces of chipboard, both 4.5" x 6.5" for the "covers" then a third piece of chipboard measuring 2.25" x 6.5" for the base.  I covered the piece like I would if I were making and album cover, but instead of adding pages inside, I added mine on the outside!

My pages measure 5.5" x 4.25".  I cut them from the 6x6 pad using a stitched rectangle die, but you could always just use your trimmer.

I then set to decorating all of my pages.  I added photo mounts which measure 4.5" x 3.25".  I decorated my pages with Odds, & Ends, Chit Chat Pieces, Bits & Pieces, Icon Stickers, Shaped Sprinkles and of course some Doodle Pops!   Once I had all my pages decorated, I used my Cinch Mini to punch my holes, and bind my easel.  Take a peek....


For a little more interest, I added a couple of the tags from the Bits & Pieces which I decorated with Icon Stickers and a Doodle Pop!


I can't wait to fill this with my favorite fall photos!  As a bonus, I created a video short to show a flip through of my mini.


I do want it noted that I did not hoard my Doodle Pops this time, I actually used 4!!!  Will miracles never cease....That's it for me today, thank you for stopping by to peek!


DOODLEBUG PRODUCTS USED

Farmers Market Collection

OTHER

Chipboard
Cinch Mini
Binding Wire
Stitched Rectangle Dies

Saturday, August 24, 2024

FARMERS MARKET AUTUMN ALBUM | with Conny

Hello to all my crafty friends! It's Conny here and I am thrilled to be working with the Farmers Market Collection. This beautiful and warm collection is perfect for capturing fall/Autumn memories, documenting recipes, or showcasing your gardening adventures. This project began with two 12" X 12" papers, and although I wasn't sure where it was headed, my heart led me to creating a mini album. So, here we are with a mini album that offers ample space for photos, recipes, and much more.


Let's get started! To create the inside pages for this mini album, I chose two 12" x 12" papers. I scored each paper at 4" and 8" on one side, and at 5 3/4" and 6 1/4" on the other side. I then used scissors to trim the top and bottom, leaving the middle section between 5 3/4" and 6 1/4". In the image provided, you can see where I added a strip of double-sided tape.


To create the covers, I cut three pieces of chipboard. Two pieces measured 4 1/4" x 6" for the front and back covers, and one piece measured 4 1/4" x 1.5" for the spine. I wrapped the chipboard pieces with orange plaid side of the field of flowers paper to give them a decorative finish. I added a touch of uniqueness to the covers by sewing around the edges.

To keep the contents secure, I created a closure with paper and magnets. For the wrap-around or flap closure, I cut piece measuring 6" x 3". To ensure durability, I rounded the edges of the flap and reinforced it with textured cardstock to make sure the closure was strong enough to hold the magnets securely in place.


I embellished with bits and pieces, chit-chats, odds and ends, enamel dots, puffy icons, mini icons, and cardstock stickers. 


Let us know what you think about it. Document your beautiful fall moments with the Farmers Market collection, we can't wait to see what you create with it.

BLOG INSTAGRAM YOUTUBE


DOODLEBUG PRODUCTS USED

Farmers Market Collection
Farmers Market Coordinating Textured Cardstock

OTHER

Foam Adhesive
Sewing Machine
Magnets
Chipboard

Pin It button on image hover