Friday, May 21, 2021

FAIRY GARDEN HELLO SUNSHINE LAYOUT | with Erica

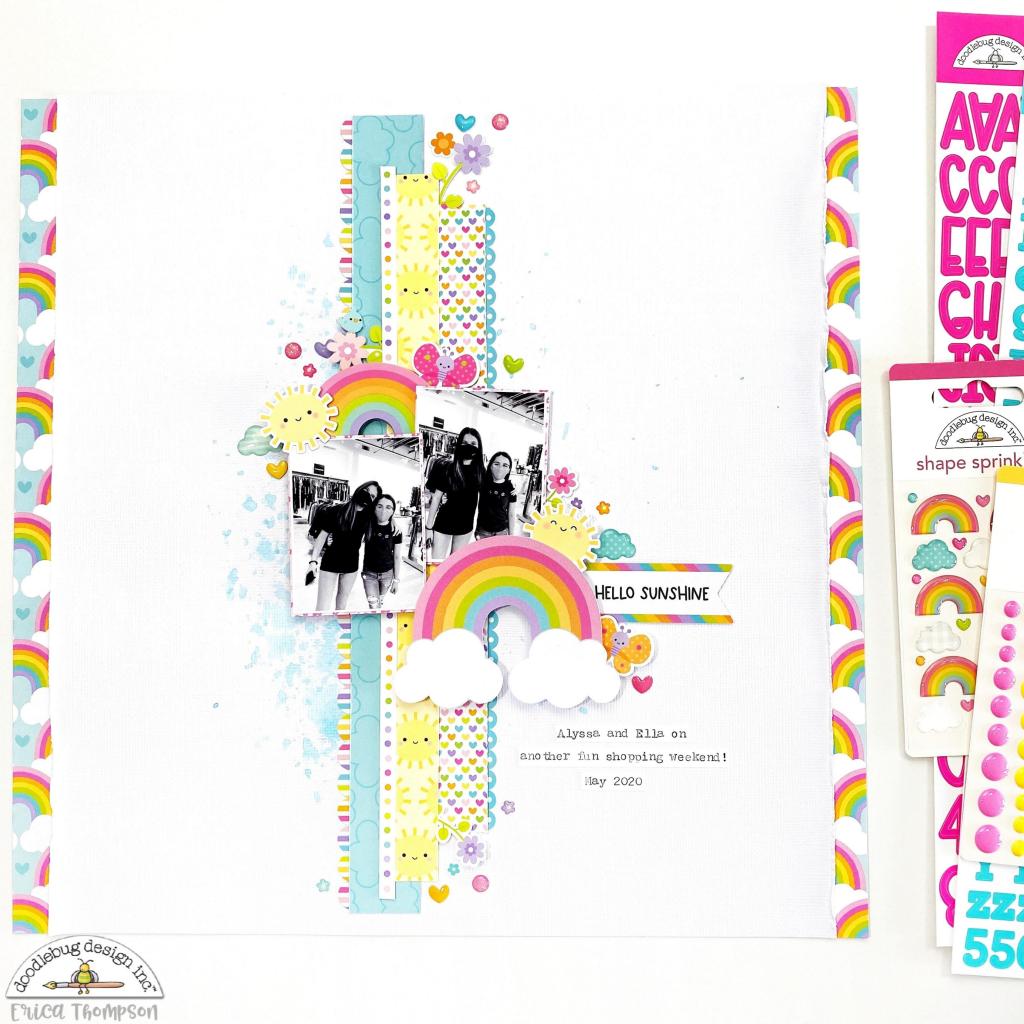
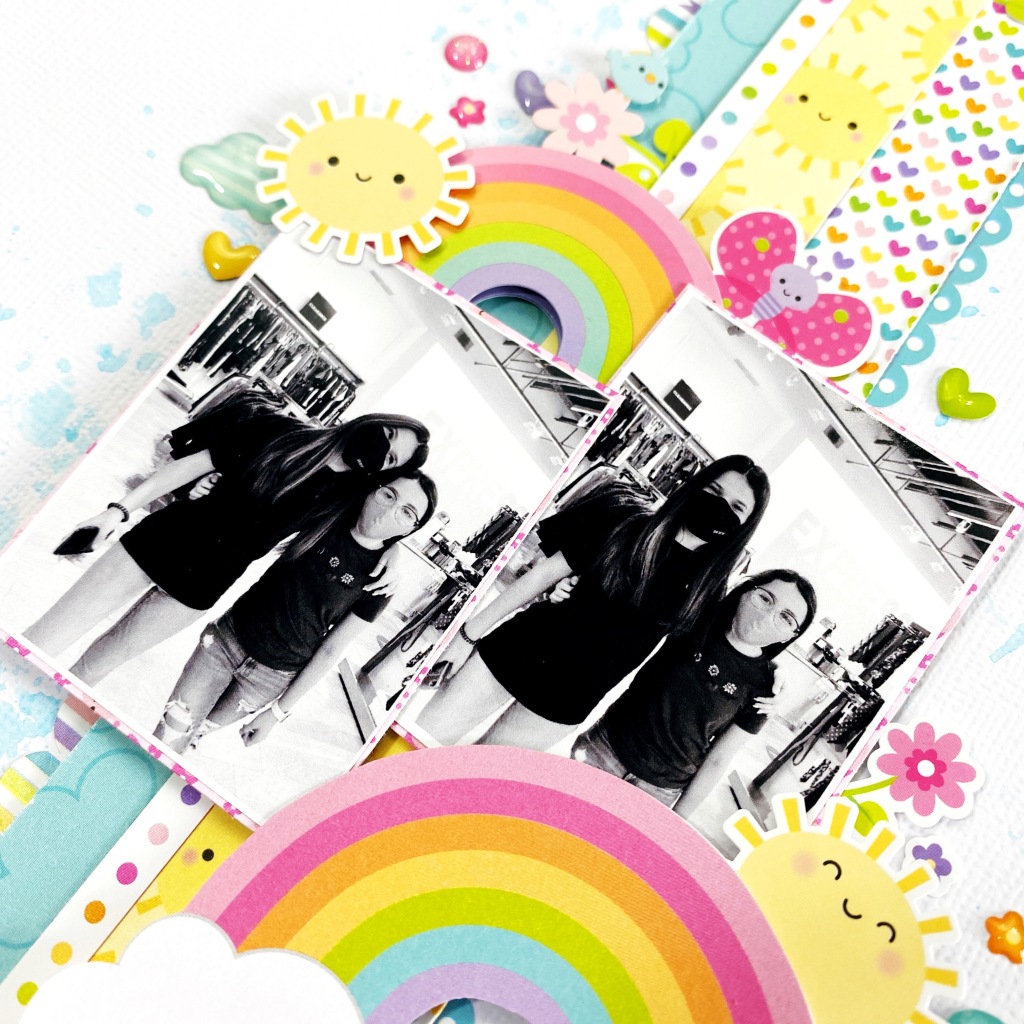
Do you end up with strips of pattern paper and wonder what to do with them? Today I am going to share a design that is perfect to use up those paper strips!

I have created a lot of layouts and projects with the beautiful Fairy Garden collection and have strips of different sized pieces to use up! One way to use them up is to create a vertical layout and layer up those pieces of paper!

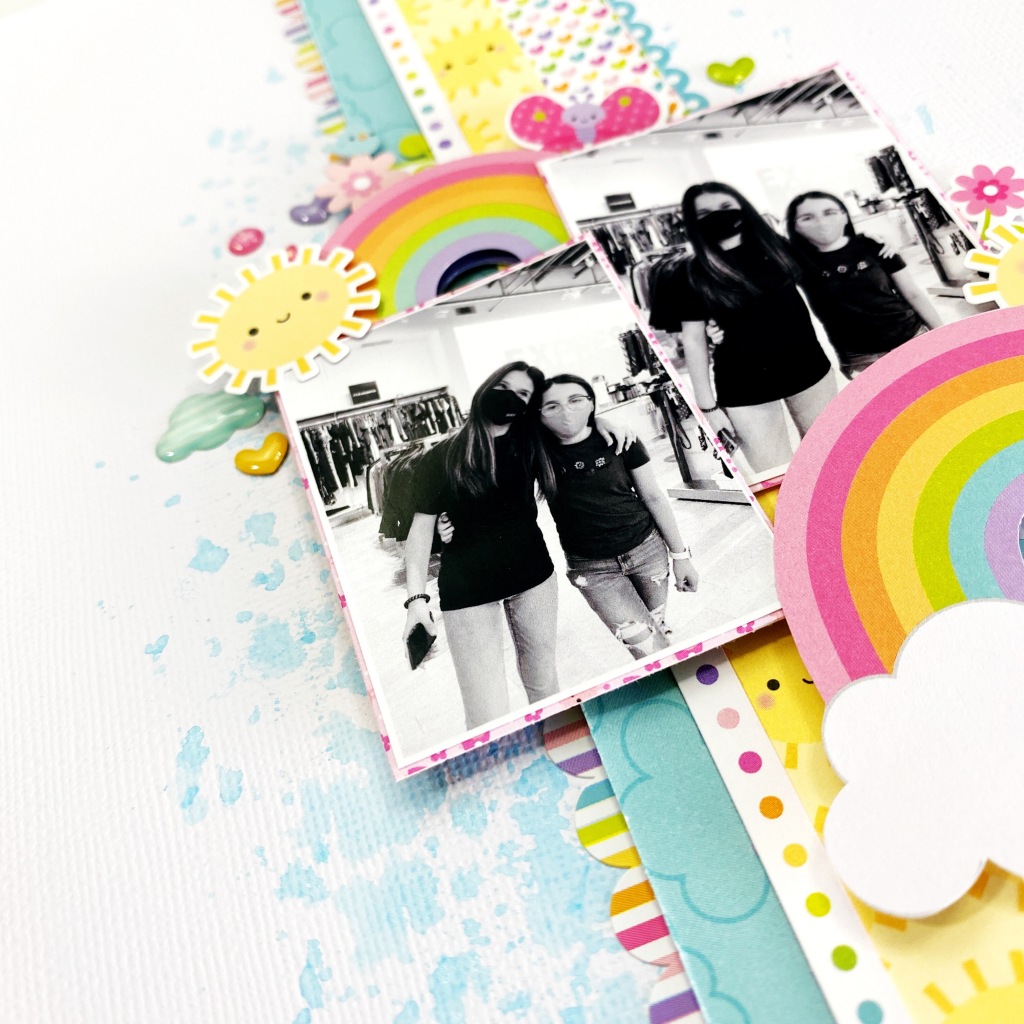
To start I wanted to add a splash of color to my background so I pulled an aqua mist from my stash. I added some ink spatters to the white cardstock and then used a Ziploc bag to smoosh it into the paper. Once it was dry, I picked a handful of paper strips and adhered them down to the center of the page.

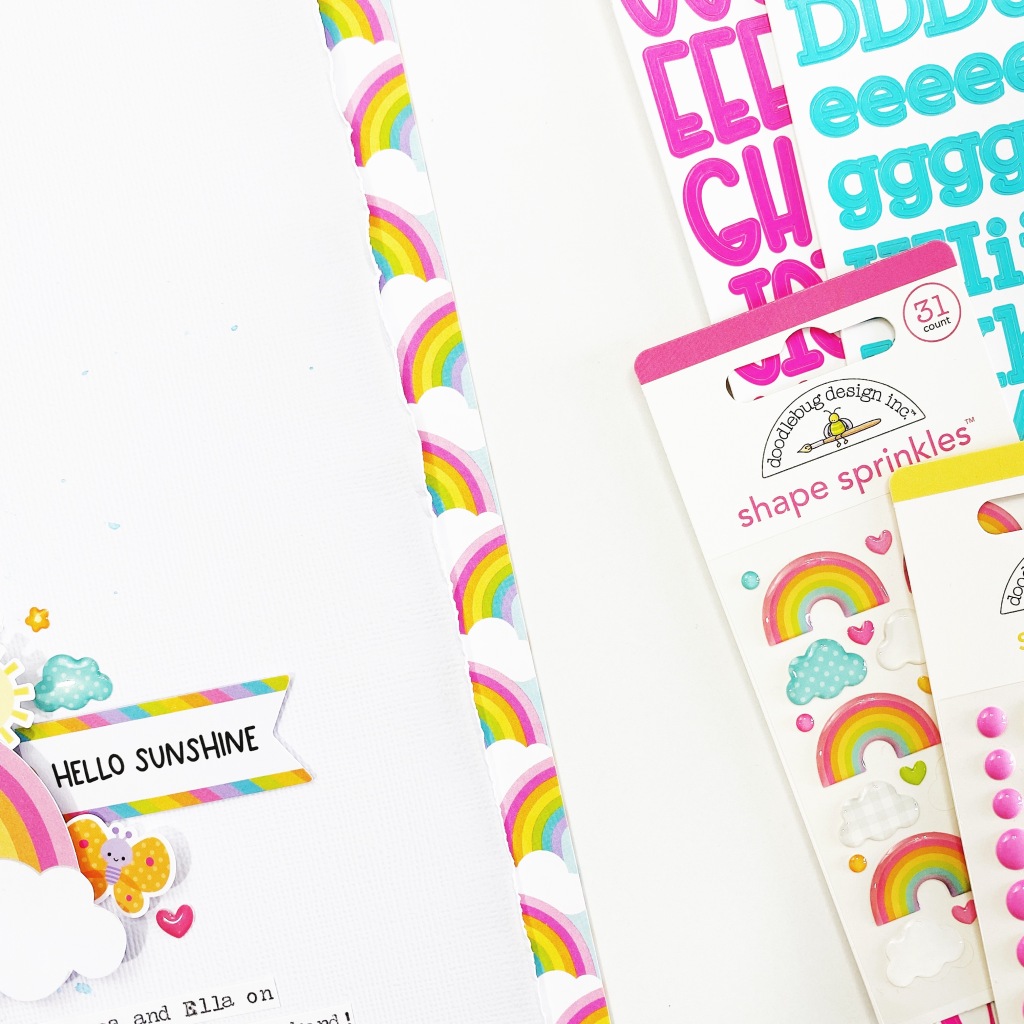
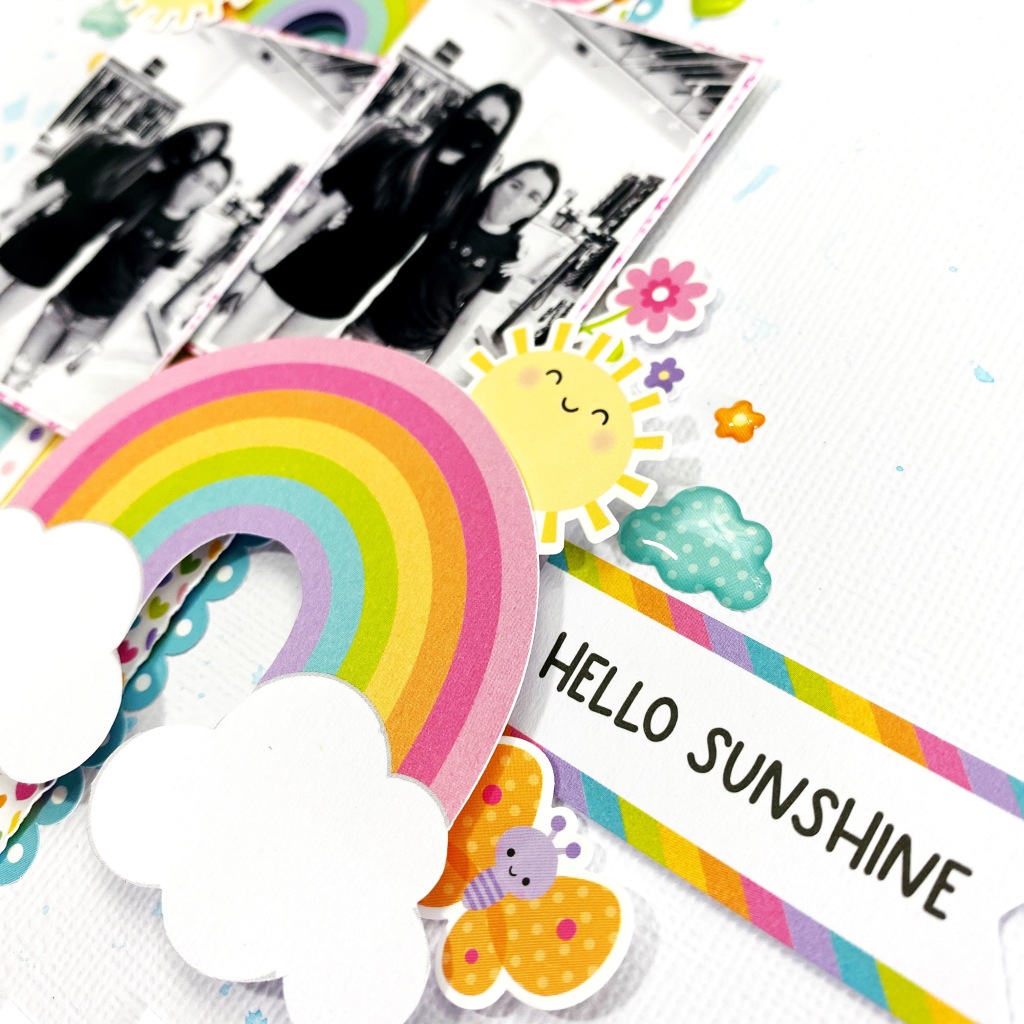
For a little more interest and detail I pulled a couple of the scalloped boarder stickers from the Fairy Garden 12x12 Sticker sheet and tucked one on each side of my layers. It is a small detail but I think it really adds to the layers. I popped up my photos on some foam adhesive and stuck them down to the page. I really wanted to use some of the rainbow embellishments in this collection so I added some around the photos. To bring in more rainbows I decided to mat the layout on the Rainbow Love 12x12 paper. To do this I just trimmed a half inch of the left and right side of my layout. This will let the Rainbow Love paper peek out on the edges of my page.

I sprinkled mini icon stickers and shape sprinkles around the page and tucked in some florals to the paper strips! This layout was so fun to put together and I love how it turned out!

If you have paper strips waiting to be used up I challenge you to create a vertical design with your papers! I would love to see what you create so please tag Doodlebug if you are up for the challenge! Have a great day!

FACEBOOK | INSTAGRAM | YOUTUBE

Doodlebug Products Used
 Fairy Garden Collection

Thursday, May 20, 2021

FAIRY GARDEN ALL OCCASION CARDS | with Wanda

Hey friends! I'm here on the blog today to share a trio of cards made with the Fairy Garden Collection! I used lots of papers, stickers and Doodle Pops to make some happy greetings for all occasions. I like to have cards ready to go if I need one! I made a happy birthday card, a thank you card, and a just because card! All three use the same card layout so they came together quick, fun and easy! The Doodle Pops are the featured element and all the papers are from the 6x6 paper pads to be the right scale for A2 cards. 

One of my go-to design elements is to use twine and a button as an embellishment. It adds a little bit of cheer and texture to a card or scrapbook page.

1

The sentiments on all three cards are from the 12x12 Sticker Sheet from the Fairy Garden Collection. Big, bold and colorful! And they match the colors of the papers perfectly, which always ties a project together.

1

I used the Doodlebug Borders and Edges Dies to make that pretty scallop detail on the left side of the cards.

1

1

1

1

I added a few Sprinkles here and there to add shine to my cards. This card sketch/layout works for all year round - I'm already thinking of Christmas cards!

1

So happy to see you here on the Doodlebug Blog - I am excited to share the next new collection with you! Until then, stay crafty my friends! 


1BLOG | INSTAGRAM | FACEBOOK

 DOODLEBUG SUPPLIES

Fairy Garden Collection
Fairy Garden 6x6 Paper Pad
Dot Grid Daisy 6x6 Paper Pad
12x12 Sticker Sheet Fairy Garden
Borders and Edges Dies
Doodle Pops: Pixie, Green Thumb, Bright Bunch
Twine
Buttons
Textured  12x12 Cardstock

OTHER SUPPLIES

Stitched Rounded Rectangles Dies
Neenah Cardstock
Banners Dies
Adhesives

Wednesday, May 19, 2021

FAIRY GARDEN - GARDEN DREAMER LAYOUT | with Nathalie

We all have picked up a new hobby while in lockdown.  Well, my little one (my Goddaughter) started a small window garden as a school project, but actually cared for it enough to harvest a handful of vegetables from it. Of course, I have to document it, and what better way than with the Fairy Garden Collection.


I wanted something simple for the page.  So, I used a stitched circle die to cut the pictures and a few of the patterned papers for the page.


In order to have all the paper circles shine on the page, I chose a Petite Print for the background of the page.  I created a zig zag along the center of the page with the paper circles and photos (I even transformed my wide horizontal photo into two small circles that together form the picture).


I used the small circle Chit Chat pieces ( circular shapes) to embellish the layout, adding a few sprinkles along the way.


This might be one of the simplest titles, I have created.  It just came together so easily by mixing Chi Chat, with Icons, and a few Doodle pops.


I love the result, and cannot wait to  see what you all create with the Fairy Garden Collection.  XO

Instagram | Blog | YouTube 

DOODLEBUG PRODUCTS USED

Fairy Garden Collection
Petite Prints
Sprinkles Vellum

Pin It button on image hover