Wednesday, December 22, 2021

LET IT SNOW GIFT CARD HOLDERS | with Karen

I don't know about you, but getting ready for the Christmas season this year has been a challenge. Every year I tell myself that I am going to be ready, and every year, I find myself scrambling with those few last minute gifts. But you know what always saves me? Gift cards and Doodlebug! Together, they can turn any last minute gift into a cheer! Cue the cute Doodlebug gift card holders:

All-three-1

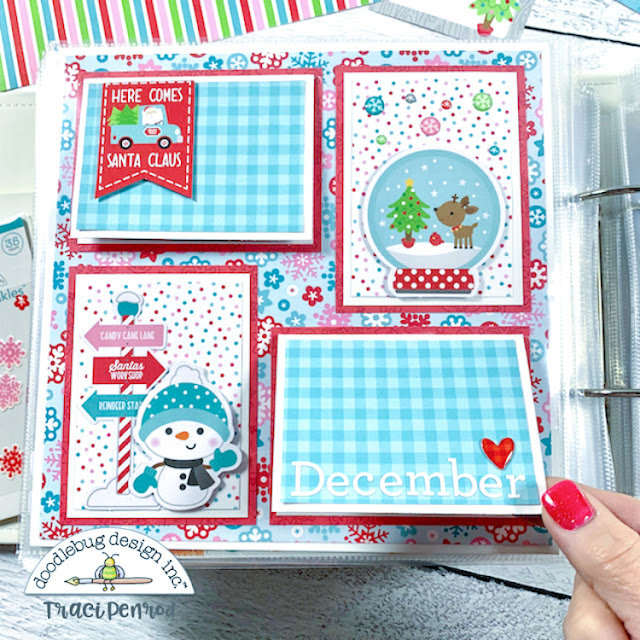
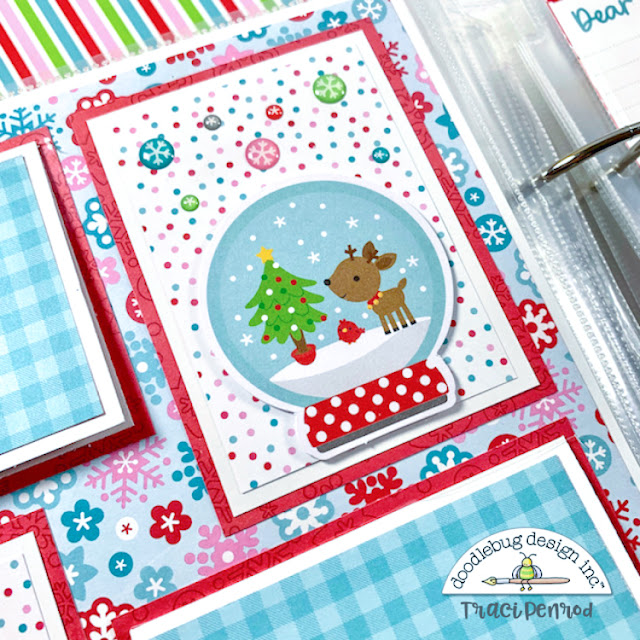
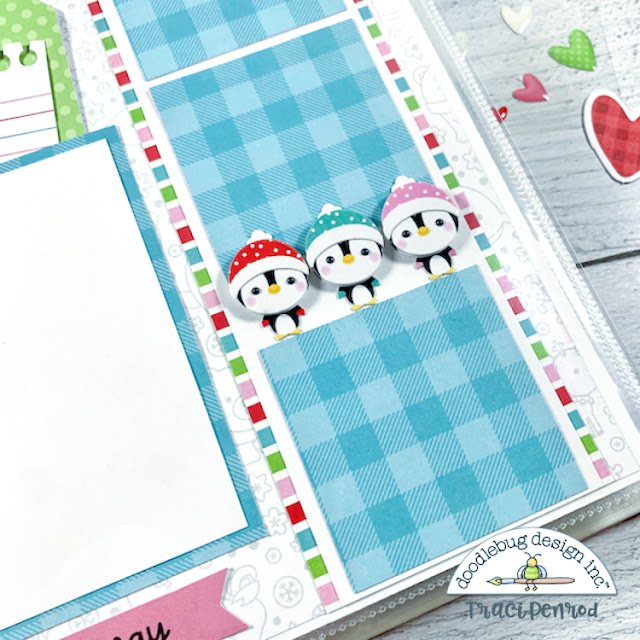
These gift card holders were created with the new "Let it Snow" collection. Featuring the awesome patterns in the 12x12 collection and some of the die cuts from the Odds and Ends collection, they create cute little packaging for gift cards galore!

Closeup-Odds-and-Ends

Closeup-Tags

And while you could just pop the gift card right inside the pocket, I thought it would be cute to add another little tag inside for a message. The 12x12 "To & From" paper already has pre-patterned tags that you can just cut out. I added a little bow and left the blank side on the back for a little message.

All-three-2

And the best part it is that these work just as well for a winter-themed birthday or even just a little "pick-me-up" for a colleague in the new year. It is such a versatile collection!

So, if you are anything like me scrambling at the last minute, whip yourself up a few of these to save the day. And if you are not, whip yourself up some anyway so you are ready for next year! Perhaps I should do that too! :)

Thanks for stopping by!
Hugs,


BLOG | INSTAGRAM

Doodlebug Design Product:
Let It Snow Collection
Winter Wonderland Doodle Stamps and Doodle Cuts

Other Products:
Adhesive
White Cardstock

Tuesday, December 21, 2021

LET IT SNOW MONTHLY SCRAPBOOK PAGES | with Traci

Hey friends! Today, I'm sharing 4 new scrapbook pages I made for my granddaughter's monthly 8x8 Storybook Album. I used the new Let It Snow collection and I'm so in love with it. The winter Christmas theme was perfect for my December layouts.


On my first page, I used the 12x12 Merry and Bright print as the base and created 4 rectangular mats with the Tis The Season paper and white card stock. I added folding cards to 2 of them and a December title using white My Type alpha stickers.

For the other two spaces, I added fun die cuts from the Odds and Ends. The adorable snow globe with the reindeer is my favorite one. And no page is complete without some sweet little enamel sprinkles!

The second page uses one of Doodlebug's page protectors that has 3 spaces. I trimmed a journaling card from the Sweet Santa paper and put it in the tall vertical space. Perfect for a note to Santa or a Christmas list.

I created a folding card and added the Santa Clause phrase from the Chit Chat. I love folding cards. Not only do they double your photo space, but they make your pages fun and interactive! 


I always try to combine the 12x12 and 6x6 pattern papers. It's fun to mix and match the different sizes and I think the layouts are more interesting. You can see I used the smaller print on the folding element above.
 

I love these colors. The ladybug red and swimming pool blue are my absolute favorite so this collection was perfect for me!
 

At the top, I added a photo mat from the Holiday Dots paper and a band filled with shiny enamel heart shaped sprinkles. So colorful!


On the bottom,
I included a few more items like Santa, a Christmas tree and a scalloped circular mat for a small photo. I cut the white scallop shape using a 3.5" punch and the inside circle using a 3" punch. 


With the little penguins and the white snowflake background paper (called North Pole), I think this page would be really cute for photos of Rylee playing in the snow. Now, I just hope we get some!

 
I made the large mat a super handy pocket. I added a few colorful tags and a small journaling card from the Bits and Pieces (love these!) for notes or dates. And did you notice ... more cute sprinkles!
 

I finished this page by adding the Playful Penguins Doodle-pops. Rylee is going to LOVE these precious 3D stickers. They're so fun!
 
Thanks for stopping by! If you'd like to see the other months in this album, all using Doodlebug collections visit: January, February, March, April, May, June, July, August and November.


DOODLEBUG PRODUCTS USED:
8x8 Storybook Album
8x8 Storybook Refill Pages
Let It Snow 12x12 pattern papers
Let It Snow 6x6 Paper Pad
Odd and Ends
Bits and Pieces
Chit Chat
Teensy Type Alphabet Stickers
Doodle-pops Playful Penguins
 Shape Sprinkles - Heart Warming & Let It Snow

Monday, December 20, 2021

LET IT SNOW CHRISTMAS TABLE SETTING | with Wanda

Hi everyone! Happy to be here sharing part of your Christmas week with you! I was thinking of what project to make and I thought - what do we need last minute? We need place settings and things for our beautiful Christmas table! I used the wonderful Let It Snow Collection to make place cards, napkin rings and treat boxes sure to make your guests smile. Quick and easy projects with a big impact! Wishing you and your family a great holiday!

Here is my table setting with a red placemat and a gingham napkin. I made the place card holder by gluing three candy canes together with hot glue! It's so fun and festive. The candy popper is filled with sweet treats and the napkin ring is a nice welcome to the meal.

A

To make the napkin ring, I cut a strip of that pretty peppermint striped paper and made a circle. I die cut a stitched circle from white cardstock and attached that awesome Christmas Time Doodle Pop! I added a greeting and some mini jewels too. One good thing about these projects is you can add as little or as much embellishment as you have time for. 

B

To make the table treats I used the WRMK Candy Box Punch Board. I made the box from the O Christmas Tree paper and wrapped it with the Sweet Santa paper! I used Chunky Twine and some big jewels to close the ends and add a bit of bling. For the top, I used stickers and Odds & Ends Pieces to decorate. I used cardstock folded in half to make a pop up element. It's so sweet on the table.

C


D

Here is my place card. I set a place for Santa, cuz I really want him to come! I die cut a scalloped rectangle and added the I Love Santa Doodle Pop and then some gems and Snowflake Sprinkles. I used the Abigail Alphabet in black to add the name. 

E


F

I'm wishing you a holly jolly happy holiday! I will be back soon. Until then, happy crafting!


1

MY BLOG | MY INSTAGRAM

 DOODLEBUG SUPPLIES:

Let It Snow Collection
I Love Santa and Christmas Time Doodle Pops
Abigail Alphabet Stickers
Mini Jewels
Chunky Twine

OTHER SUPPLIES:

We R Memory Keepers Candy Box Punch Board
Scalloped Rectangles Dies
Stitched Circles Dies
Adhesives
Candy Canes

Pin It button on image hover