Wednesday, March 27, 2024

BUNNY HOP LOVE THESE PEEPS LAYOUT | with Erica

Hey friends! Erica here with you today sharing a 12x12 layout that I hope will inspire you to create with the Bunny Hop collection!

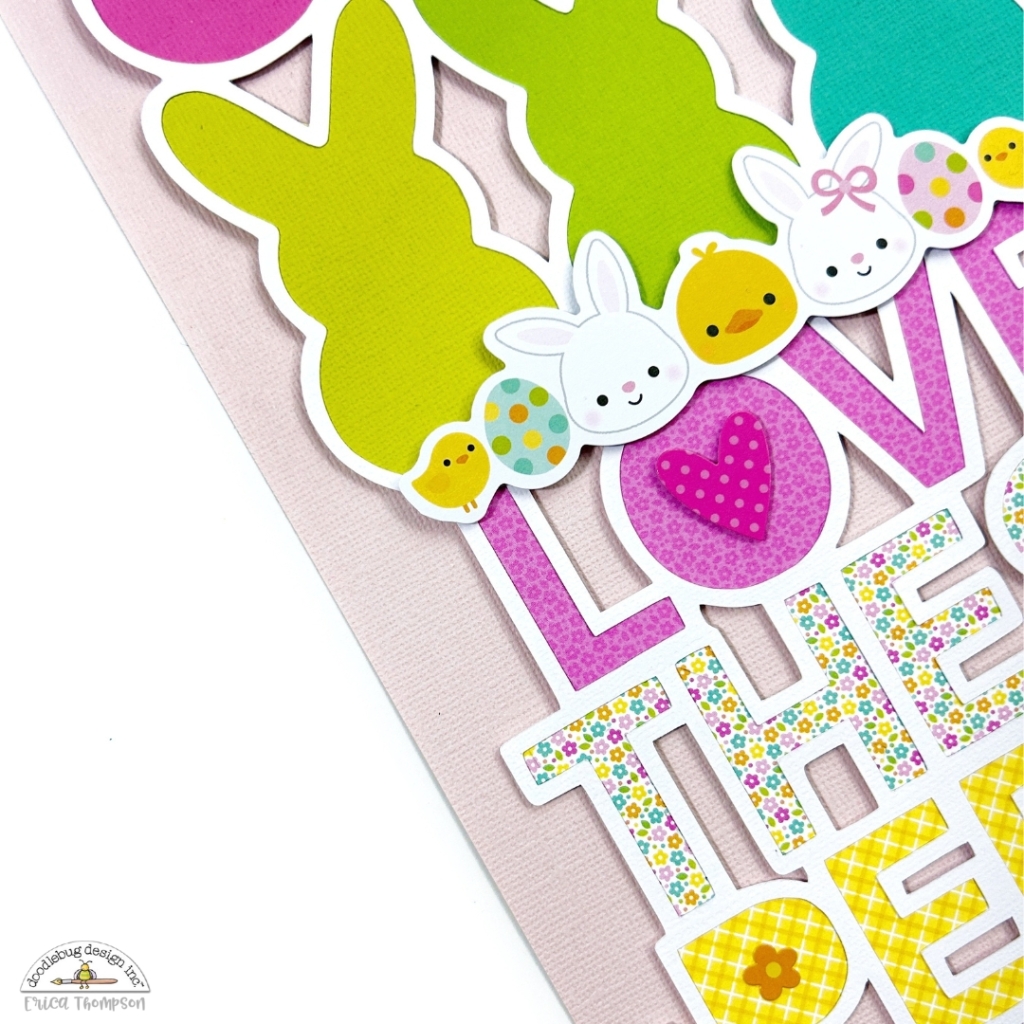
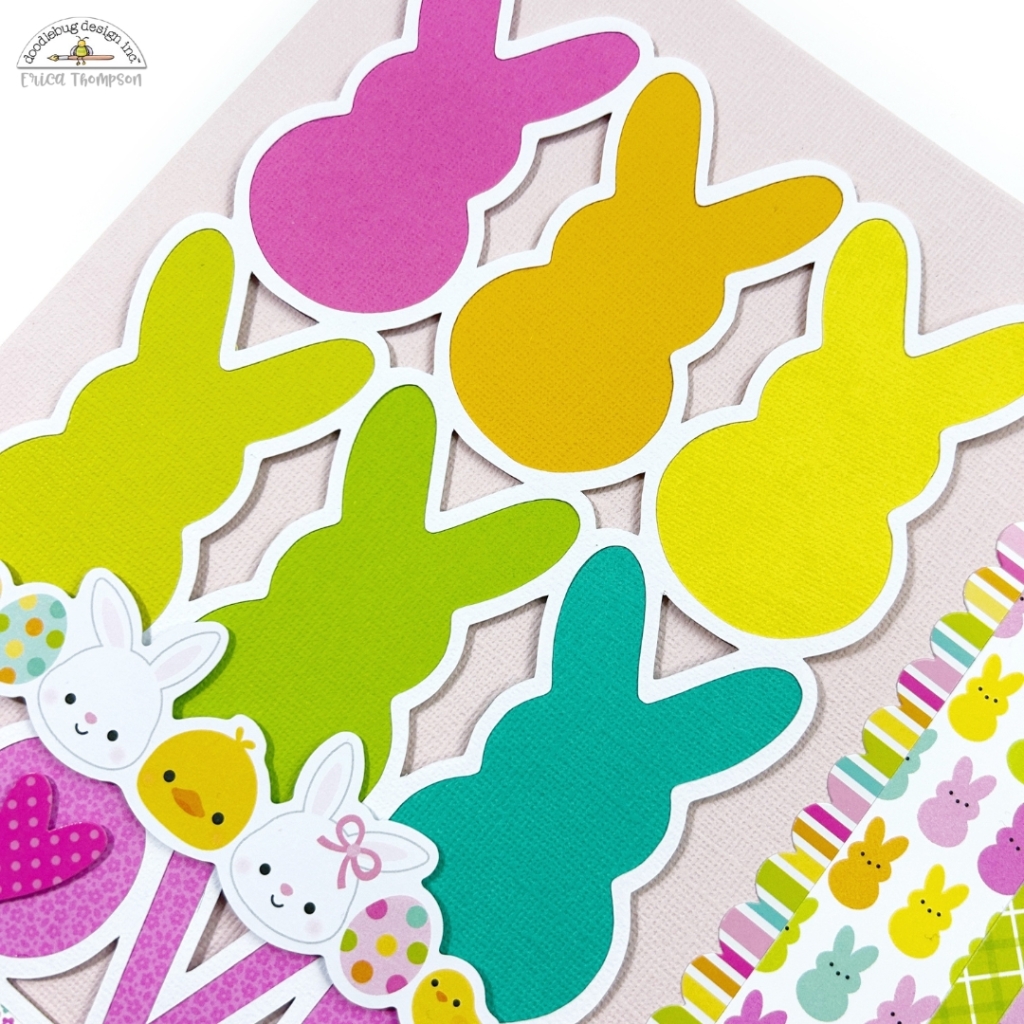
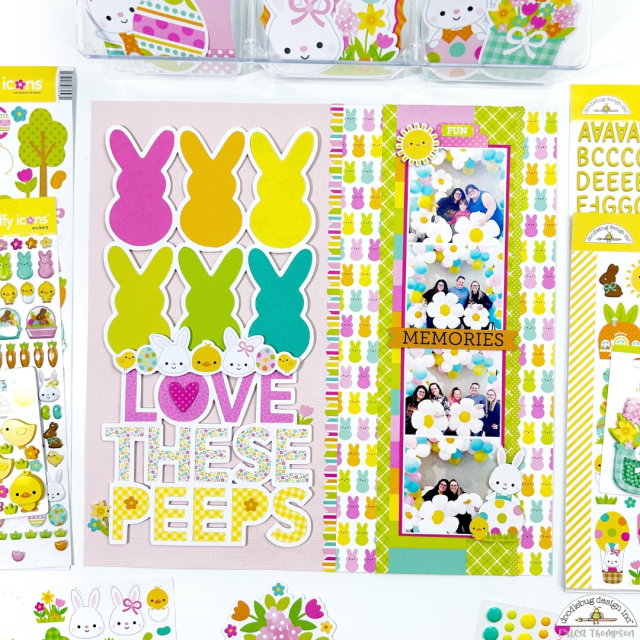
I wanted to create a simple but fun 12x12 layout that showcased some fun colors and patterns from the collection. I found an adorable cut file that worked for my title and went perfectly with the Bunny Hop collection.

The cut file was cut from some textured white cardstock and backed with papers from the Bunny Hop 6x6 paper pad and the coordinating Textured Cardstock Assortment. I adhered the cut file to the left side of my layout base and added a piece of the Everything Easter 12x12 paper to the right side.

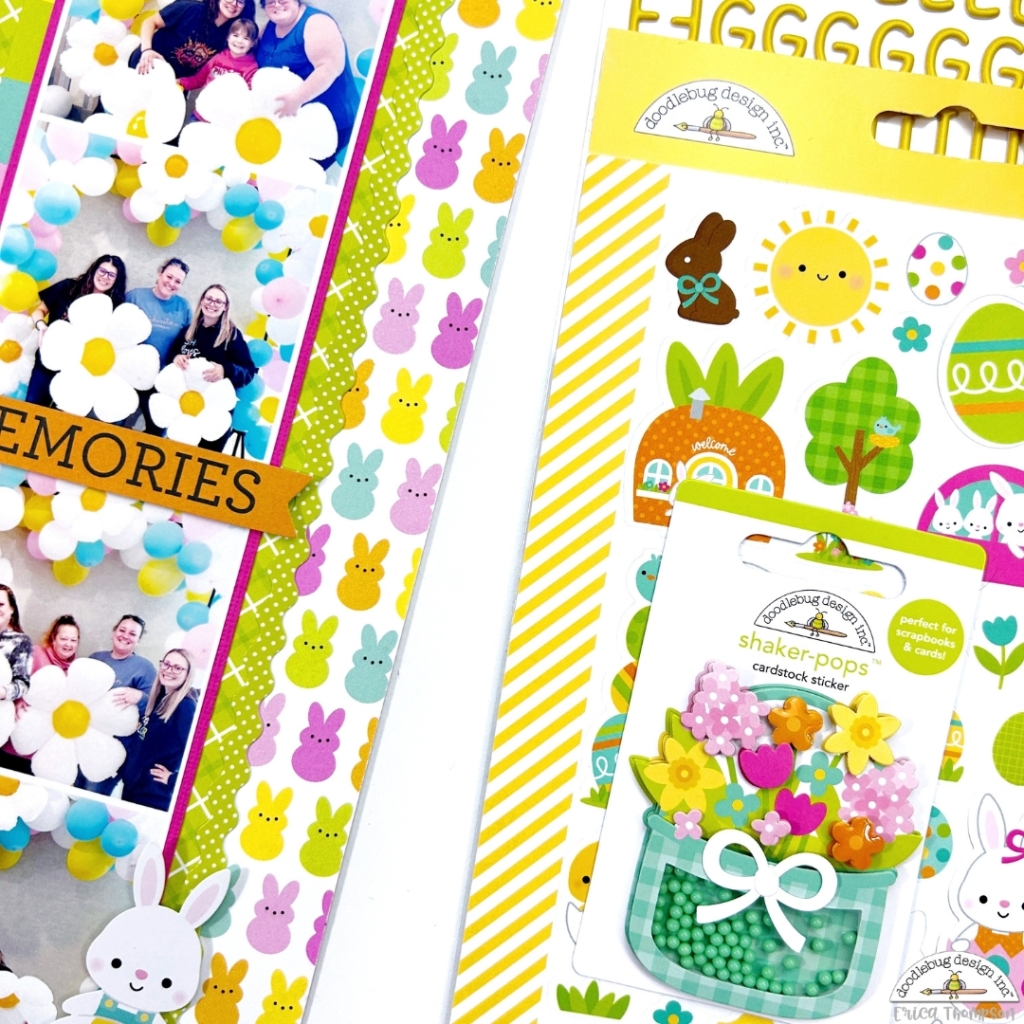
I added a few of the border stickers from the This & That Sticker Sheet and a couple strips of different patterned papers from the collection down the right side. I knew I wanted to use some photos from one of my past Spring Crops so I created a photo strip to add to the right side of the layout. The Everything Easter patterned paper was the perfect match with the cut file!


I added a tab above the photo strip and a mini icon sun sticker. In the center of the photo strip I used one of the chit chat pieces.

I added a few odds & ends around the cut file and some of the flowers in the Bunny Hop Icon Sticker Sheet. I love how this layout turned out!

Thanks so much for stopping by the Doodlebug Design Blog today! I hope you are inspired to create with the adorable Bunny Hop collection!


DOODLEBUG PRODUCTS USED

Bunny Hop Collection

OTHER

Love These Peeps Cut File

Tuesday, March 26, 2024

BUNNY HOP STAMPED EASTER CARDS | with Karen

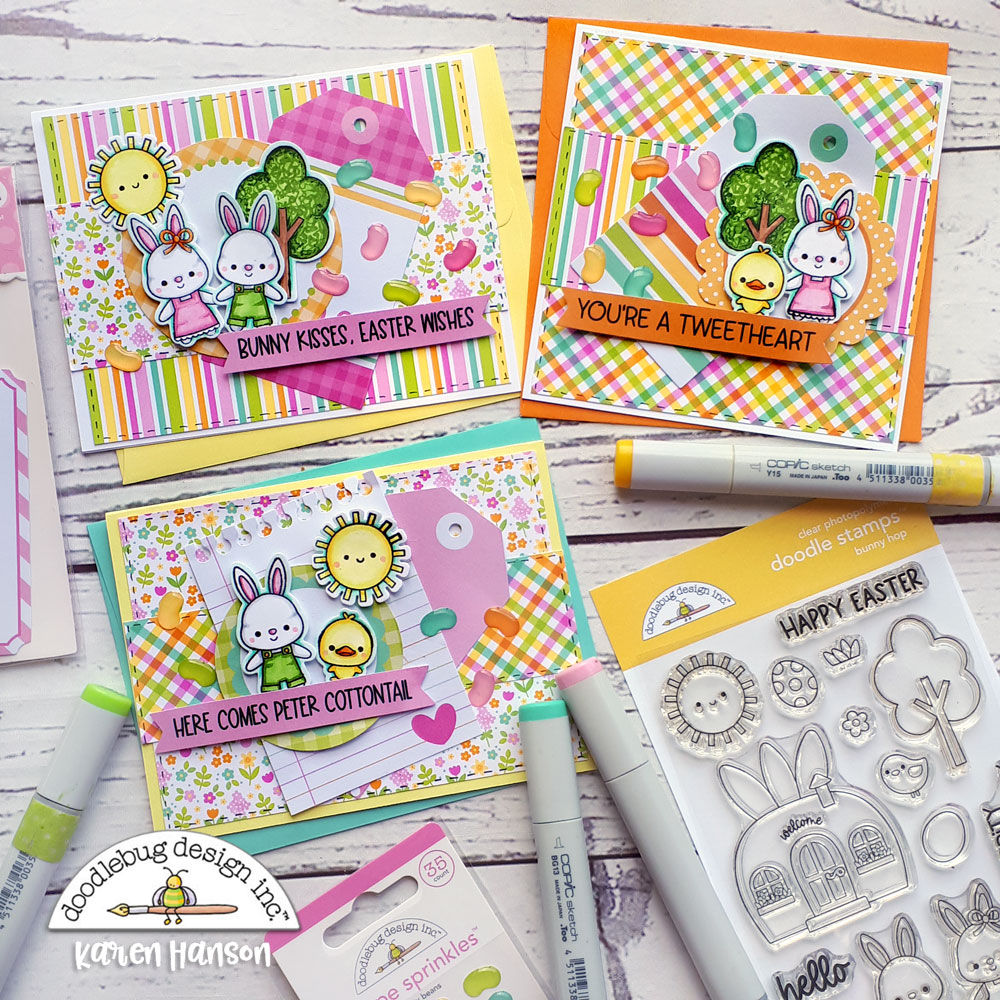
Today, I got out my markers. It's been awhile - I am not exactly sure why except to say that there were so many other goodies from Doodlebug to work with that my stamps took a back seat for awhile. But the new Bunny Hop stamps were just so darn cute that there was no way that they were not making an appearance on a project! So I give you the revival of my markers with an adorable card set featuring the new Bunny Hop Stamps!


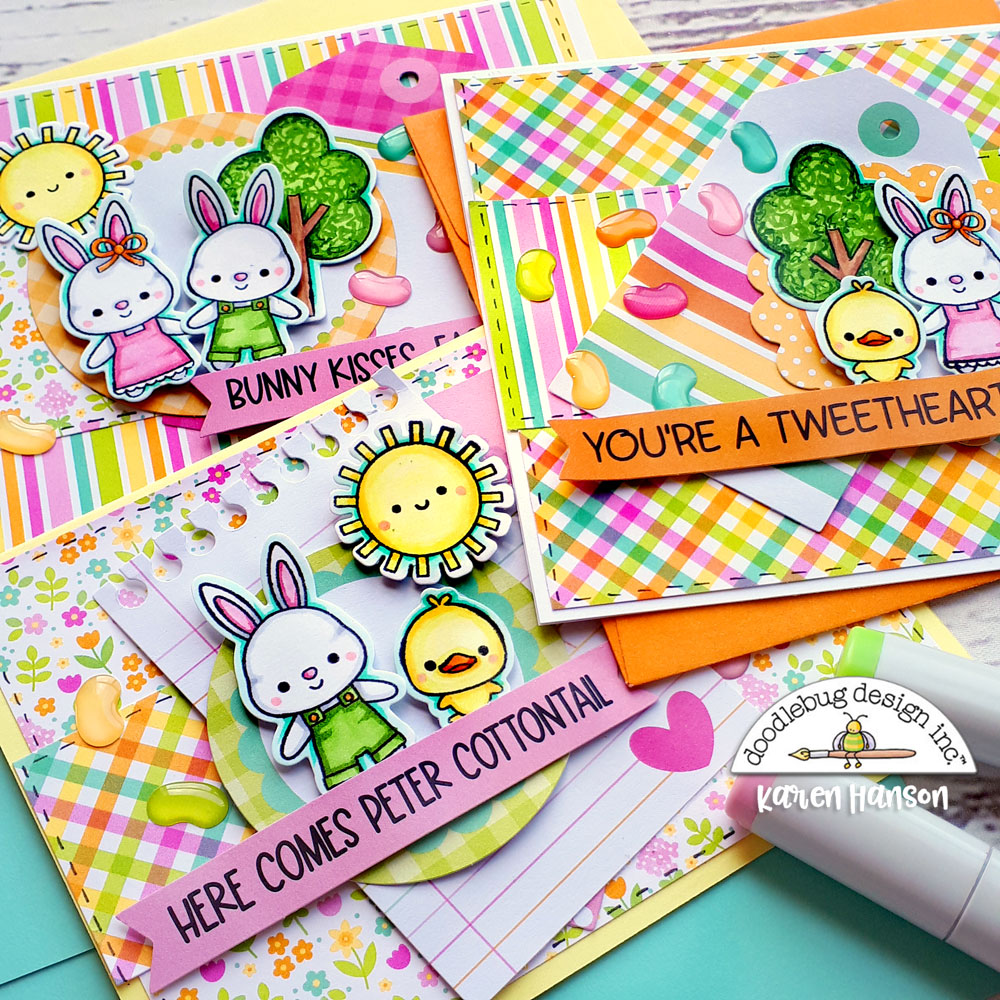
Tada! I know - now you can see what I am talking about, right? How could I not devote some time and energy to these cuties?


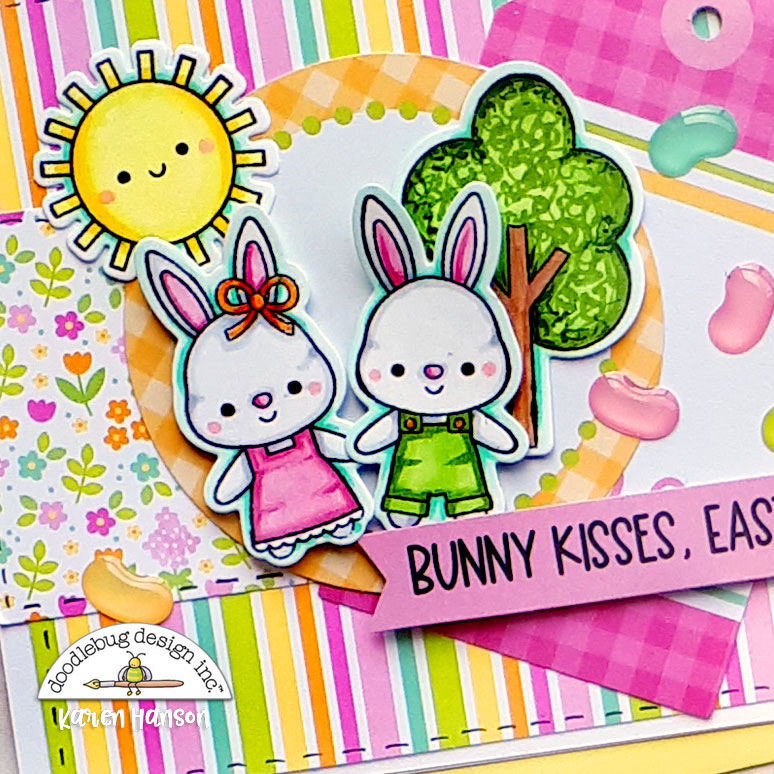
Two adorable bunnies and a darling chick together with a host of background items like a tree, eggs, grass and a happy sun! The combinations with this set are endless. I teamed them up with the coordinating Cards & Envelopes and some of the 6x6 patterned paper. I used some of the die cuts from the Bits and Pieces set for some added layers and patterns.


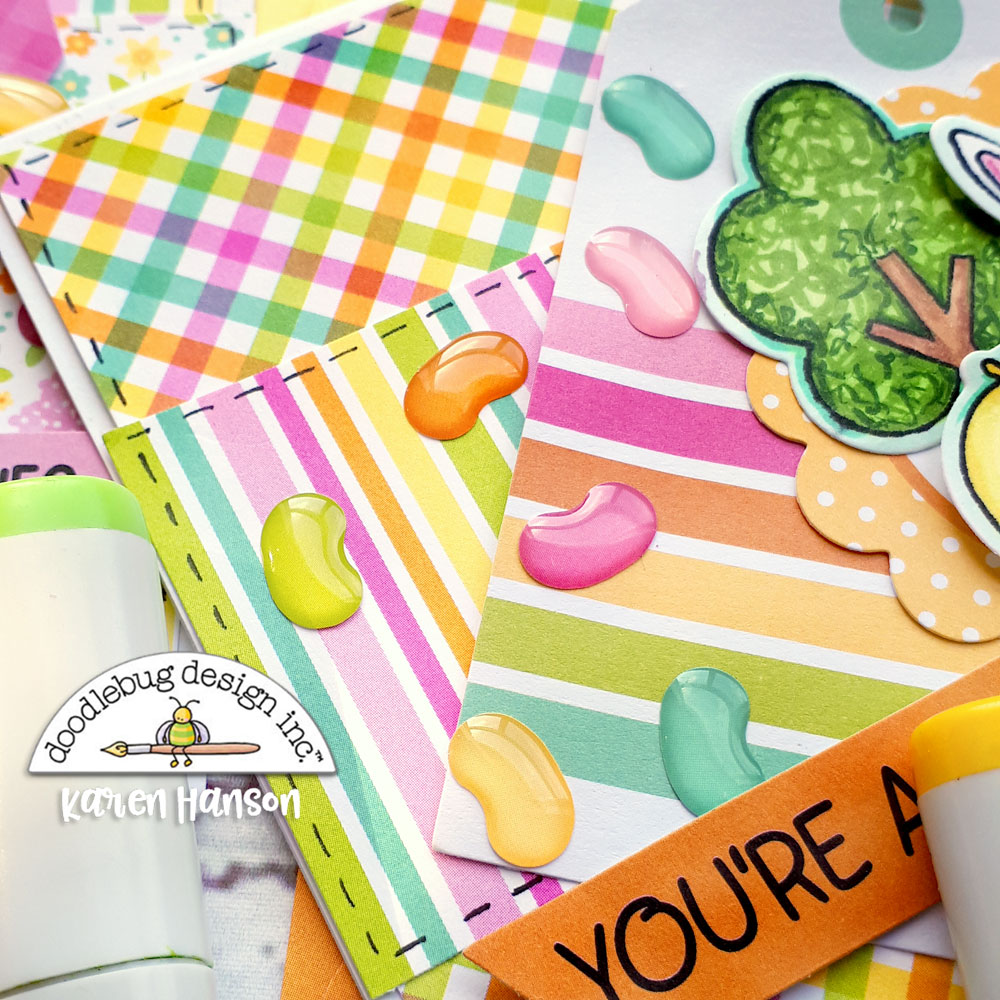
And then I topped it all of with some of the amazing Bitty Beans - Shape Sprinkles. I love them! It actually looks like I have just spilled some jelly beans on the front of the cards. It really is a fabulous, fun addition to the cards.


Well, I have absolutely no regrets on this project and am so glad that the stamping tools came out of the crafty cupboard. I loved every minute of working with these projects and I hope they brought a smile to your face too!  Thanks for stopping by!


DOODLEBUG PRODUCTS USED

Bunny Hop Collection
Bunny Hop Doodle Stamps
Cards & Envelopes

OTHER

Adhesive

Monday, March 25, 2024

BUNNY HOP YOU'RE MY HONEY BUNNY LAYOUT | with Brianna

Hey friends! Brianna Lepper here today and I'm so ready for my girls first Easter! I bought her the cutest bunny ears to wear and just had to scrapbook photos of her wearing them. What better collection to use than Bunny Hop! Here's my page:


I thought it would be so cute to keep a bunny theme going on my page and I was immediately inspired to do so by using the cute bunny metal die from the Bunny Basket Doodle Cut set. It resembles the marshmallow Peep candies and it's so adorable. Instead of using patterned paper for the bunnies, I decided to use the coordinating cardstock pack and I'm so glad that I did. It really made them pop off of the page.


I chose the Lily White cardstock as my base and for some extra color, I trimmed a couple of narrow strips of the 12x12 Bunny Hop paper and adhered it to the top and bottom of my page. I then took all of my die cut bunnies, popped them up on foam tape and arranged them in a circle in the middle of my page.


I left an open space on the right side of my bunny wreath for my photos that I matted using the 6x6 Paper Pad. I chose a banner piece from the Chit Chat pack and adhered that right on my photos. It was the perfect title and it was also the perfect color since it went right in the pink section of my wreath. I decided to embellish tone on tone or aka color blocking so I kept that in mind when selecting my title. I wanted to add a few bunny embellishments and the Honey Bunny Doodle-Pop was perfect to put down right next to my photos. Adorable!


Next, I wanted to add smaller embellishments around my wreath. Ones that wouldn't take away from my die cut bunnies or make it too busy. So I used floral stickers from the Puffy Icons Stickers, Icons Stickers and the Hello Spring Shape Sprinkles sheets. They added the perfect little touches around the wreath.


For some extra color, I took some Distress Oxide ink pads in coordinating colors and splattered it in each color section.


Here's one last look at this cute honey bunny page!!!


Thank you so much for stopping by today, I hope that I've inspired you in some way. It's a lot of fun to add die cut pieces to your scrapbook pages! See you in my next post friends.


BLOG INSTAGRAM | YOUTUBE

DOODLEBUG PRODUCTS USED

Bunny Hop Collection
Bunny Hop Solid Assortment Cardstock
Bunny Basket Doodle Cuts

OTHER

Distress Oxide Ink Pads
Pin It button on image hover